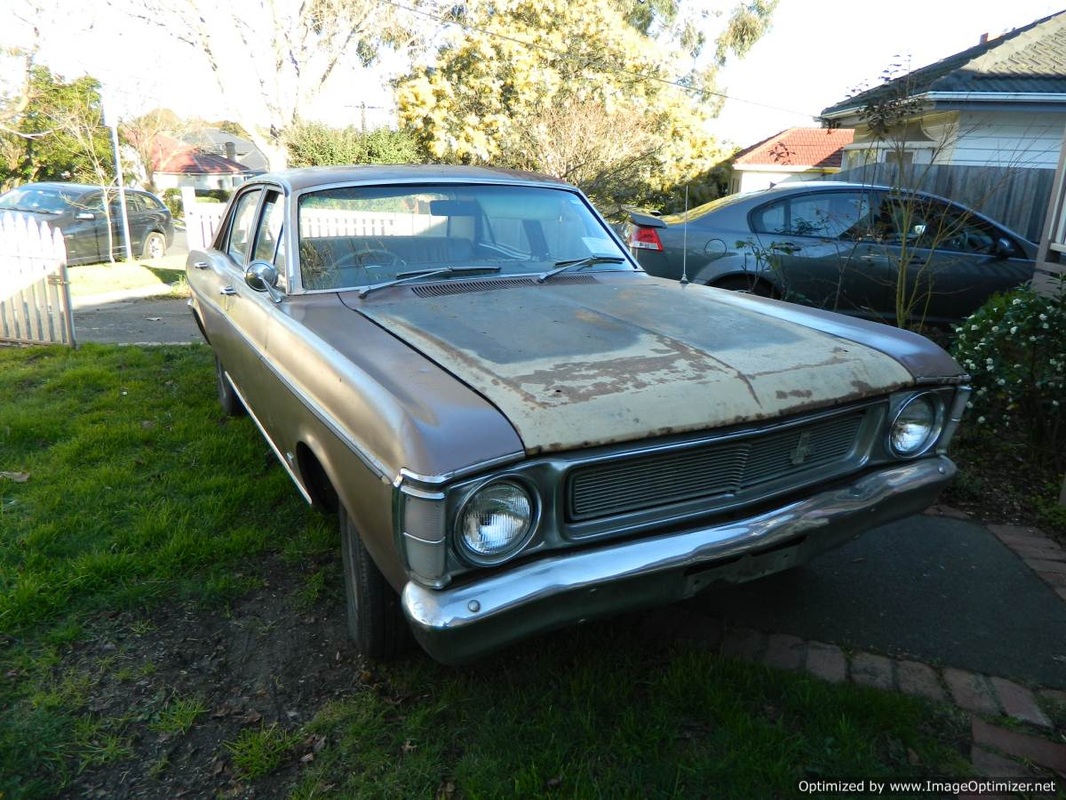
On and off, I've been looking for an XW or XY for years. As time goes by, it's becoming harder to find an original example that hasn't been converted to a different persons idea of a great car. Most cheaper examples seem to be rusted out, or have had very poor quality work carried out, hiding a multitude of serious issues. The more expensive ones are largely GT or GS tribute cars. Then there are the matching number V8 cars... big dollars again. So I have frequently given up on these old Fords and gone for different cars instead.
This car was on eBay for a reasonable price, so I called the seller who advised me that it was sold... no surprises there. It was only when I visited a gentleman selling an XY ute who knew the seller, that I was made aware that the deal on this car had fallen out of bed. This old car was back on the market. Half an hour later, I knocked on the sellers door with a deposit. I finally got my XW.
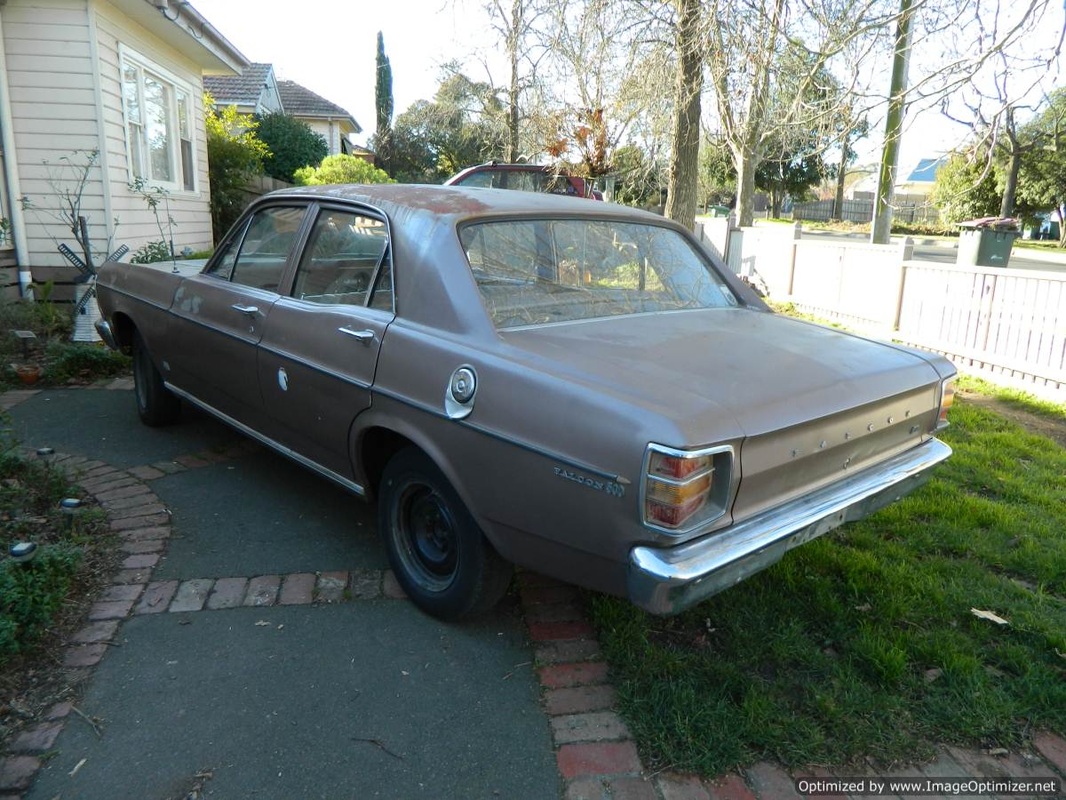
This is a run down car in apparently average condition, but not bad at all underneath. We will restore this car and document it on this page. Please be aware that we are a family that enjoys tinkering with these old cars and not a high dollar professional outfit... hope you enjoy...
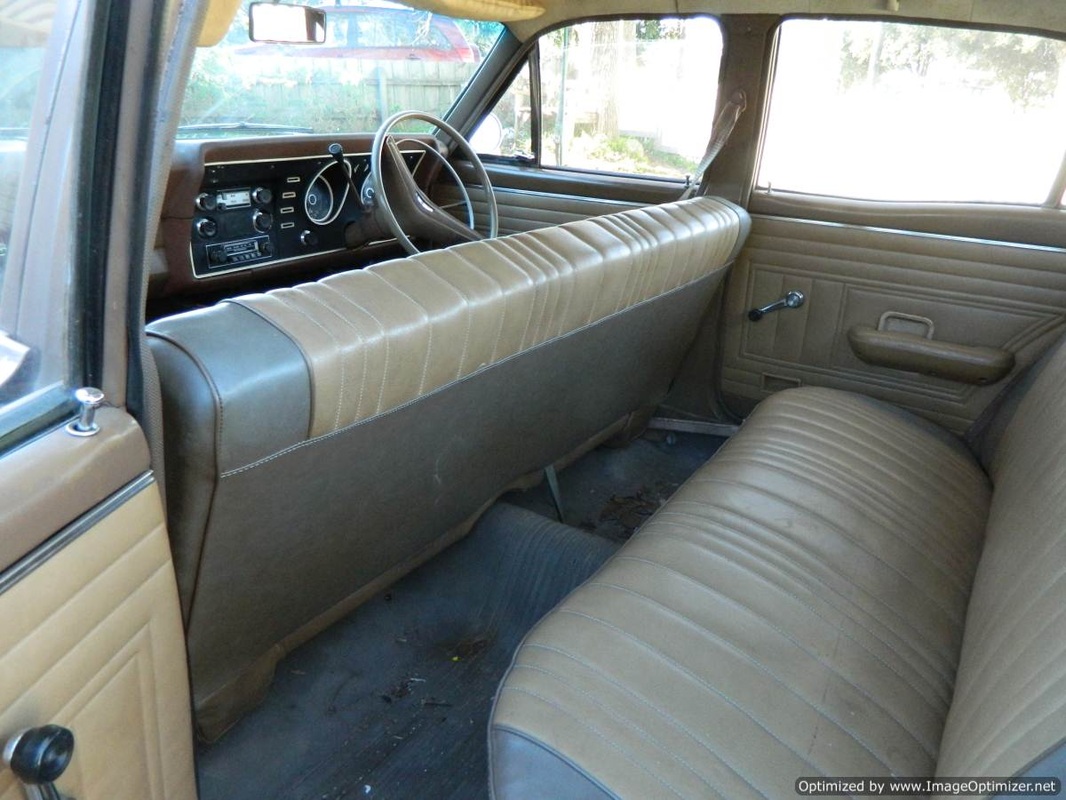
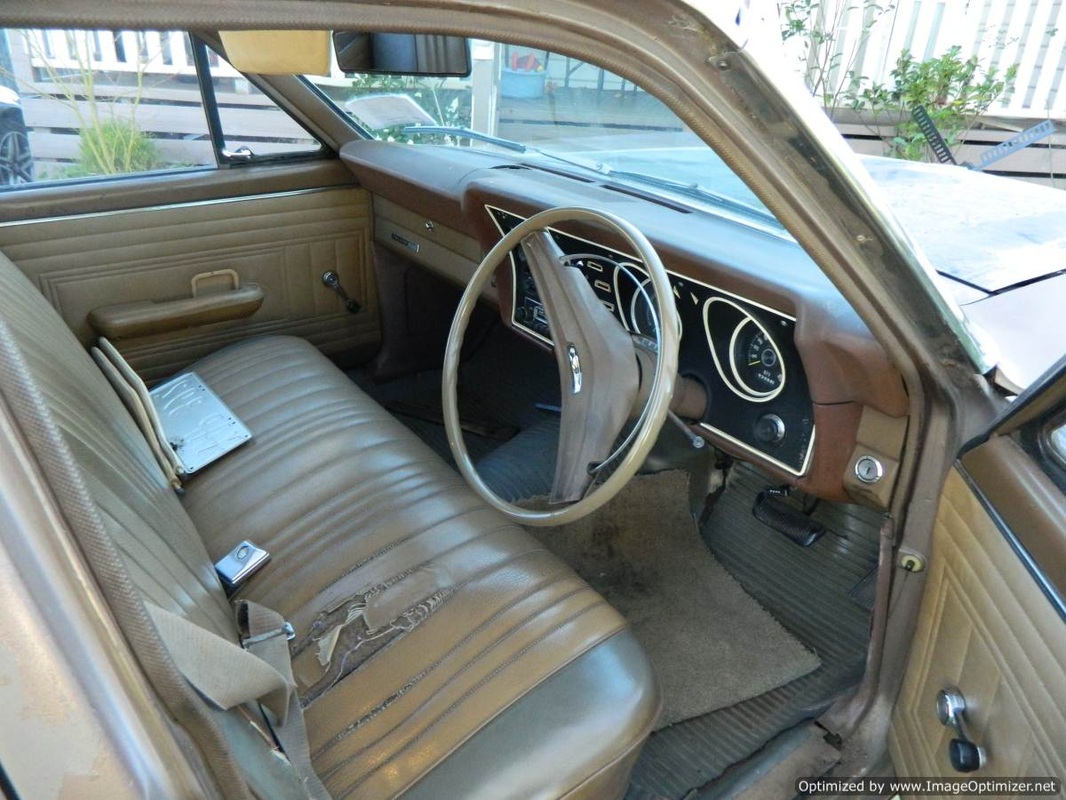
10/7/13: This is how the car arrived at our home this afternoon, complete and driving albeit pretty worn out. Although the shell and most panels are good, the rest is faded and tatty. In truth, there isn't much of this car that I will keep. I have purchased quite a few new parts, but aside from drive line, the interior costs are going to hurt.
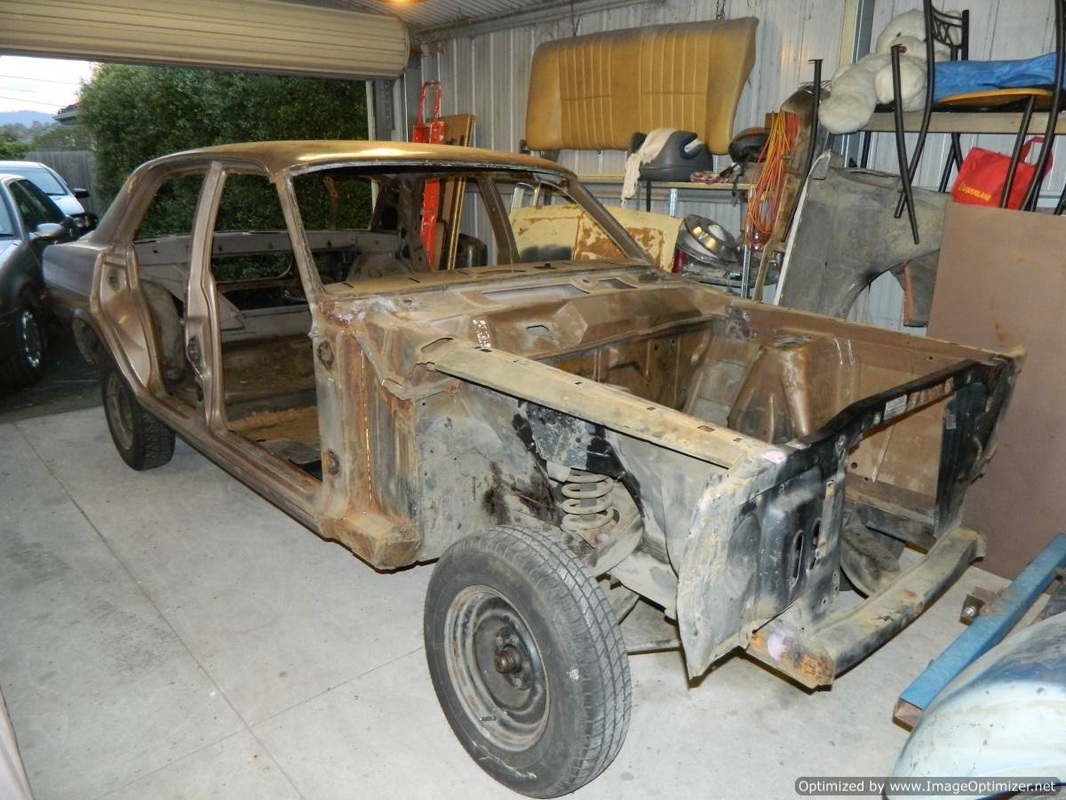
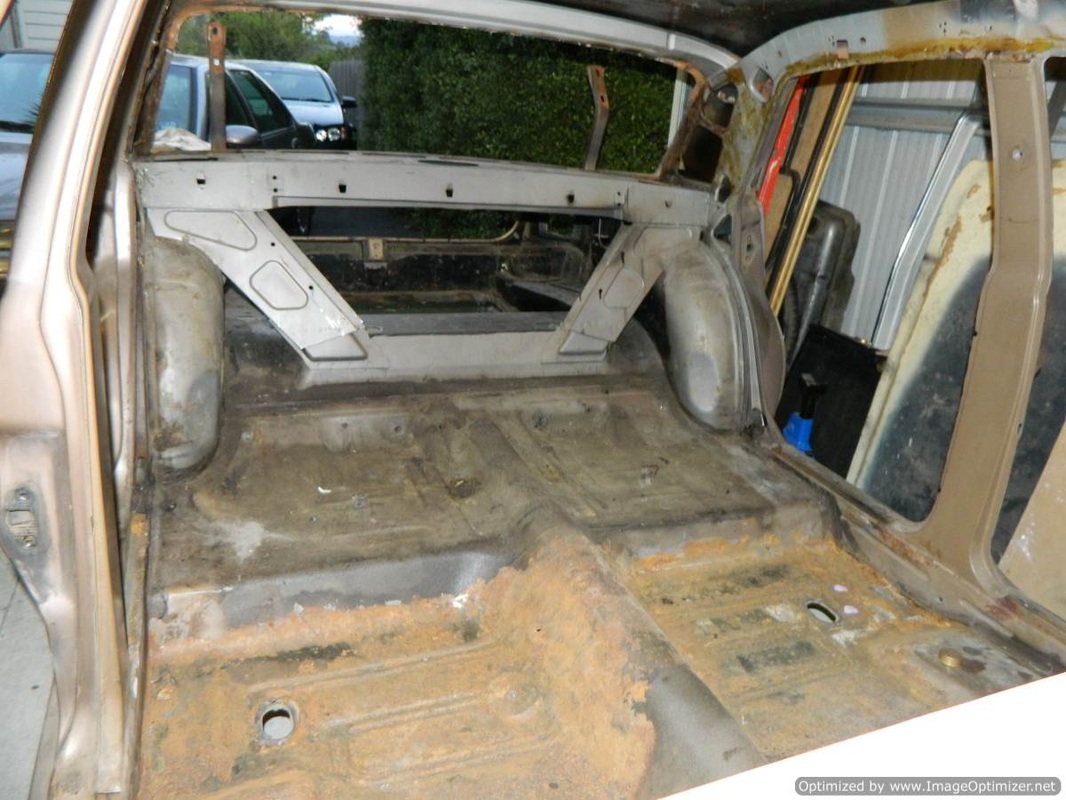
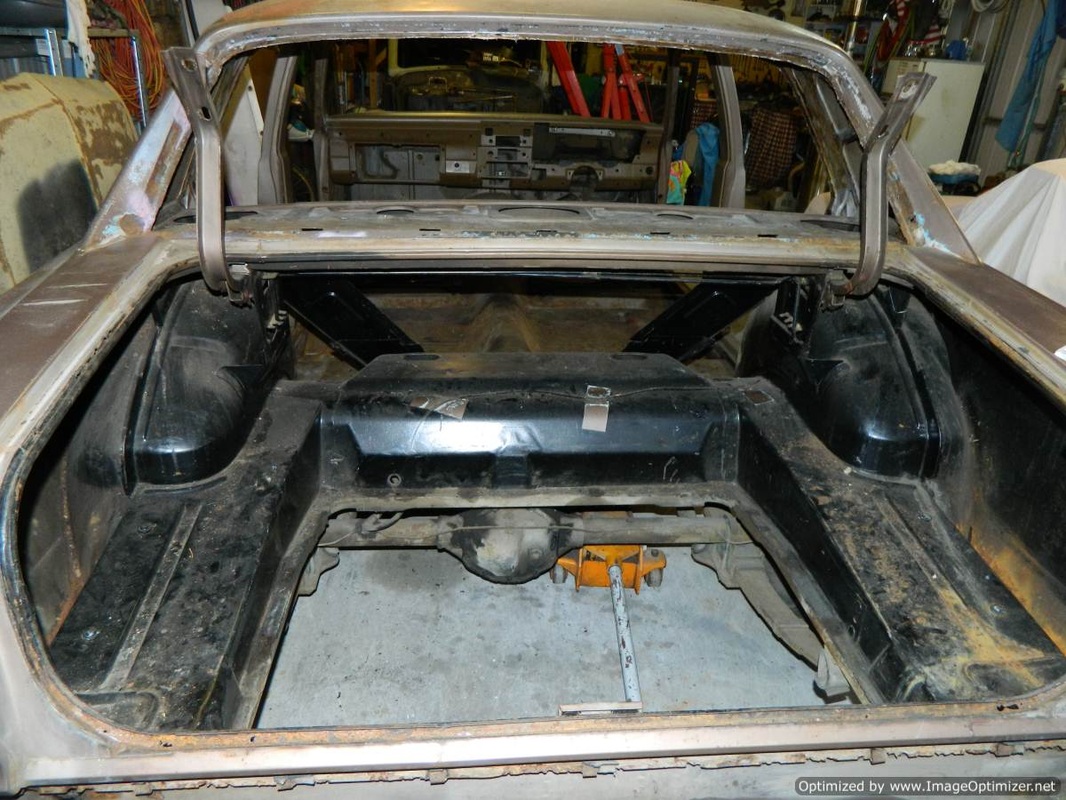
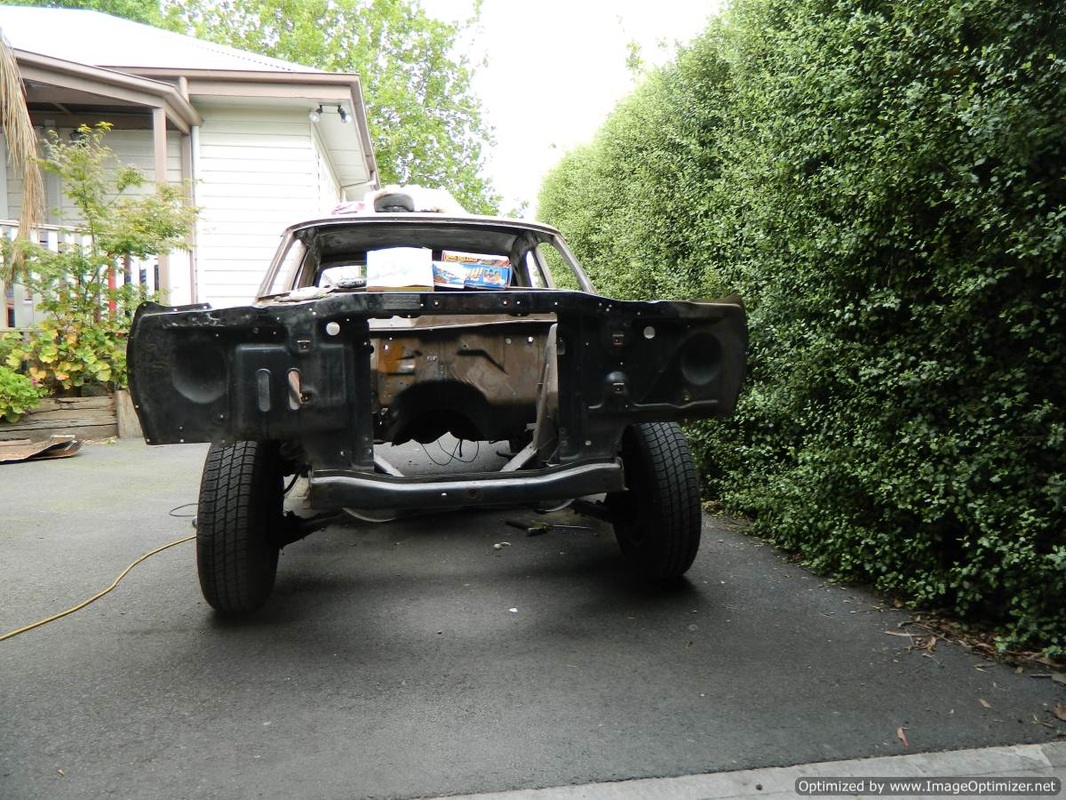
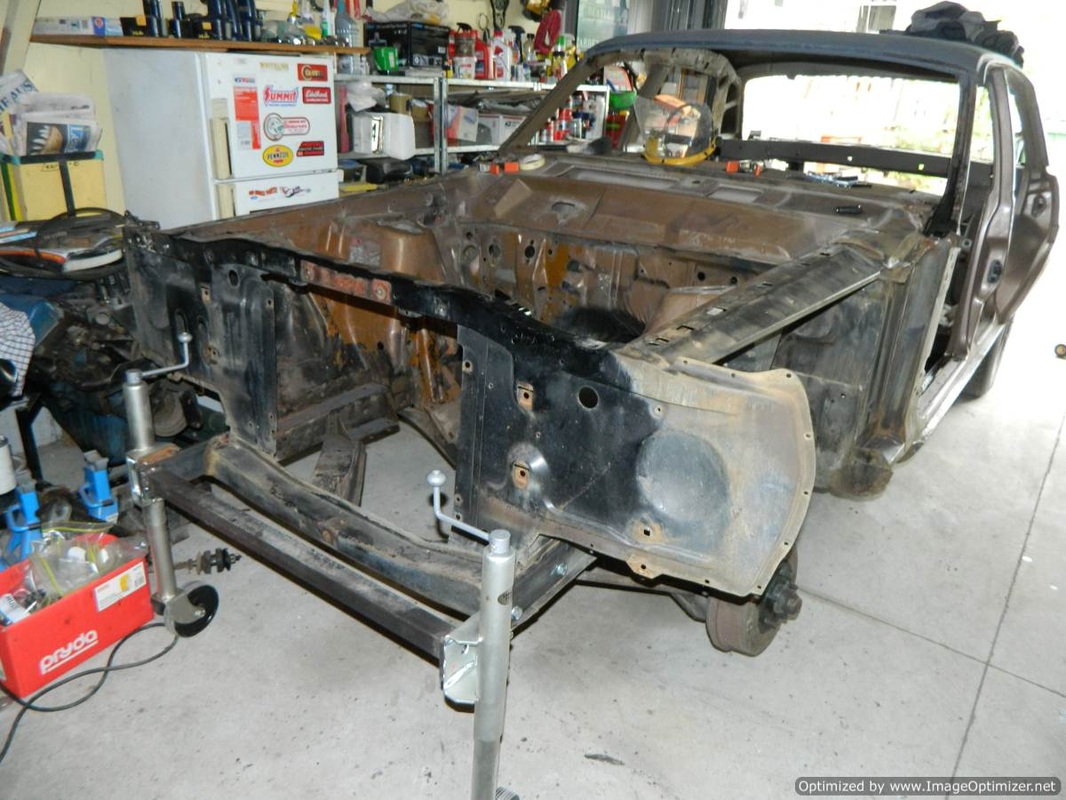
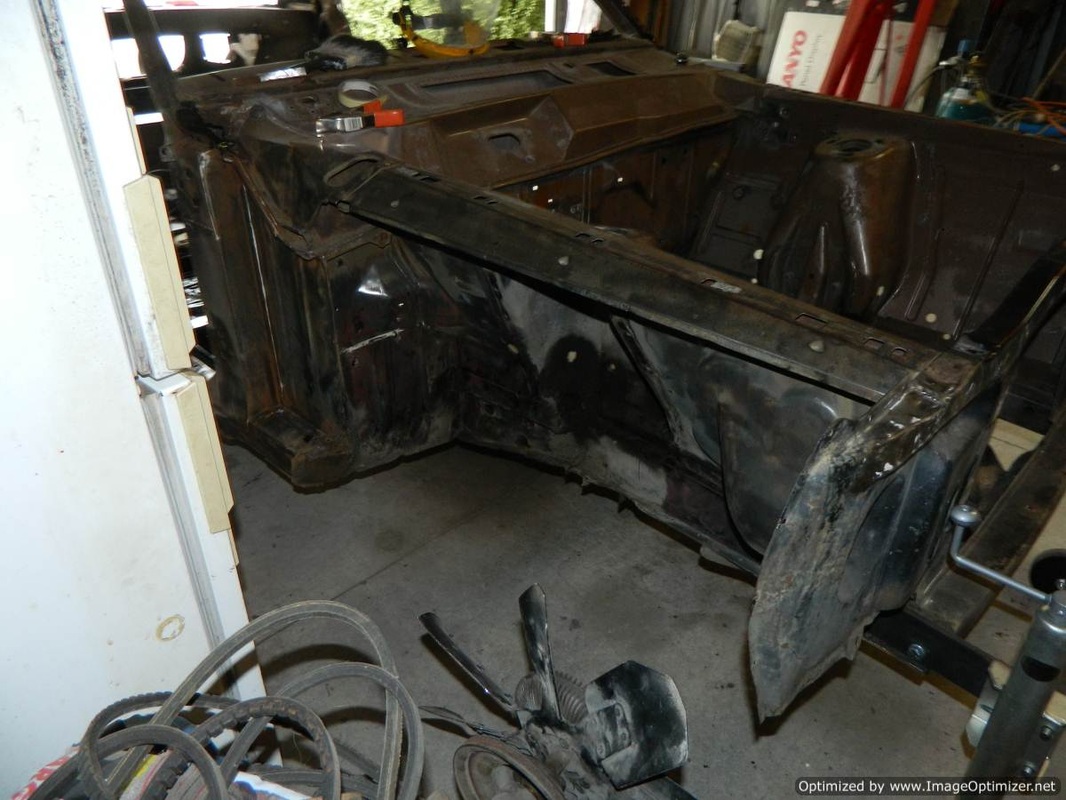
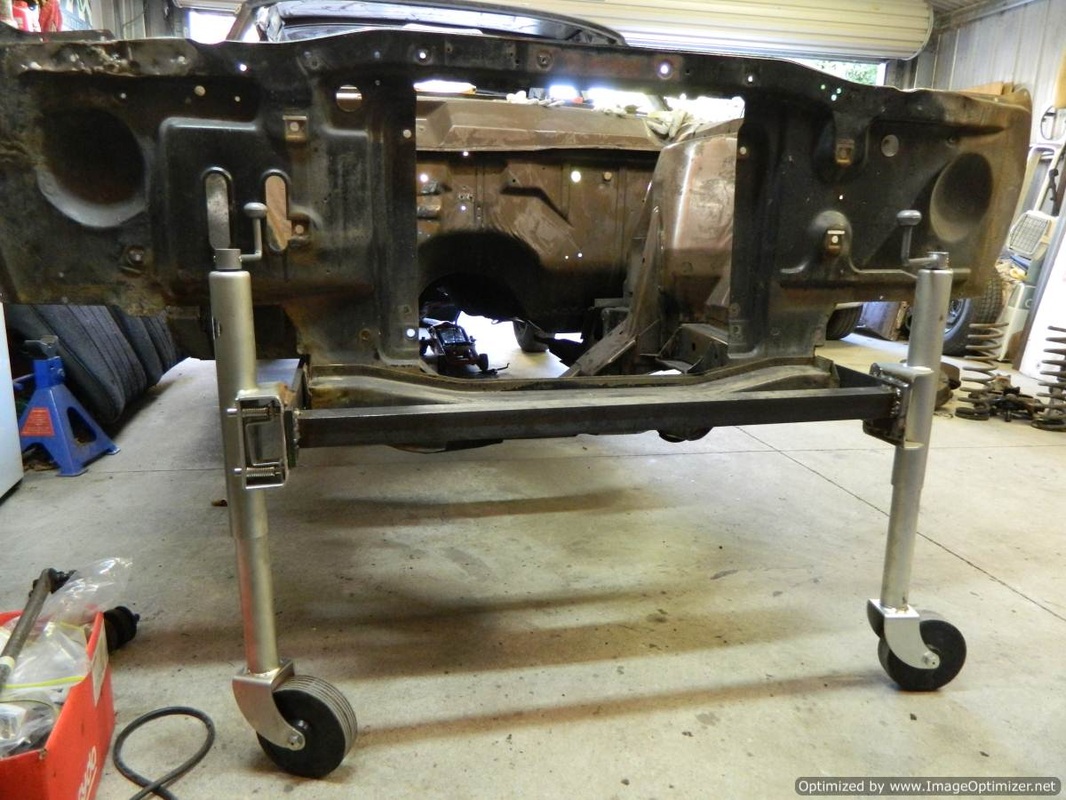
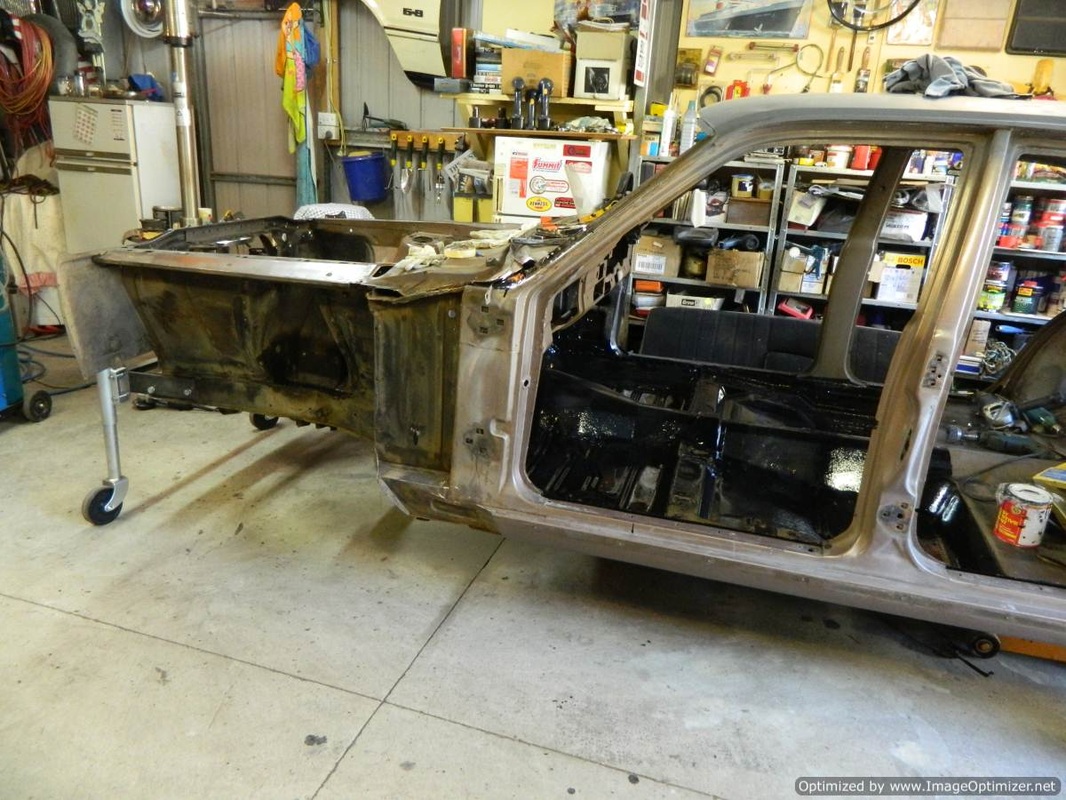
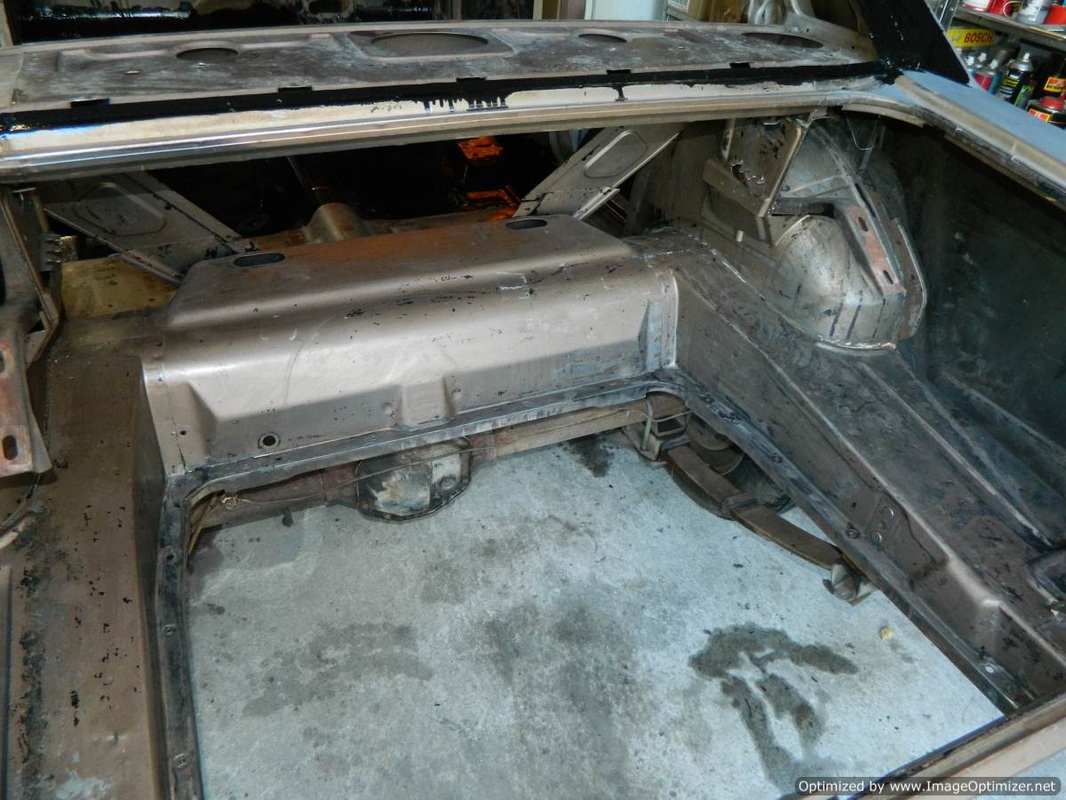
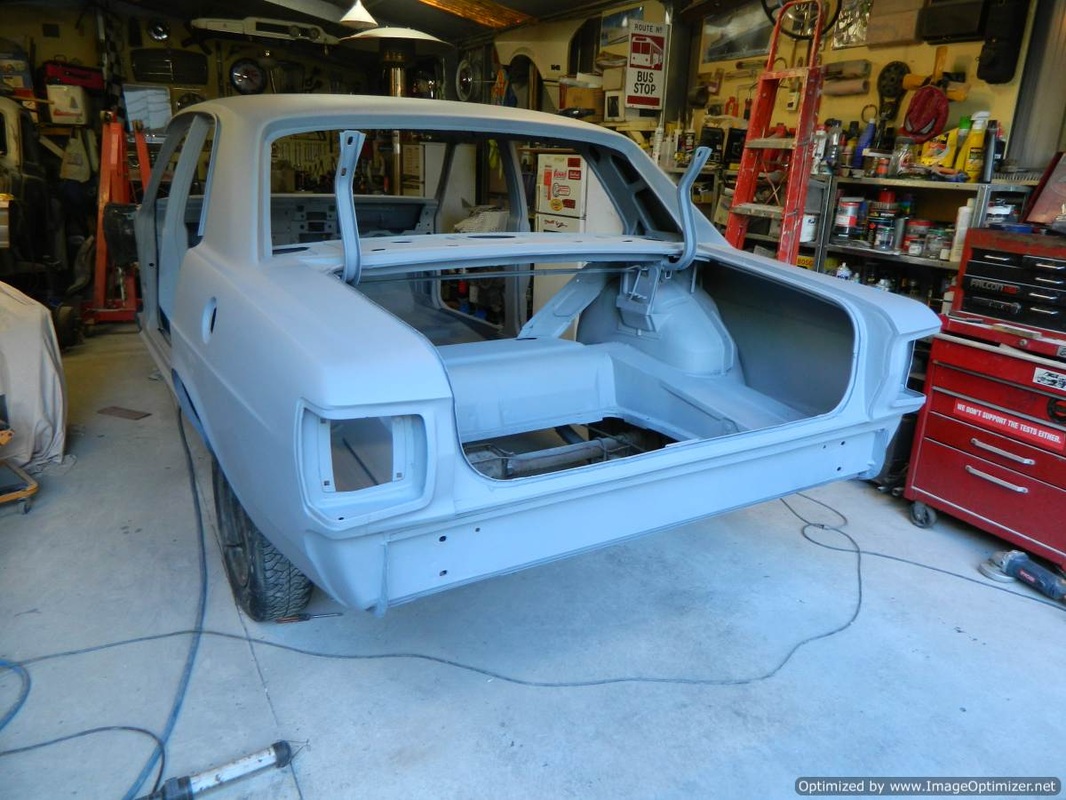
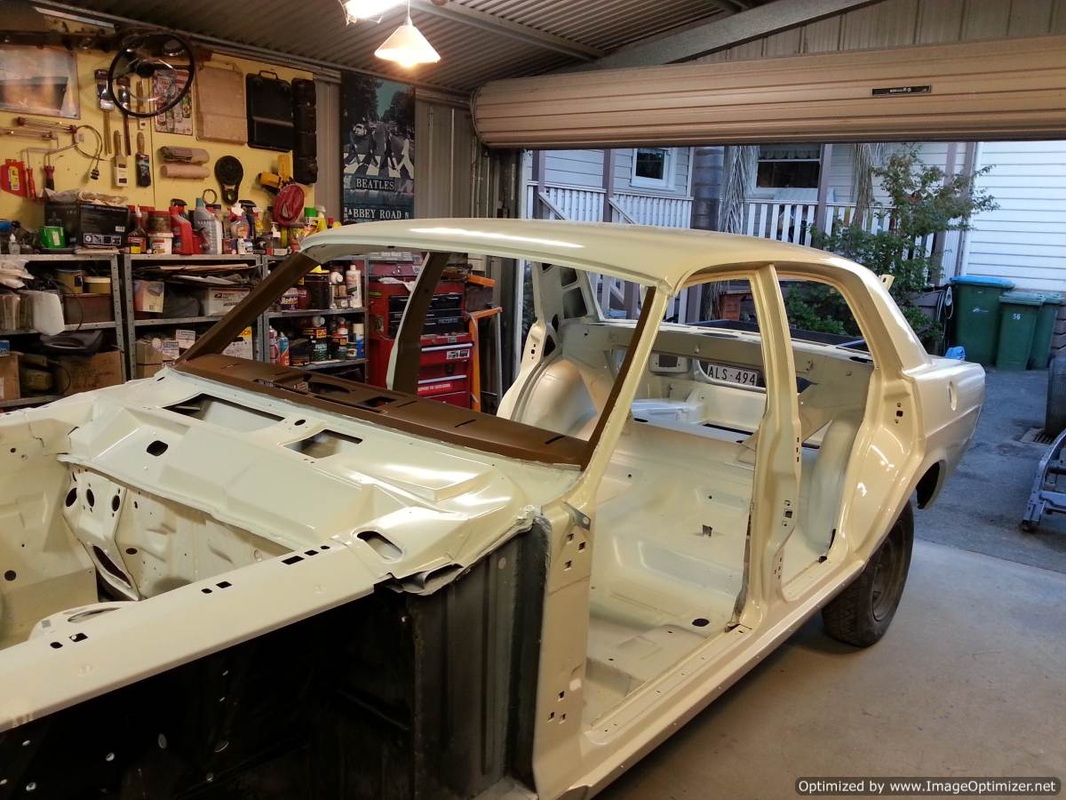
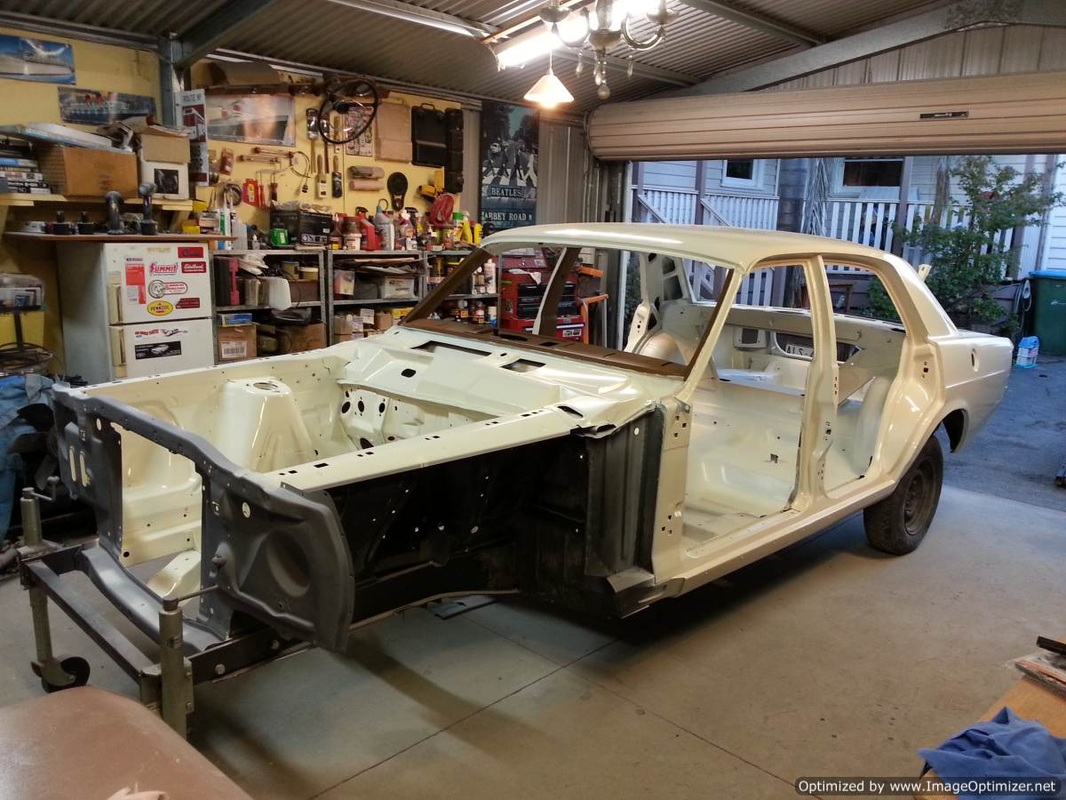
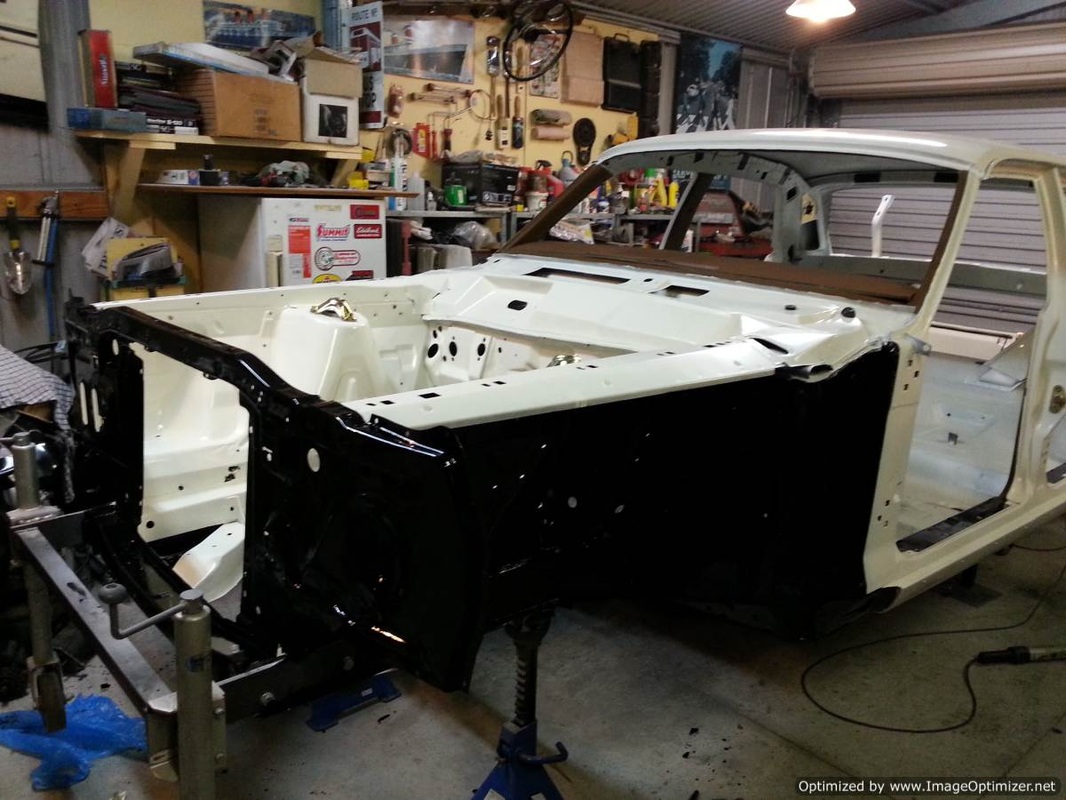
22/9/13: And here it is today. Everything aside from front and rear ends (and drip rail mouldings) has been removed - every nut, bolt, grommet and clip. All fuel and brake lines gone, every wire is out, but snares left to pull wiring through after painting - it's pretty bare. I've left it like this, so it can be moved while the metal work is being tackled.
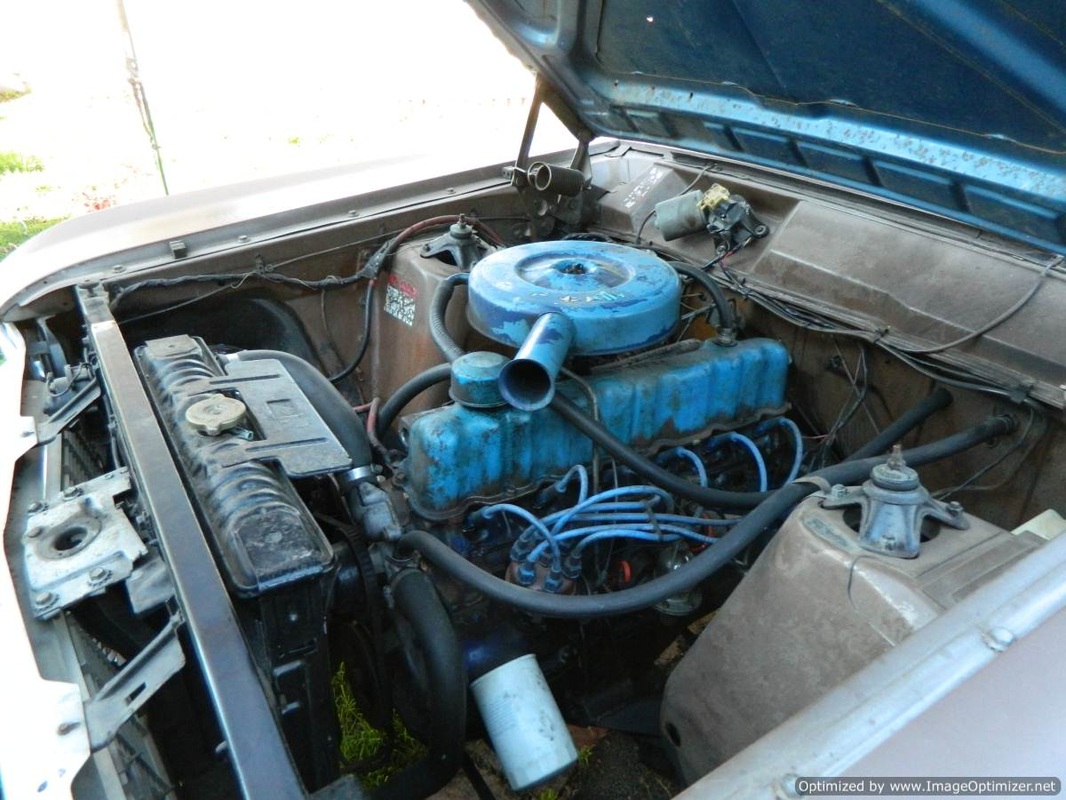
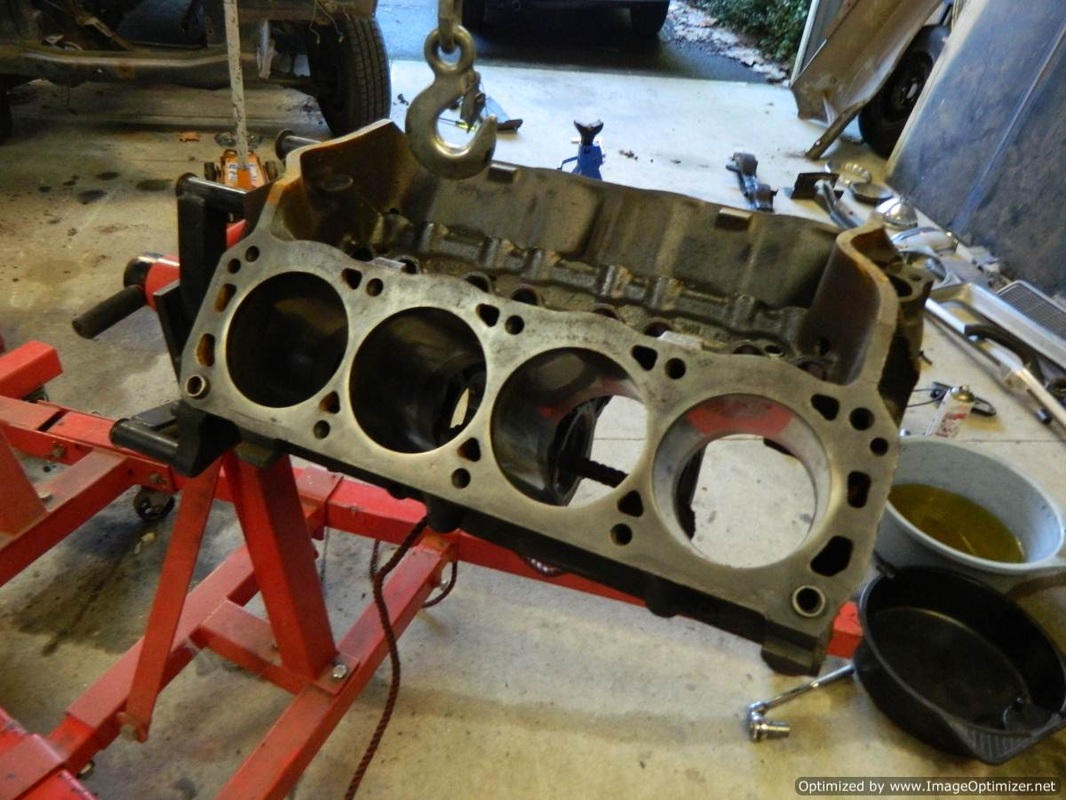
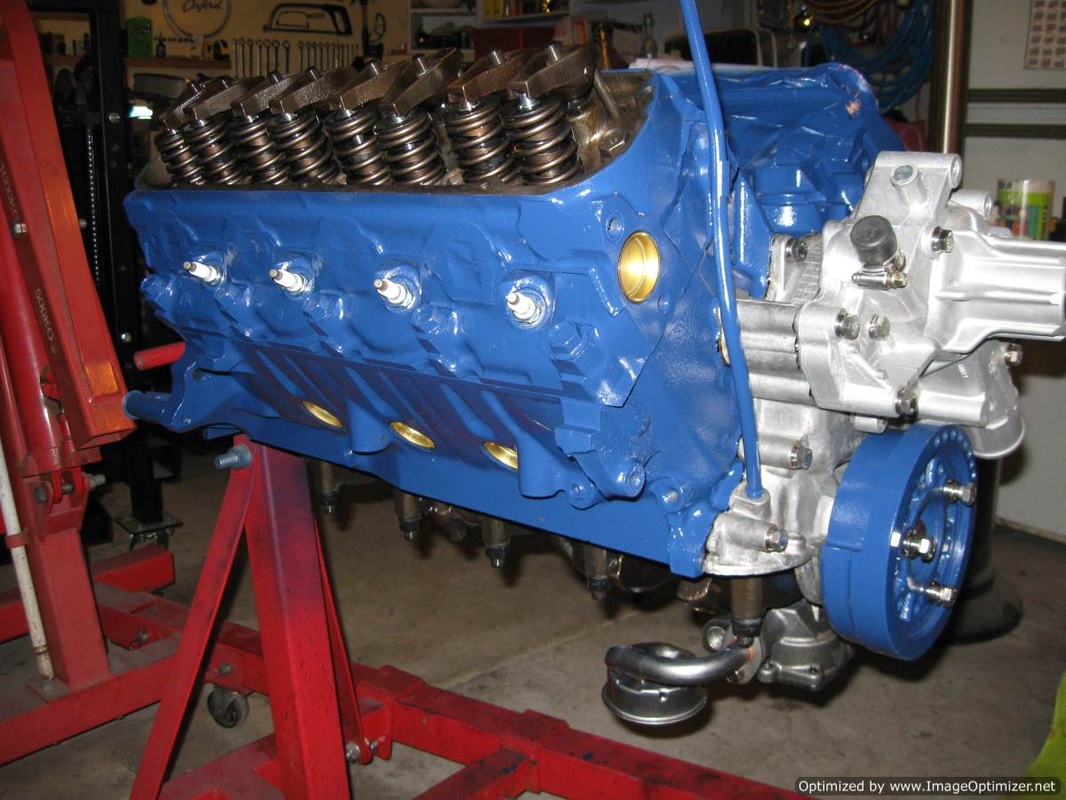
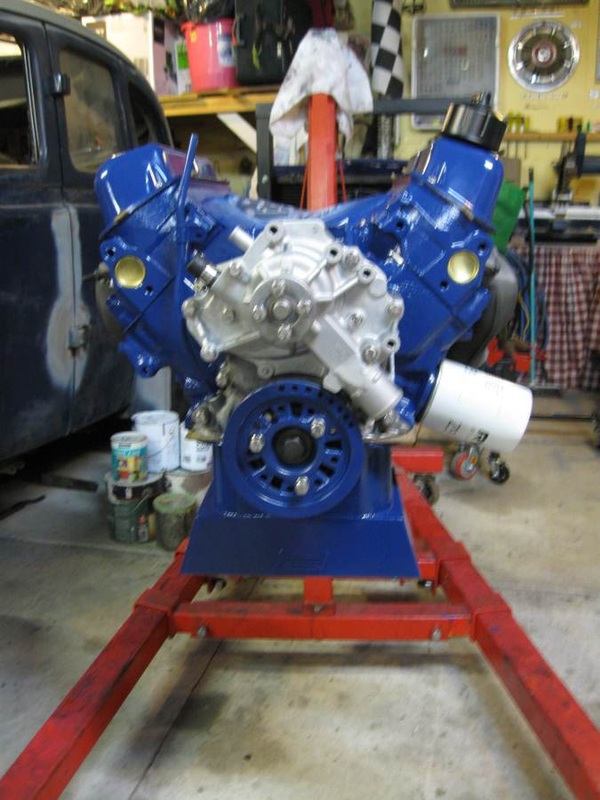
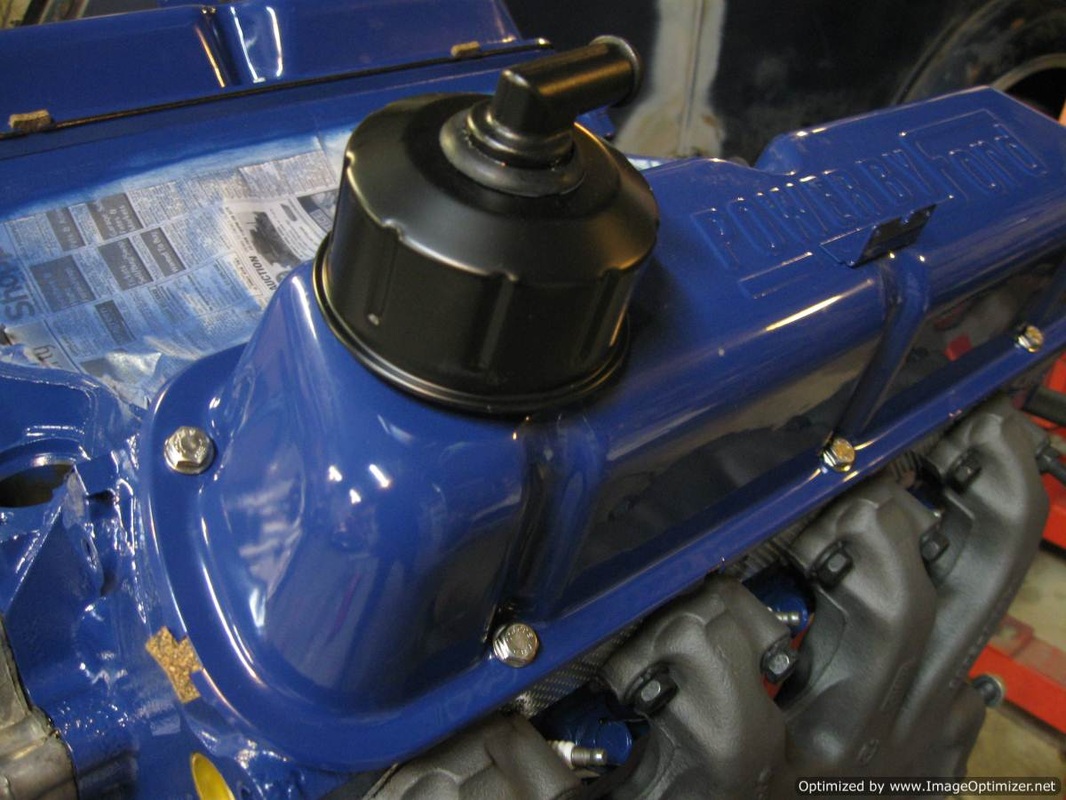
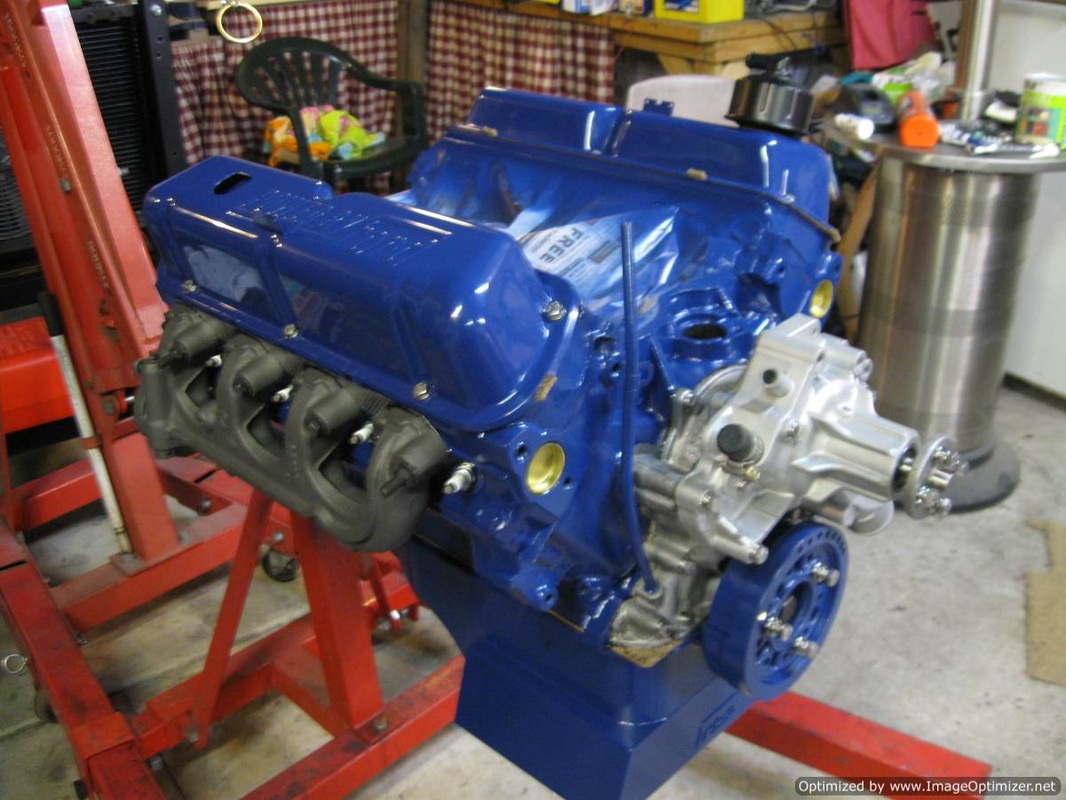
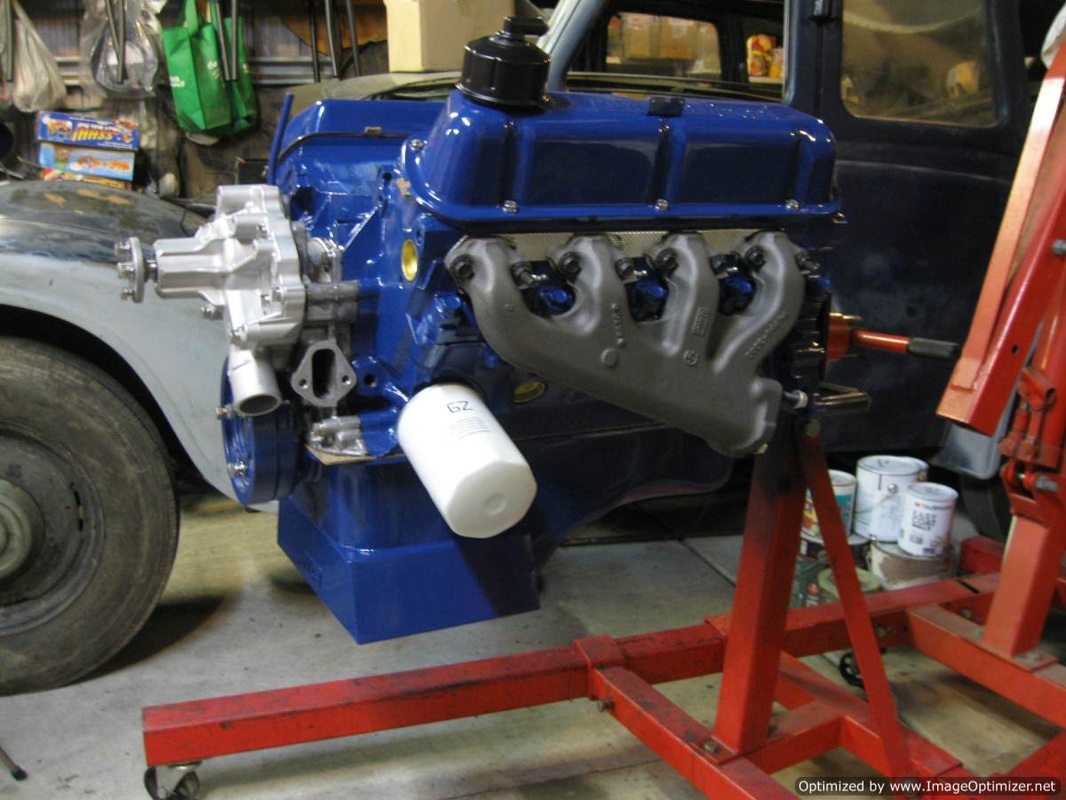
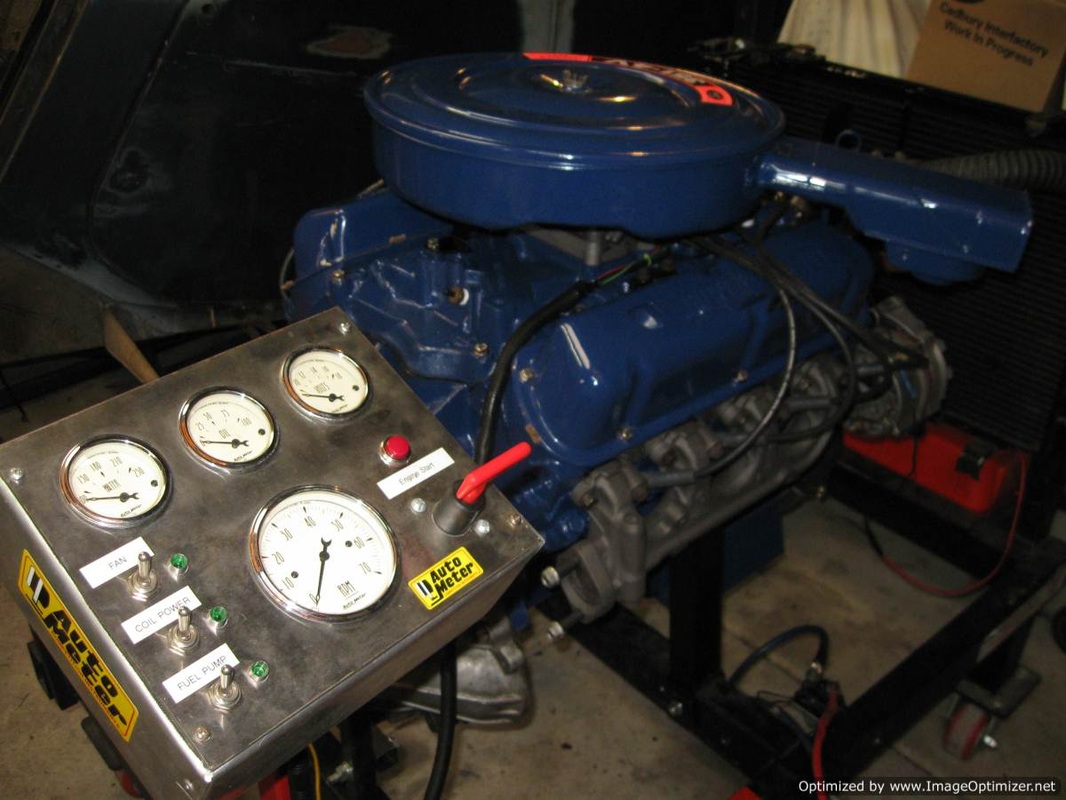
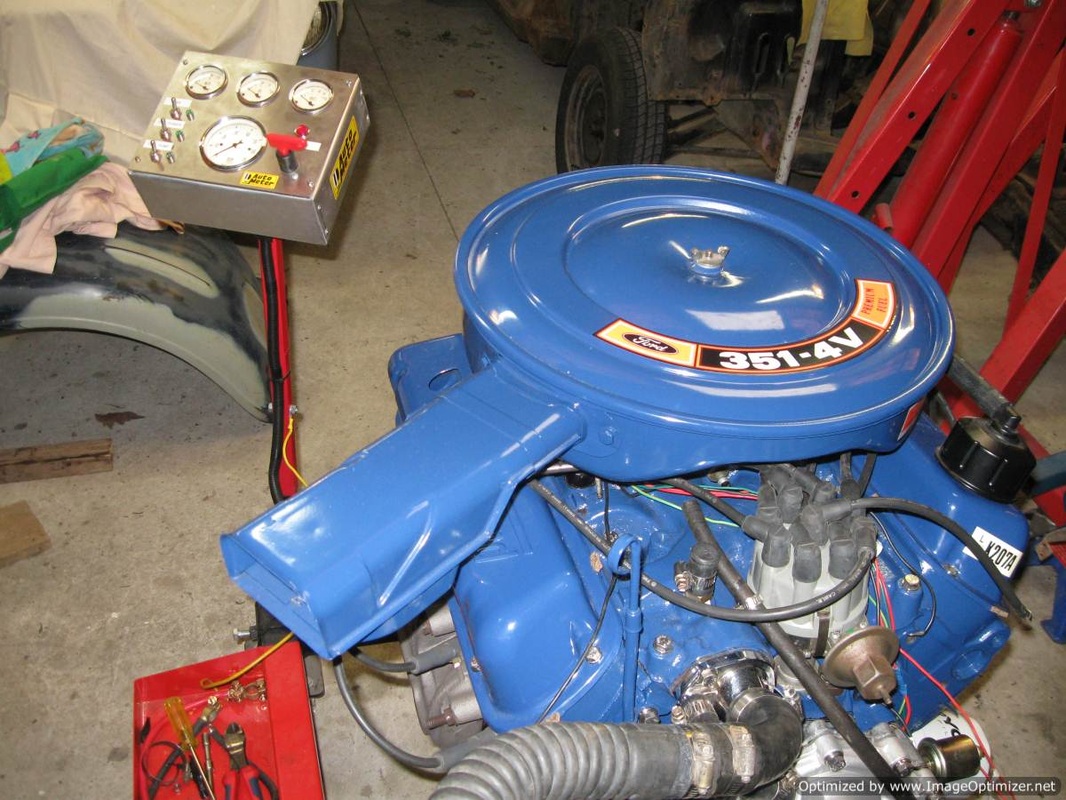
Here are some images of the engine mounted on the stand... all wired, plumbed and tested. The idea of the stand is to run the camshaft and lifters in, check timing/tune, check for noises, oil/coolant leaks etc etc. This way, when the engine's installed in the car, I know it's right and a dependable turn key installation...

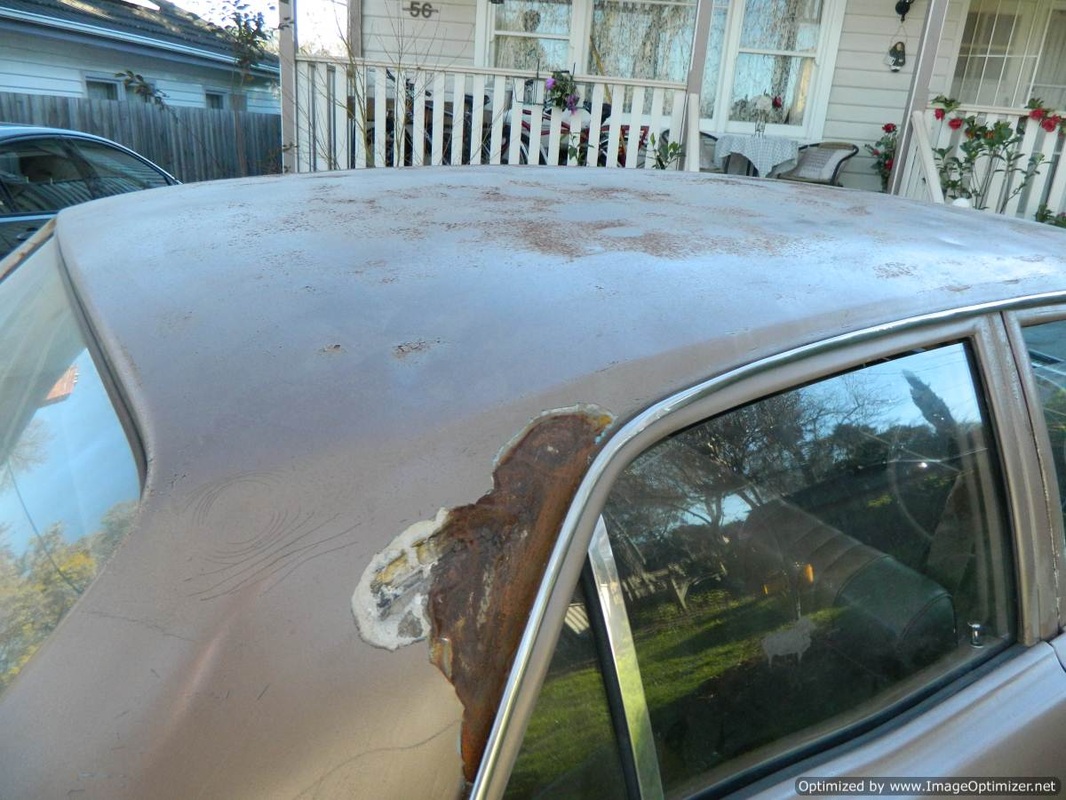
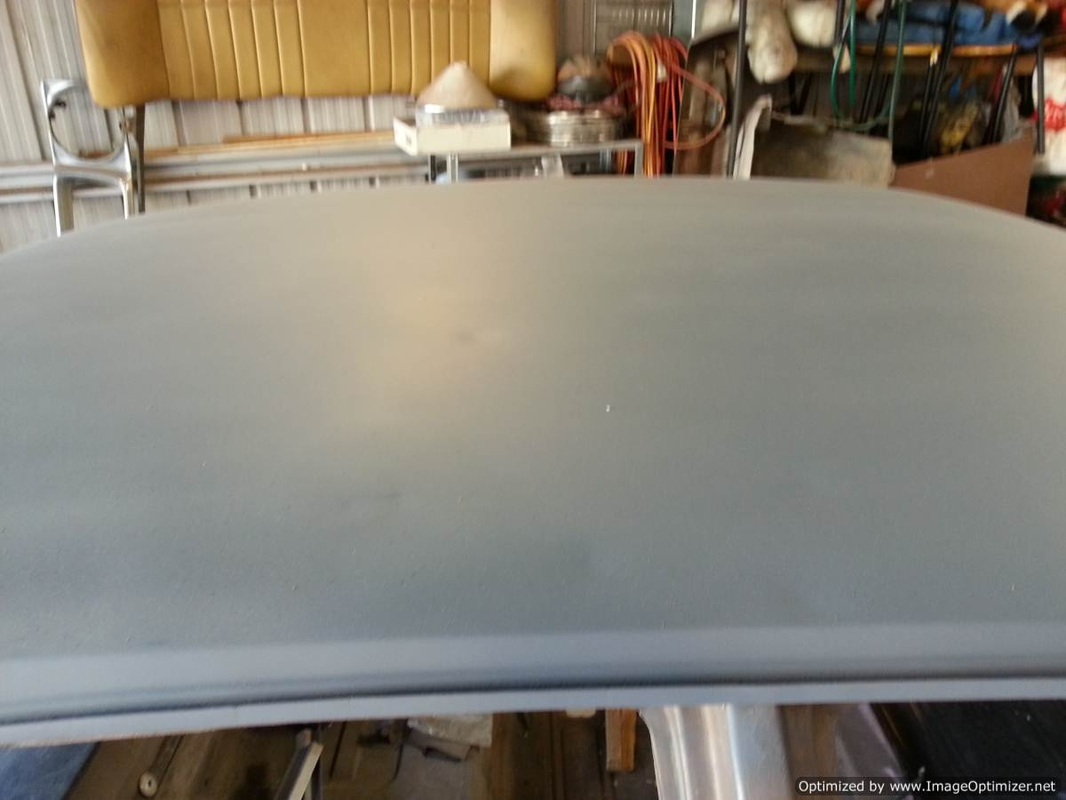
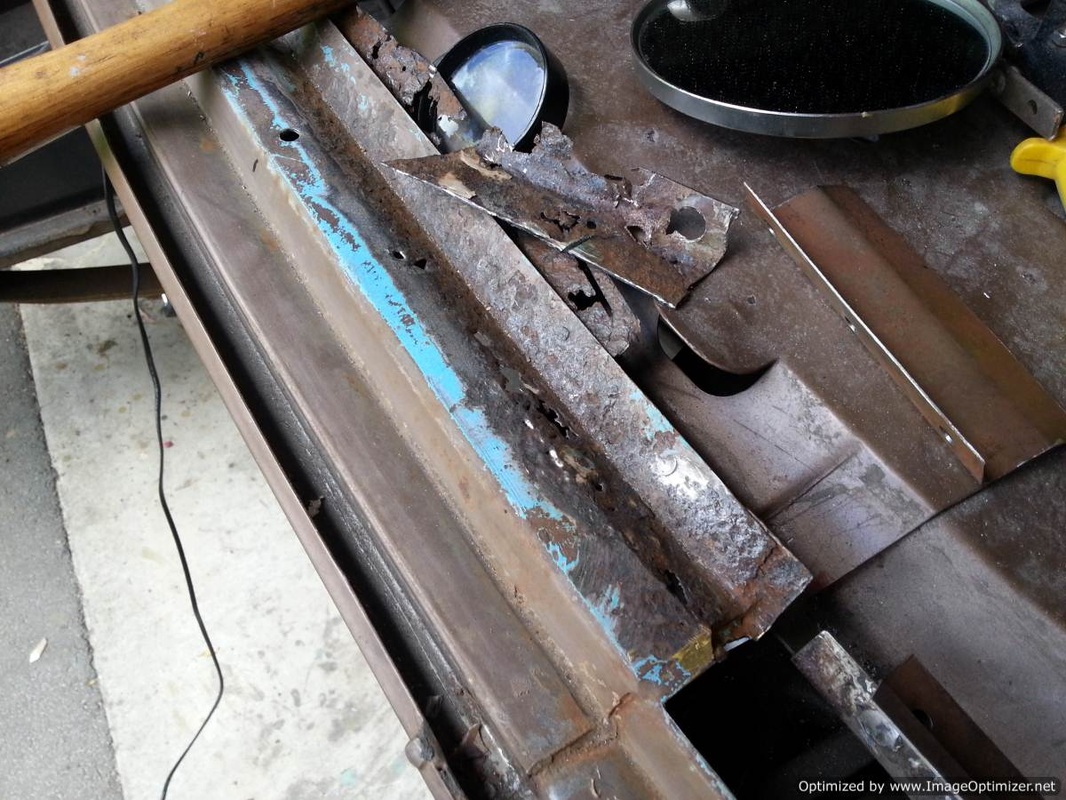
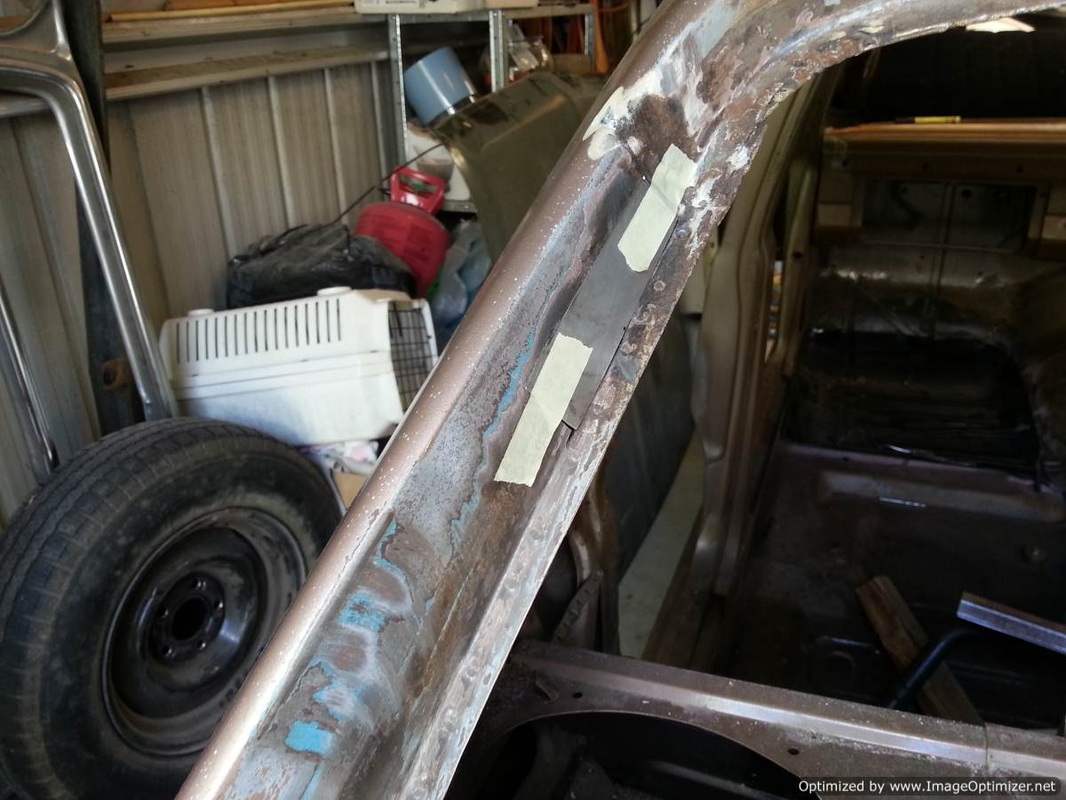
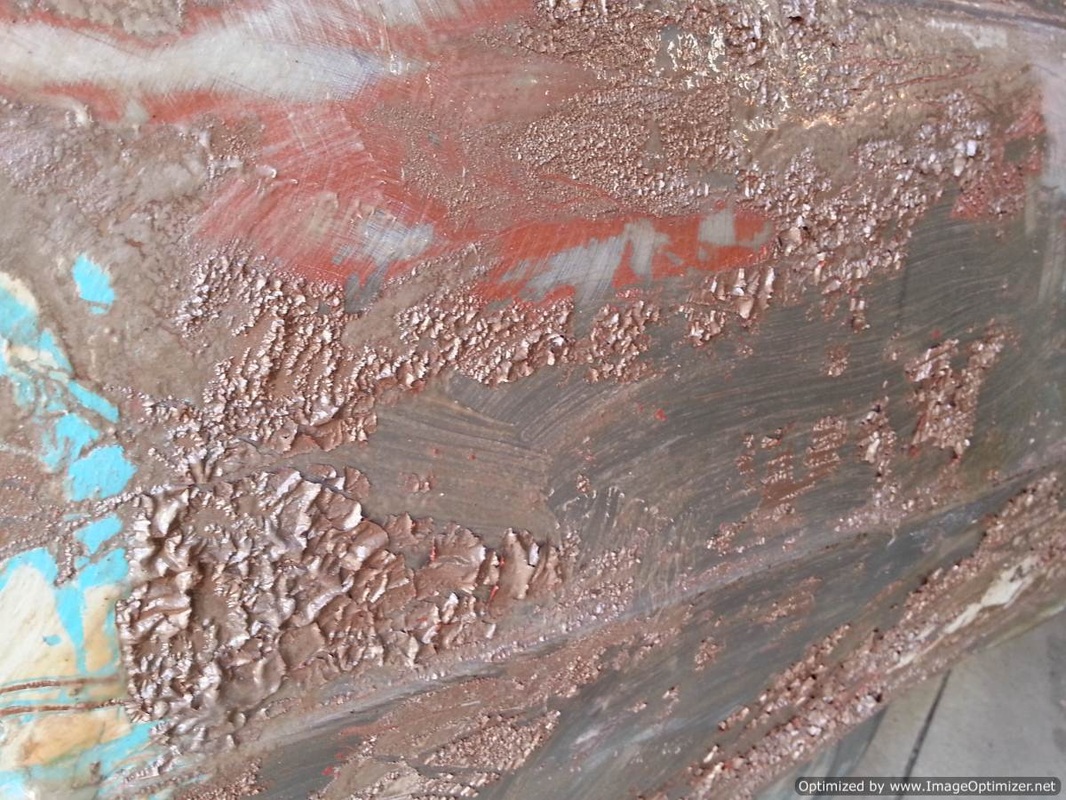
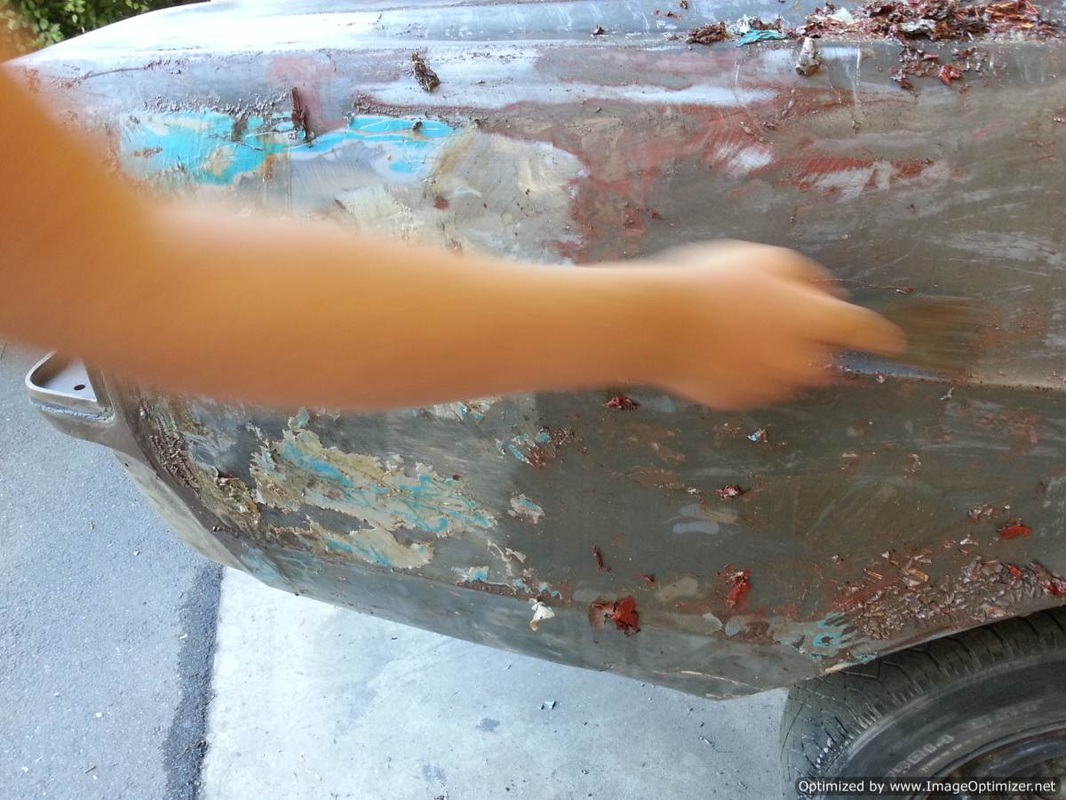
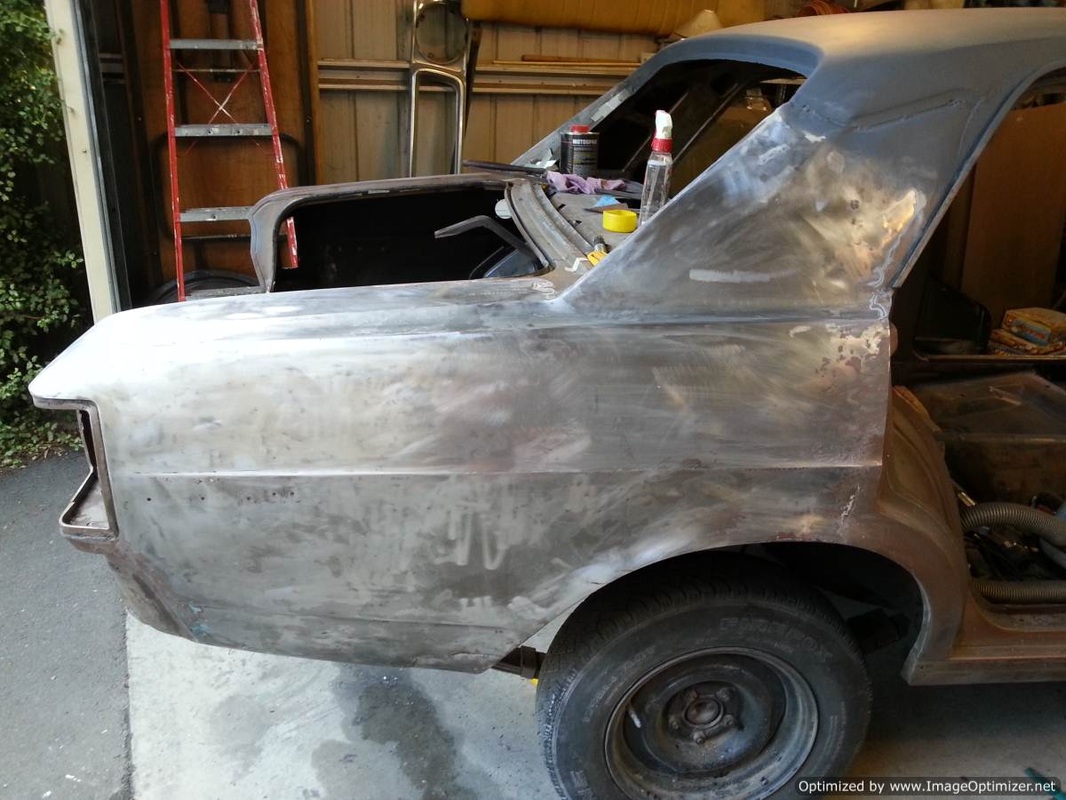
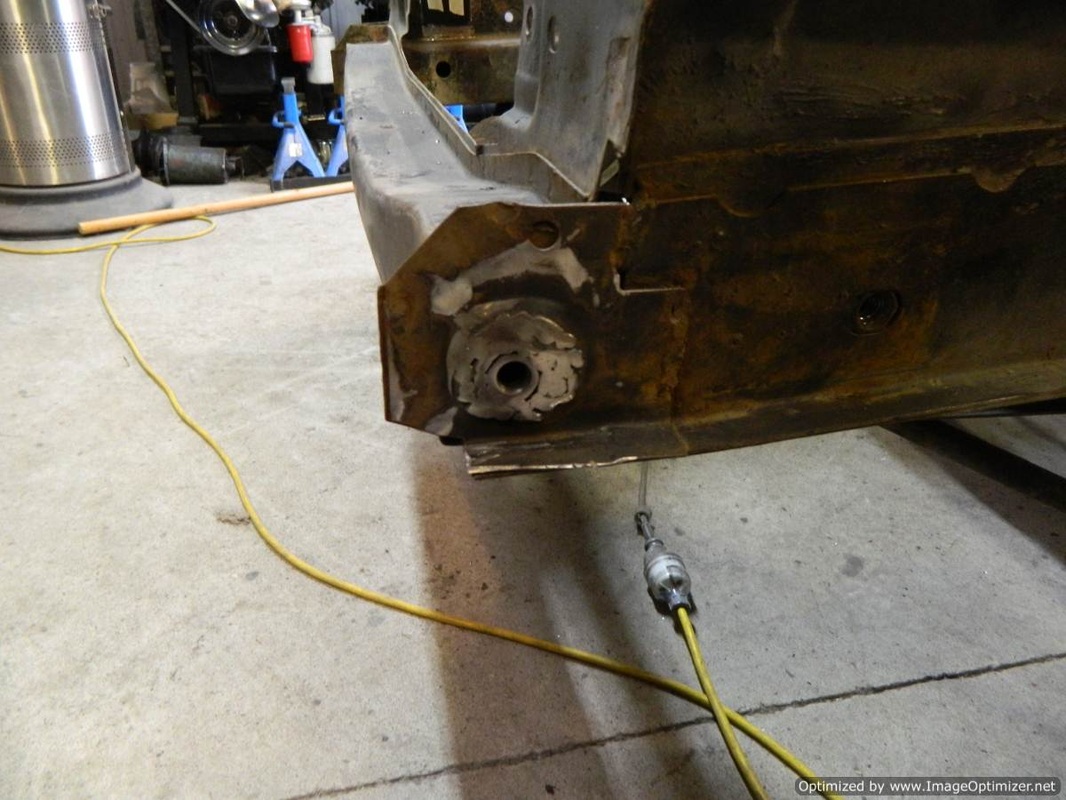
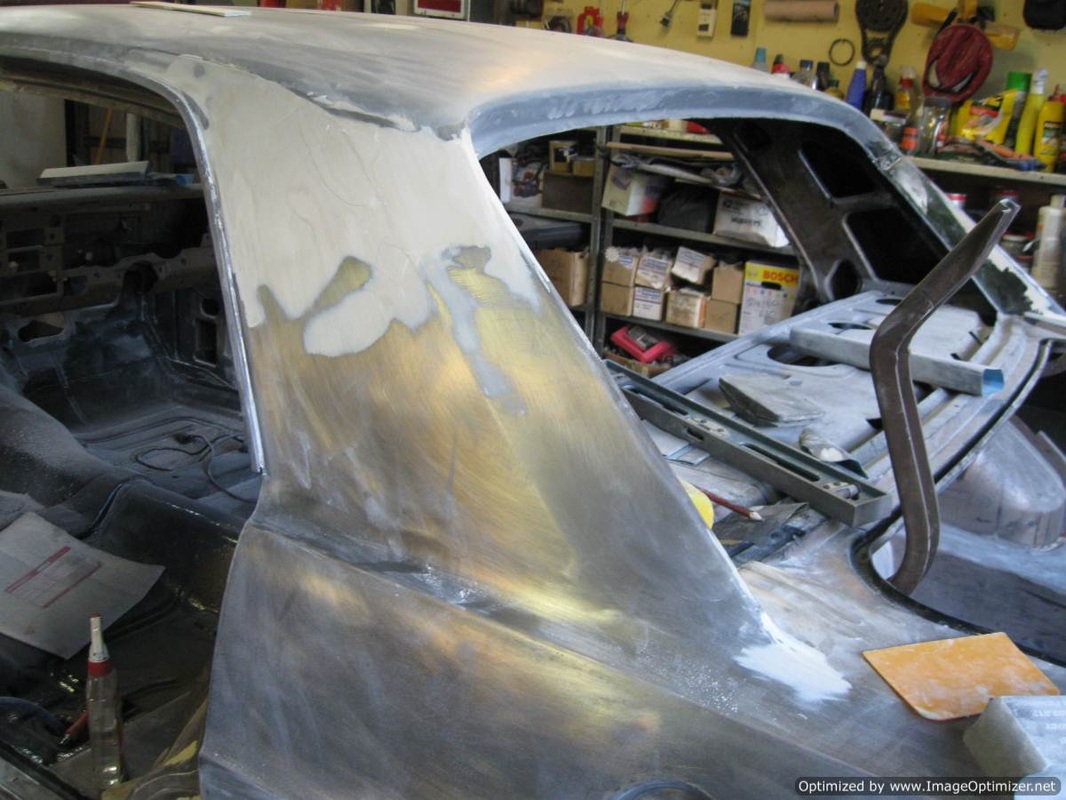
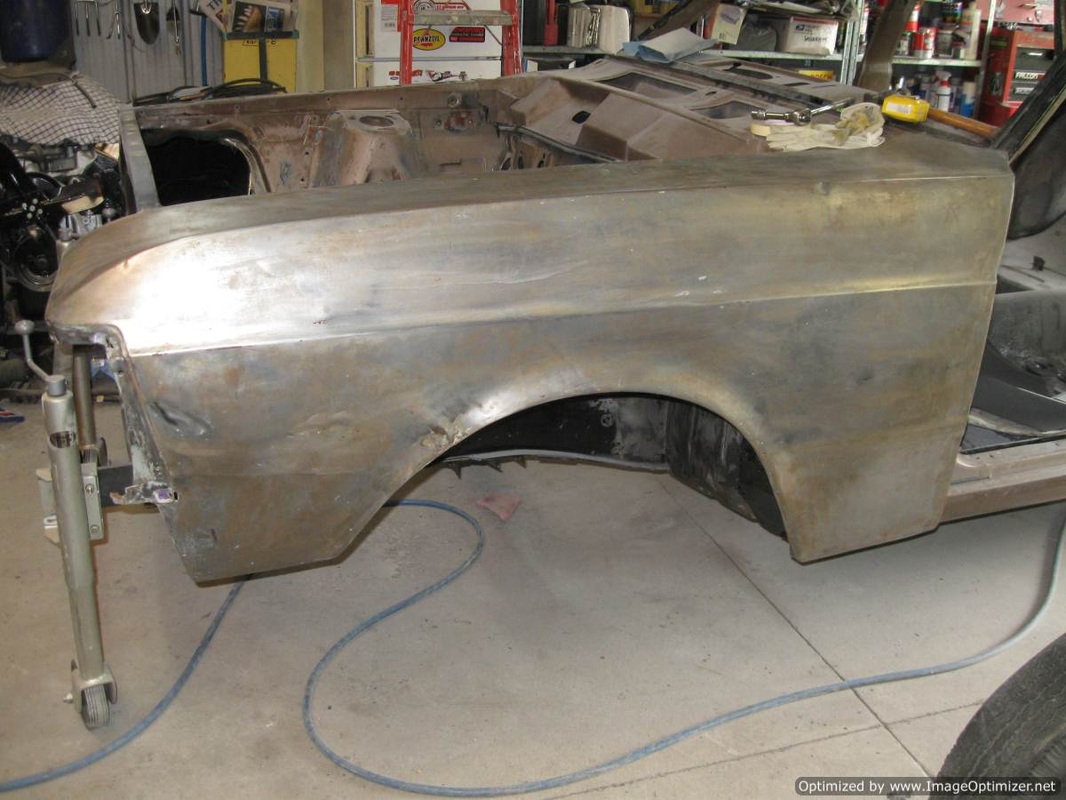
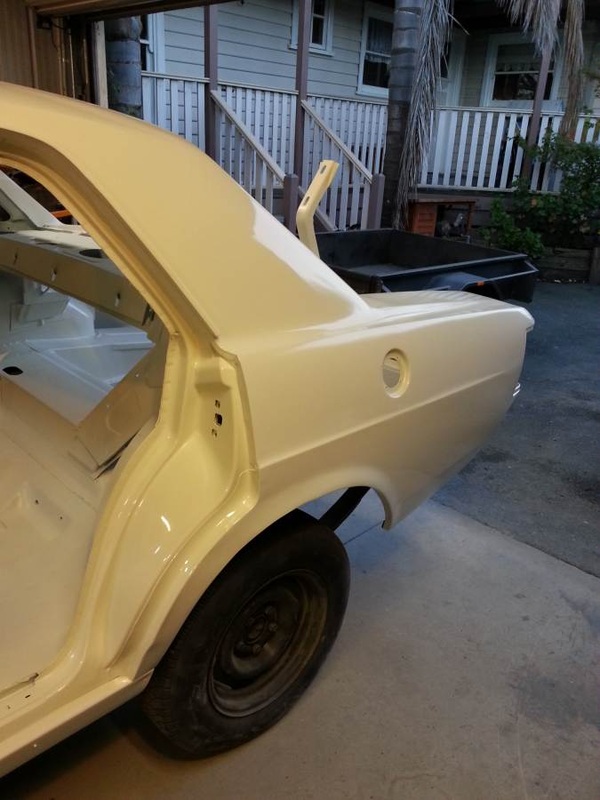
26/1/14: A poo load of work to do yet. Rusted areas have been cut out and patches made to be welded in - there are still some yet to do. The roof took 12 hours to strip - had to do it by hand and remove ALL surface rust. Power tools either put excess heat in to the metal, or just skated over the top of the rust. I threw some etch primer on to seal it until I'm ready to tackle the repairs. The rear guard below took three applications of stripper to remove all of the paint. It looked to have had about four previous paint jobs, all on top of each other. All exterior paint has to be removed as it has "crows footed."
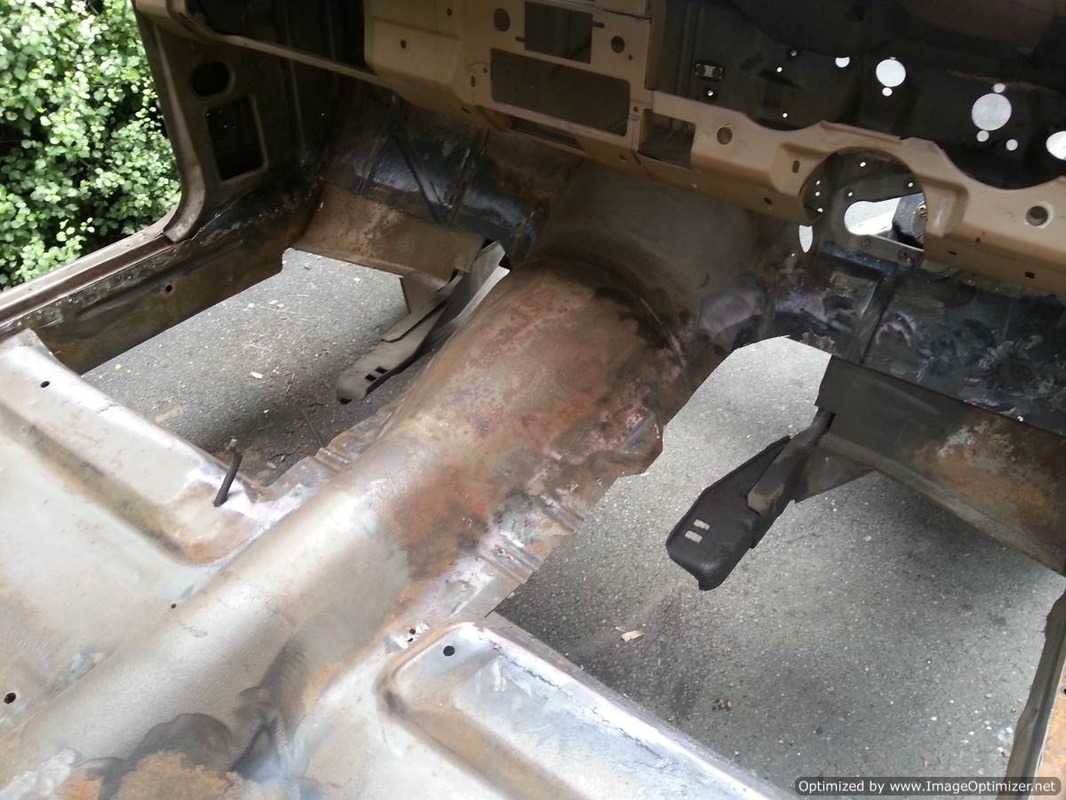
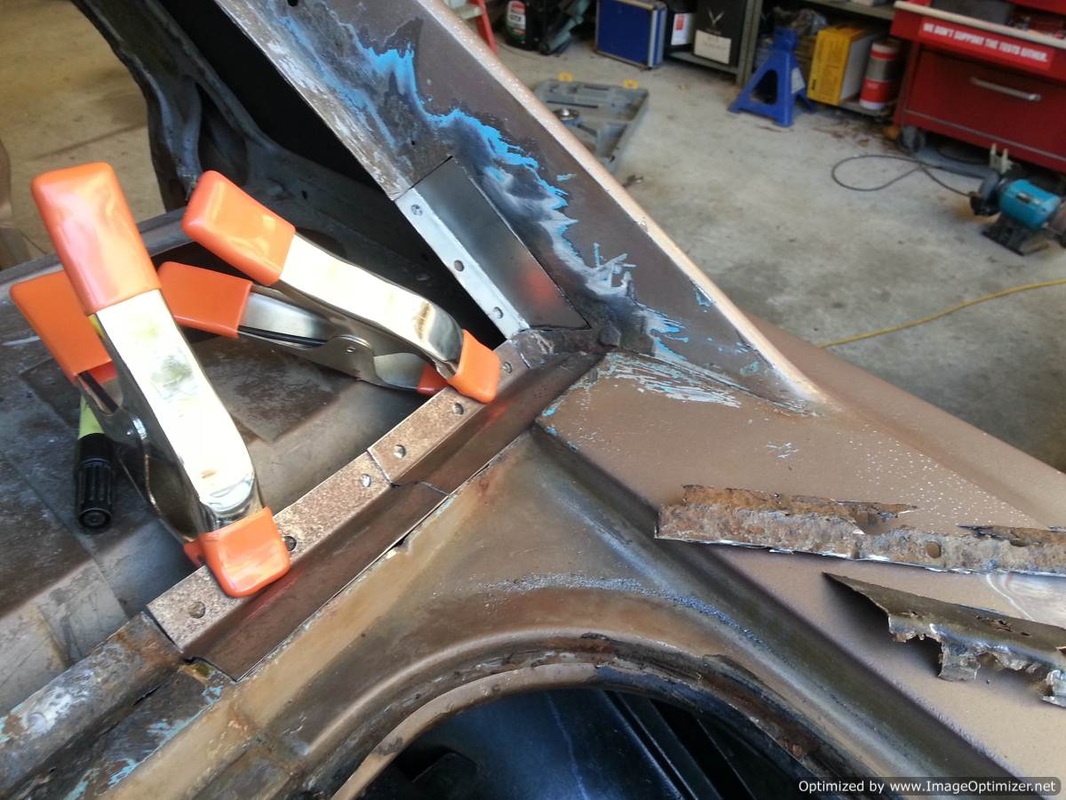
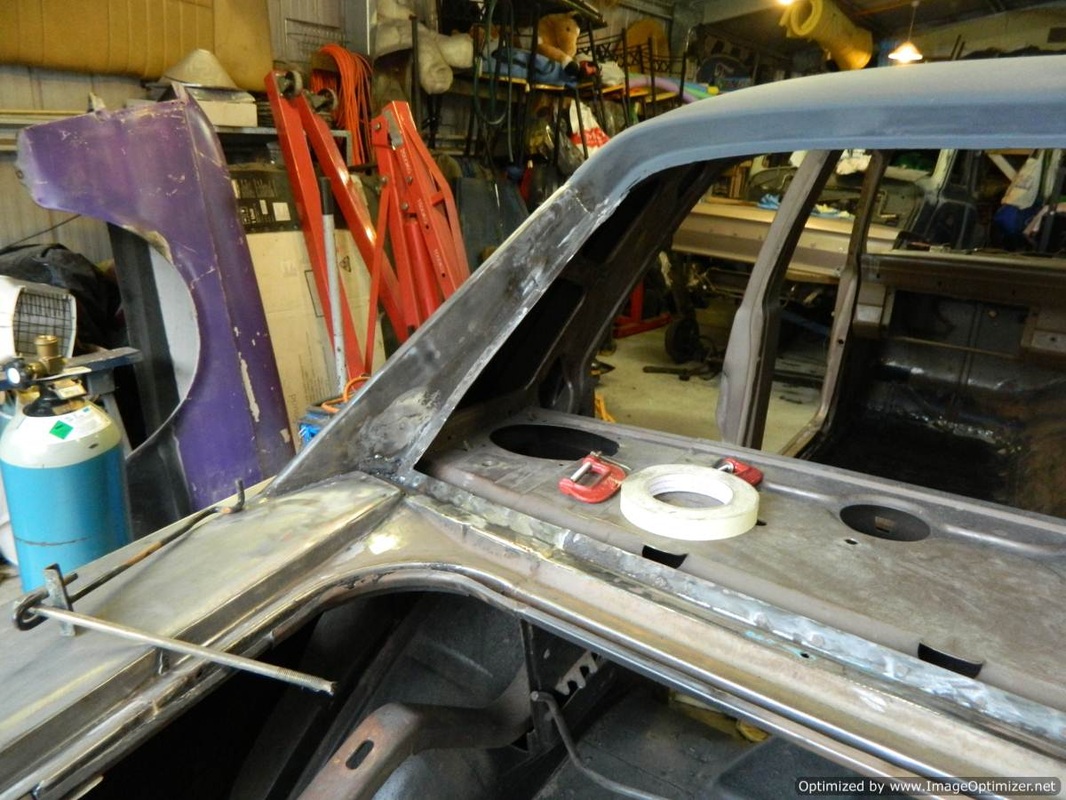
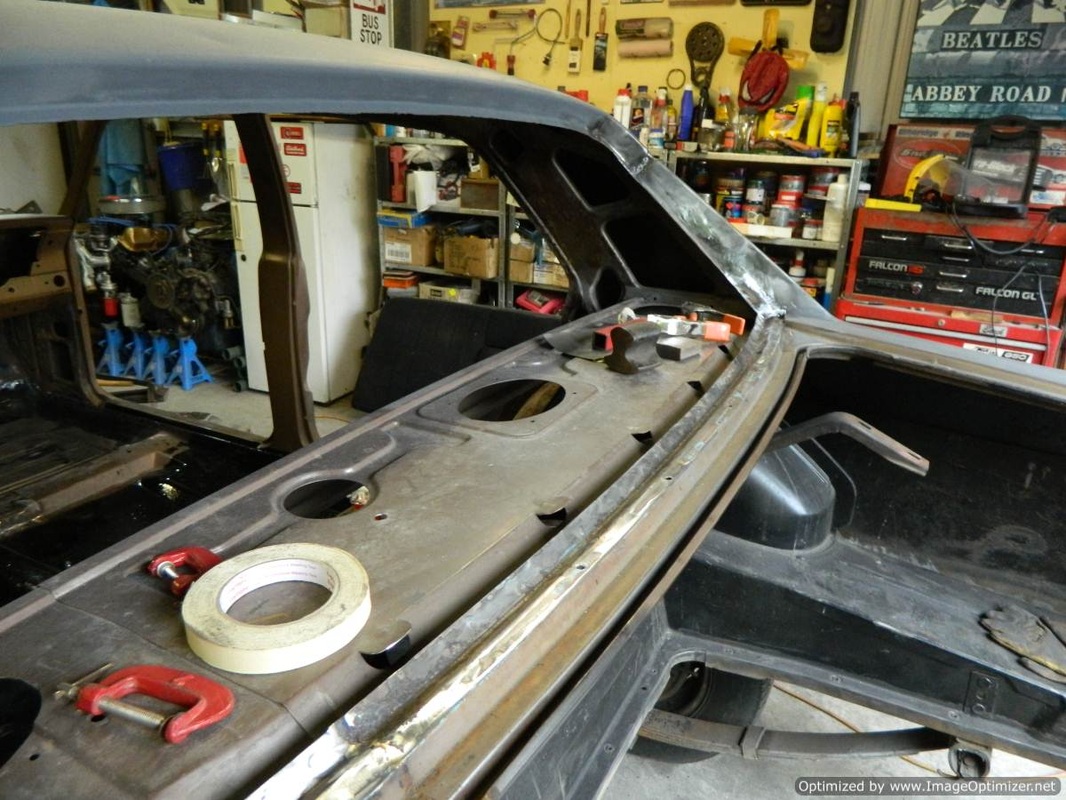
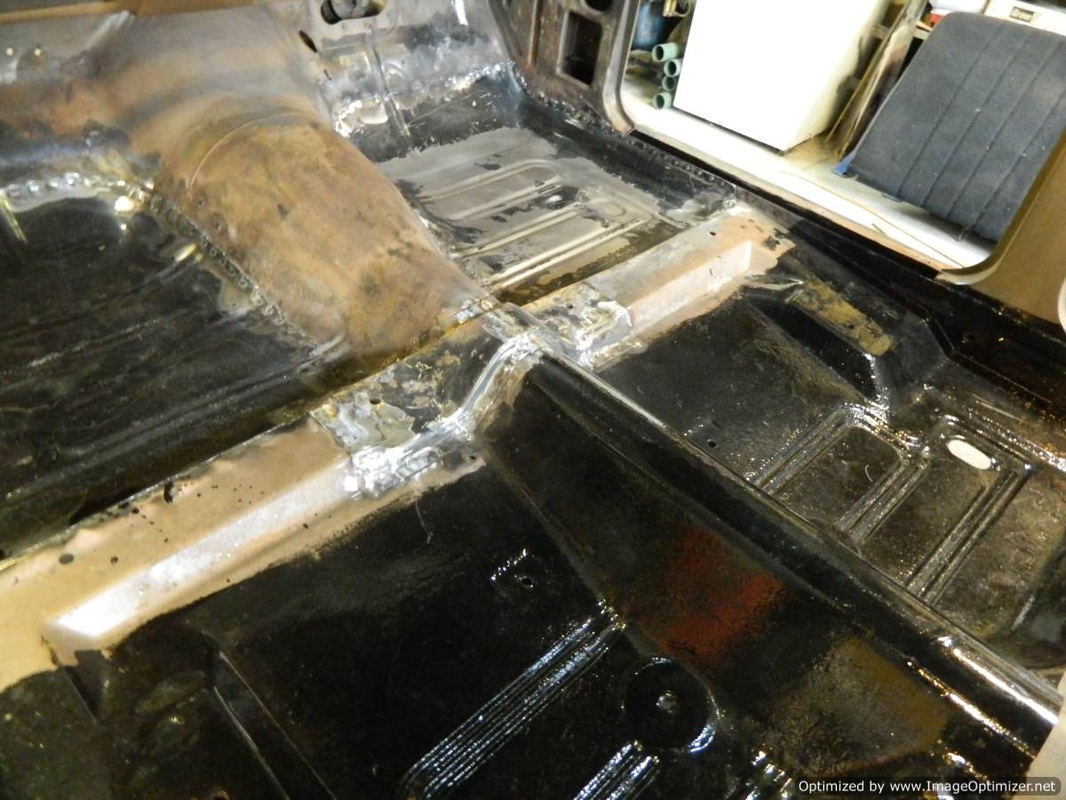
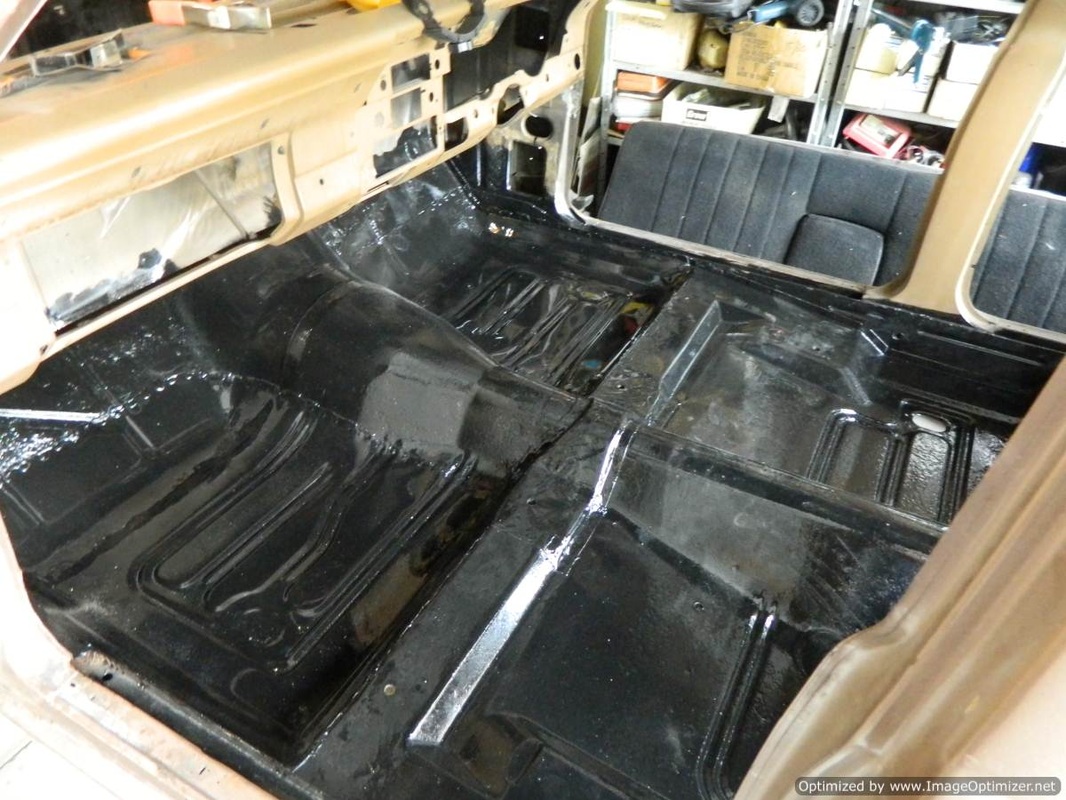
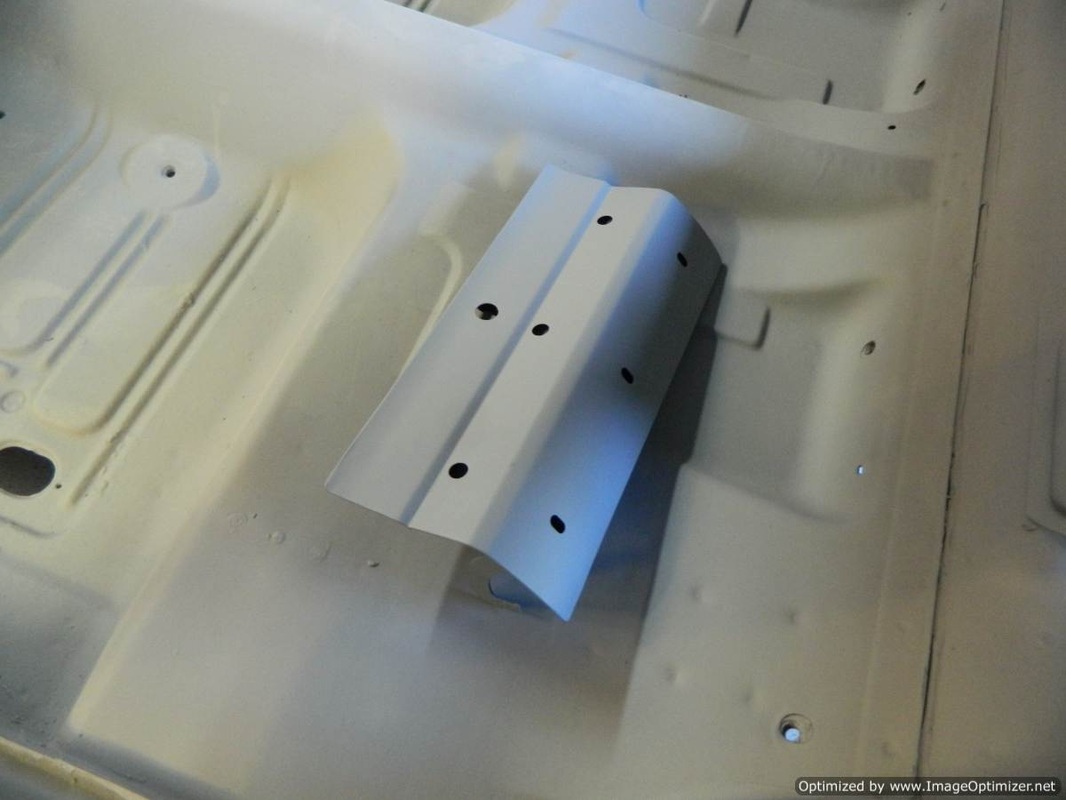
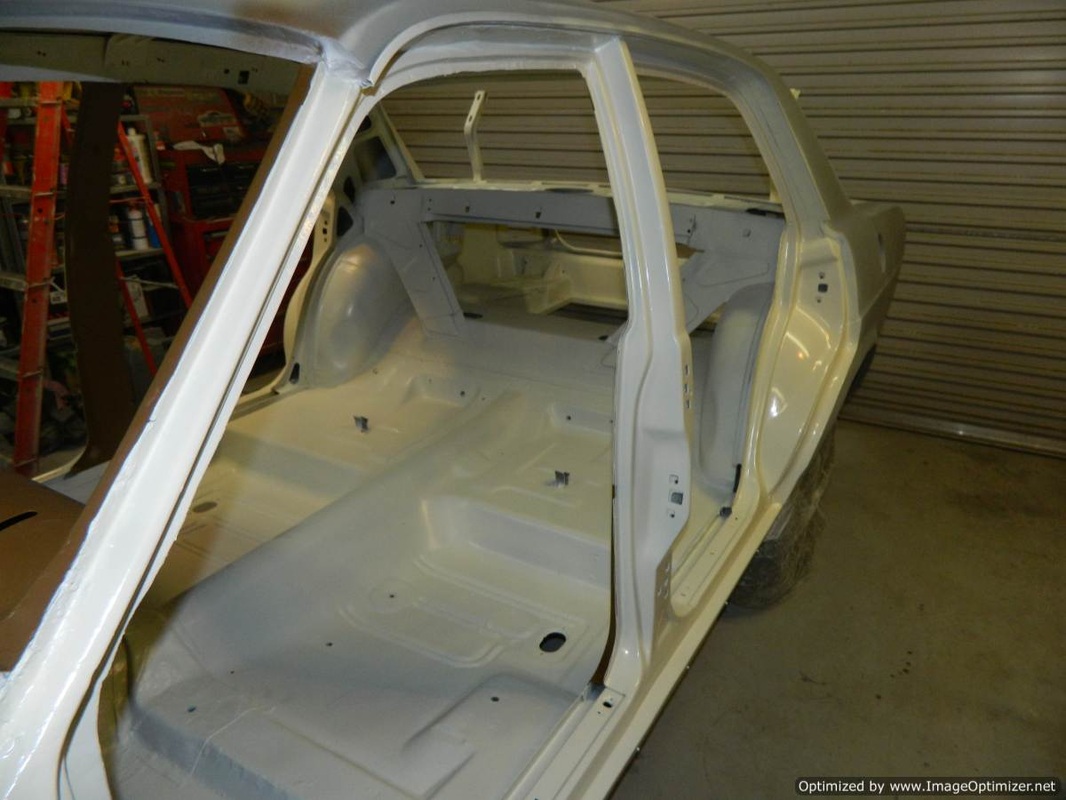
Some of the welding repairs done and a few more before it's finished. The bucket seat brace is in... these are silly money for an original XW or XY one, this is XA - XC and it's been modified to fit. At around $200 cheaper than the original one, I reckon it's the way to go. The black paint on the rear floors is POR15 - the best coating for this type of application and dries as hard as rock. The front floors are in, just need to remove the cheap paint they came with, apply POR15 and seam seal them. The metal work around the rear window is almost done as well.

Only a couple of patches left to do now, a small amount of further cleaning and preparation for paint is upon us... What that means, is that there's still a ton of work to do.

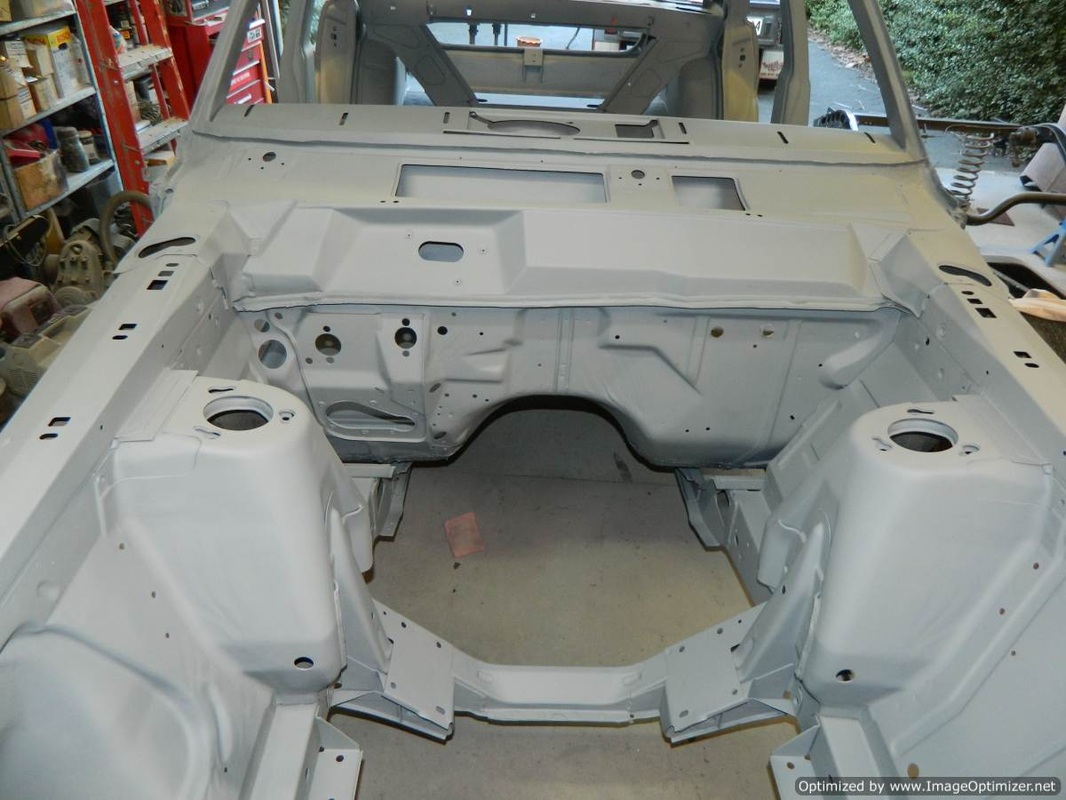
13/3/14: Had a hiccup, in that the floors had to be seam welded to bring the work up to VicRoads code, so removed paint from relevant areas and re-welded areas that needed dealing with. Welding on the shell is almost complete - woo hoo! just a couple of small things left now, been finding small screw holes here and there and dealing with them. Also holes relating to six cylinder only applications... throttle linkage brackets, kick-down brackets etc. Also given the car an entire pressure wash all over; engine bay, cabin area, boot etc. and started preparing the engine bay and cabin area to be etch primed. It feels like we're moving along nicely now... Thanks to Michael for all of his wonderful assistance!
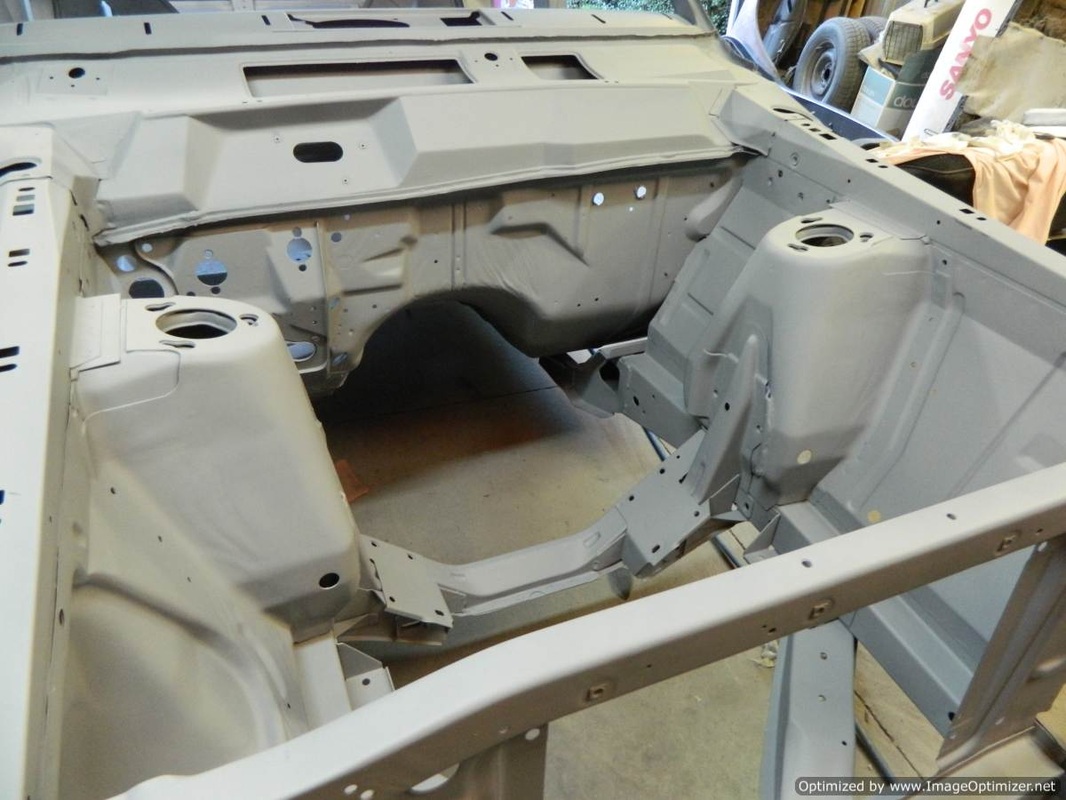
10/4/14: With all the metal work completed, I've been doing the body work. Hours and hours of work later, I should be almost at the end of it for the shell, but there's plenty more wherever I look, I quickly shot some etch primer in the engine bay, etch is necessary for bare metal areas, although not all of this area was bare metal, I thought it may be a good foundation for upcoming coats. Still, all good and shouldn't be too long before the whole shell is at least one colour...
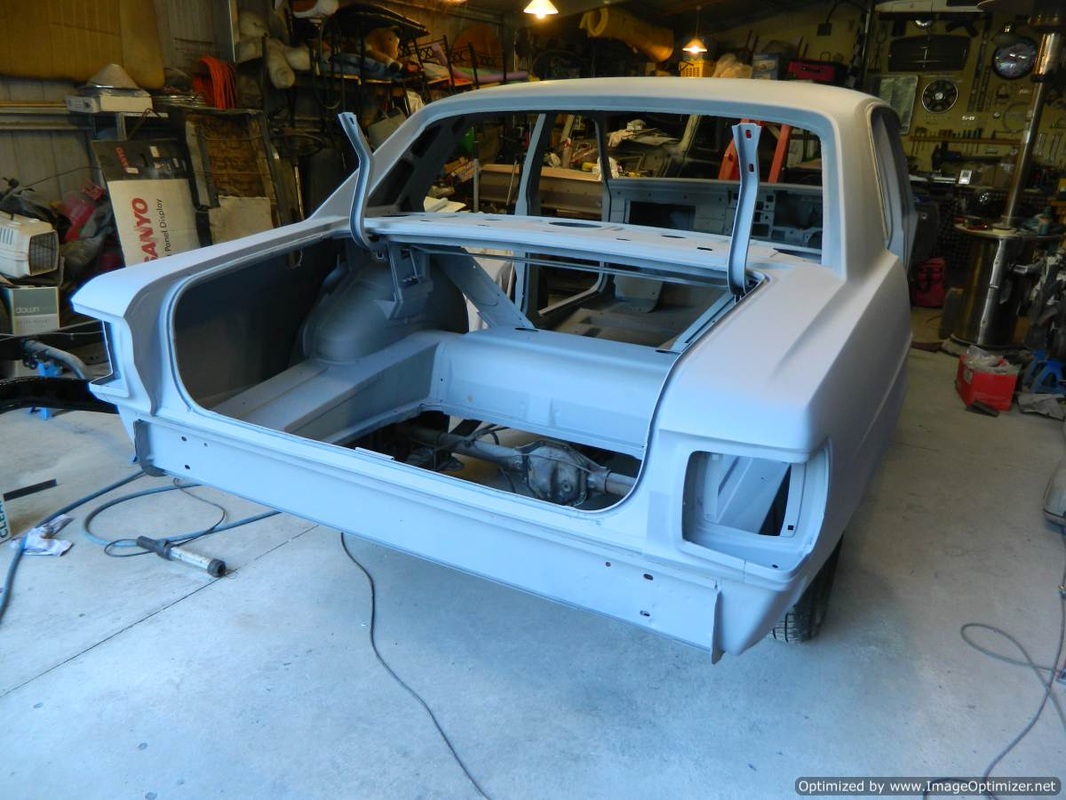
14/4/14: The car is now completely primed... there is still lots of blocking back to do on the roof and rear quarters.

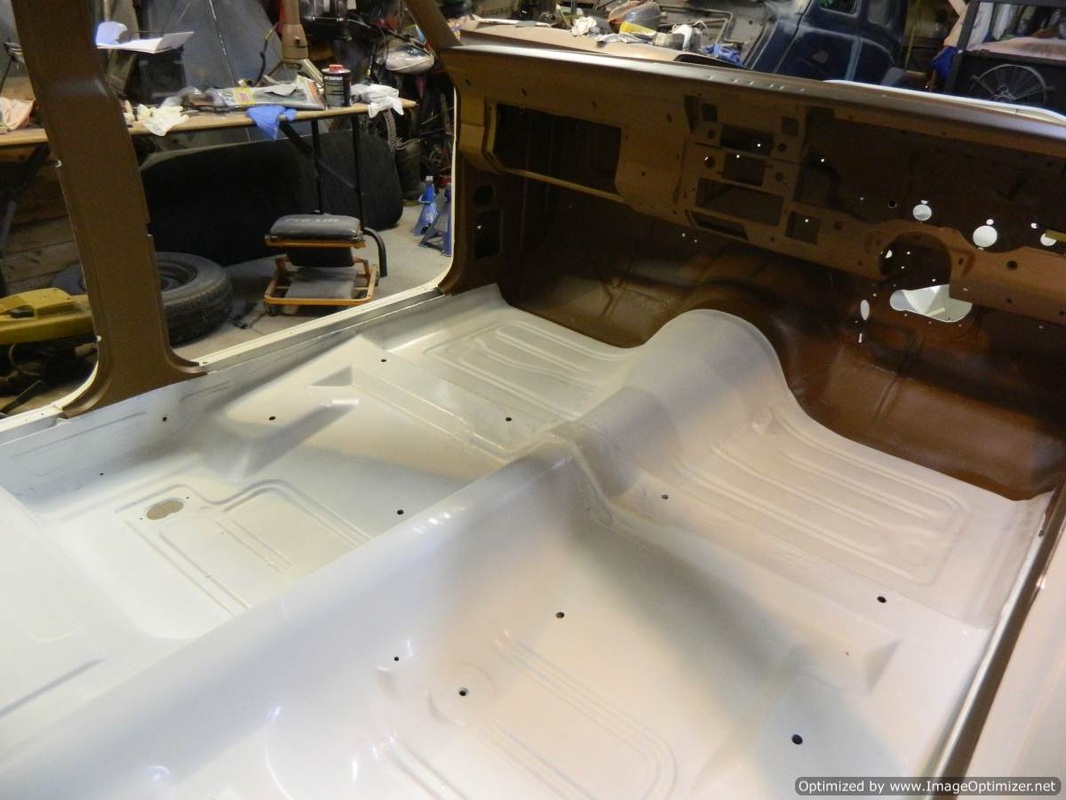
16/4/14: Slowly taking shape... Because I opted for an XY interior, I had to change the colour to XY Saddle - The old dash needed painting anyway and I reckon this will look nicer. I decided to make a start on the interior of the boot as well.
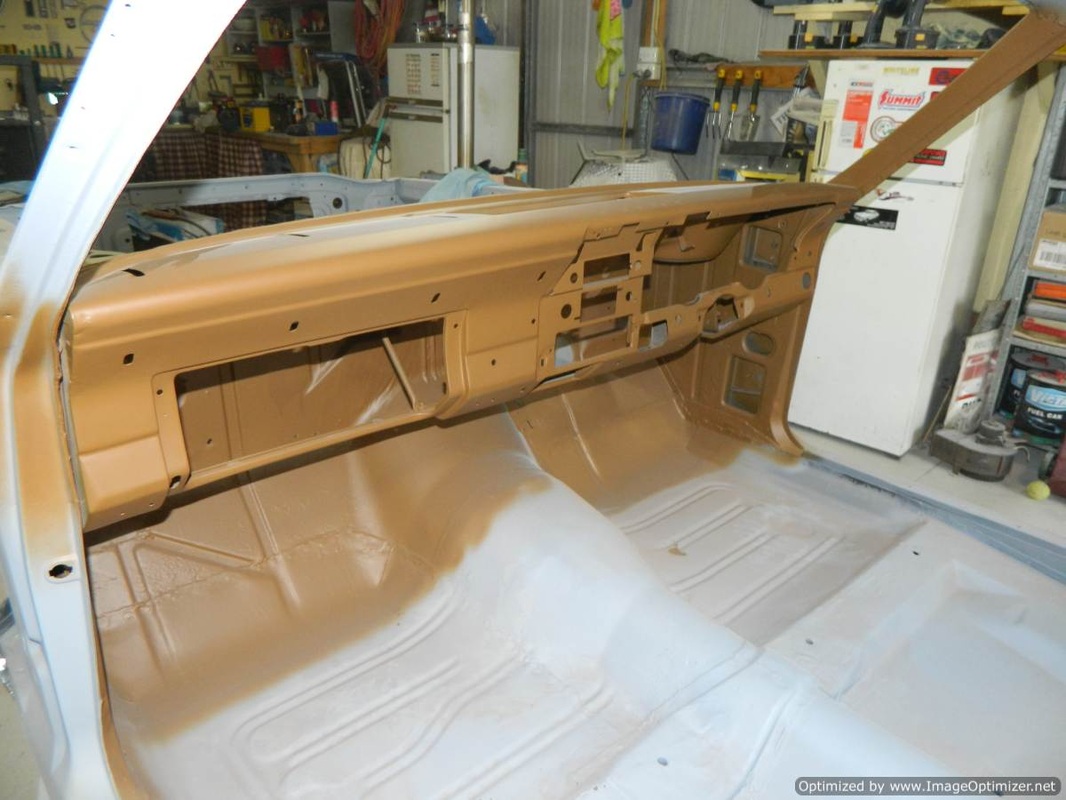
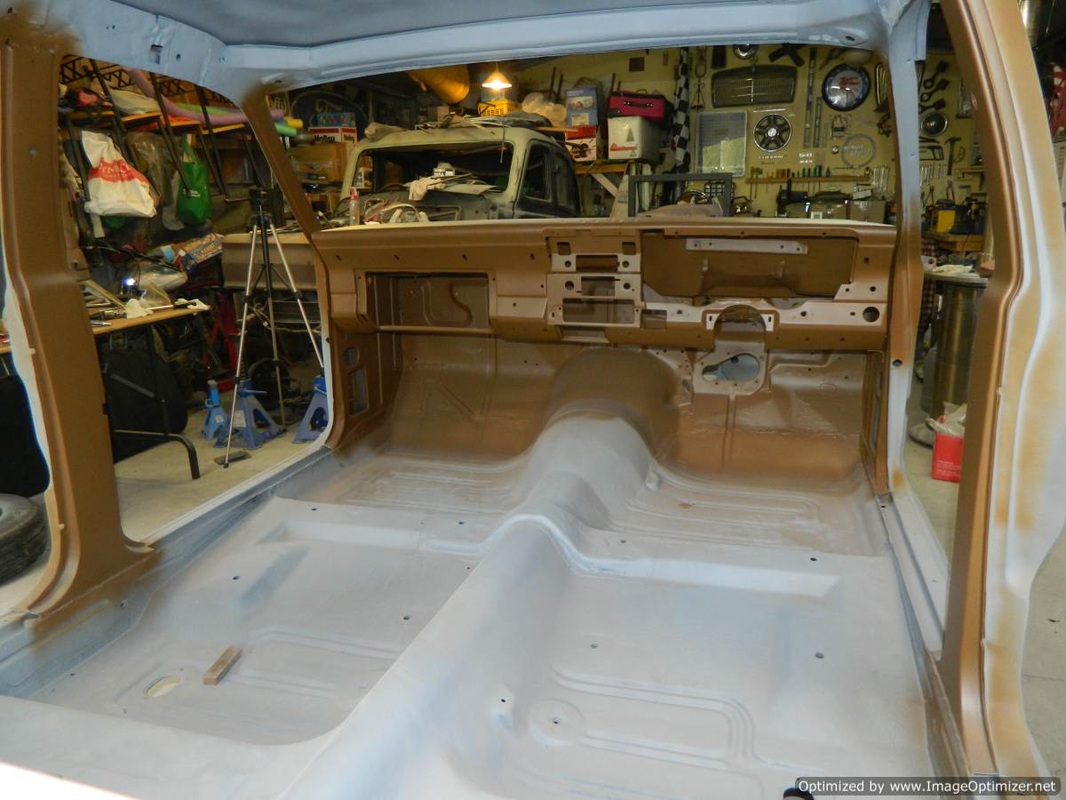
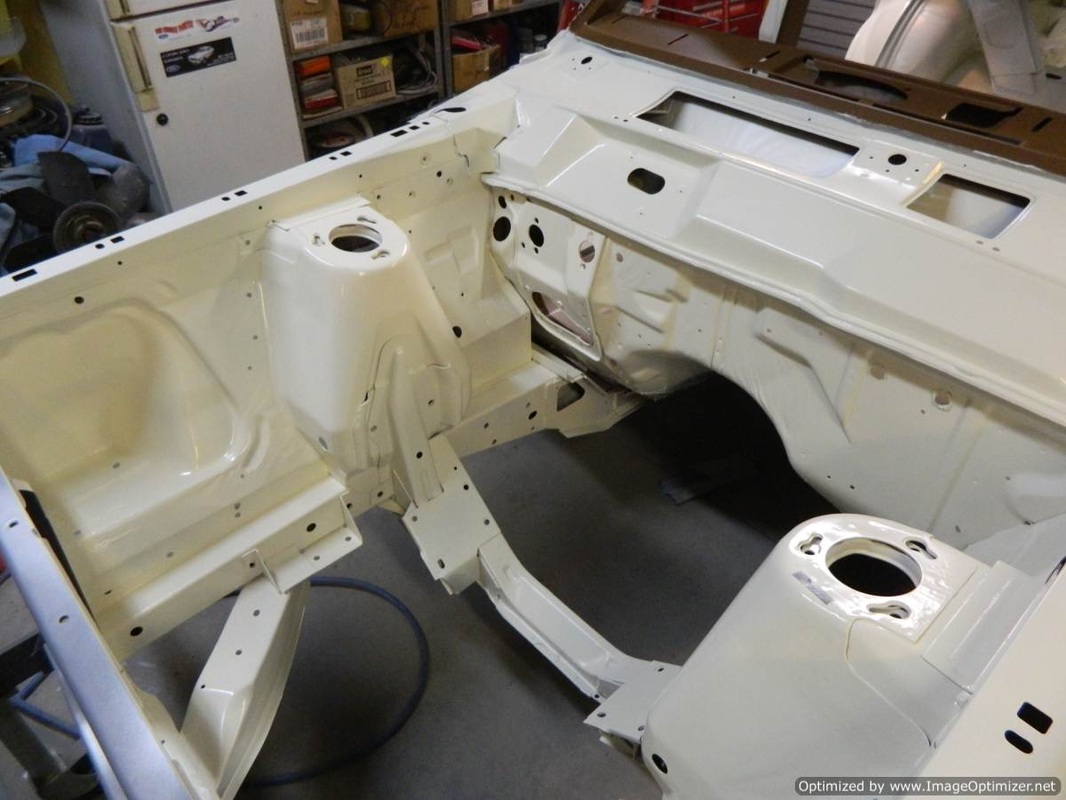
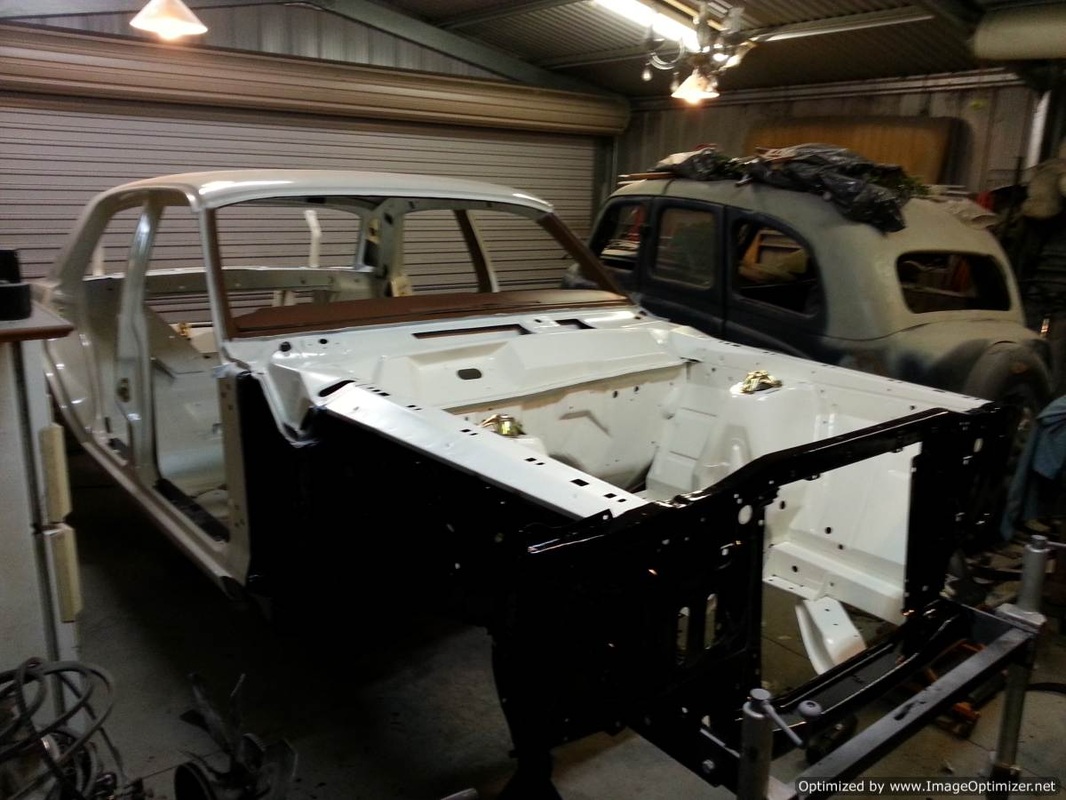
17/4/14: Painted in the boot, engine bay and jambs I also painted the interior sheet metal with some left over paint I had... the colour is slightly off, which doesn't matter at all because it will all be covered. I'm yet to tackle the roof and rear quarters.
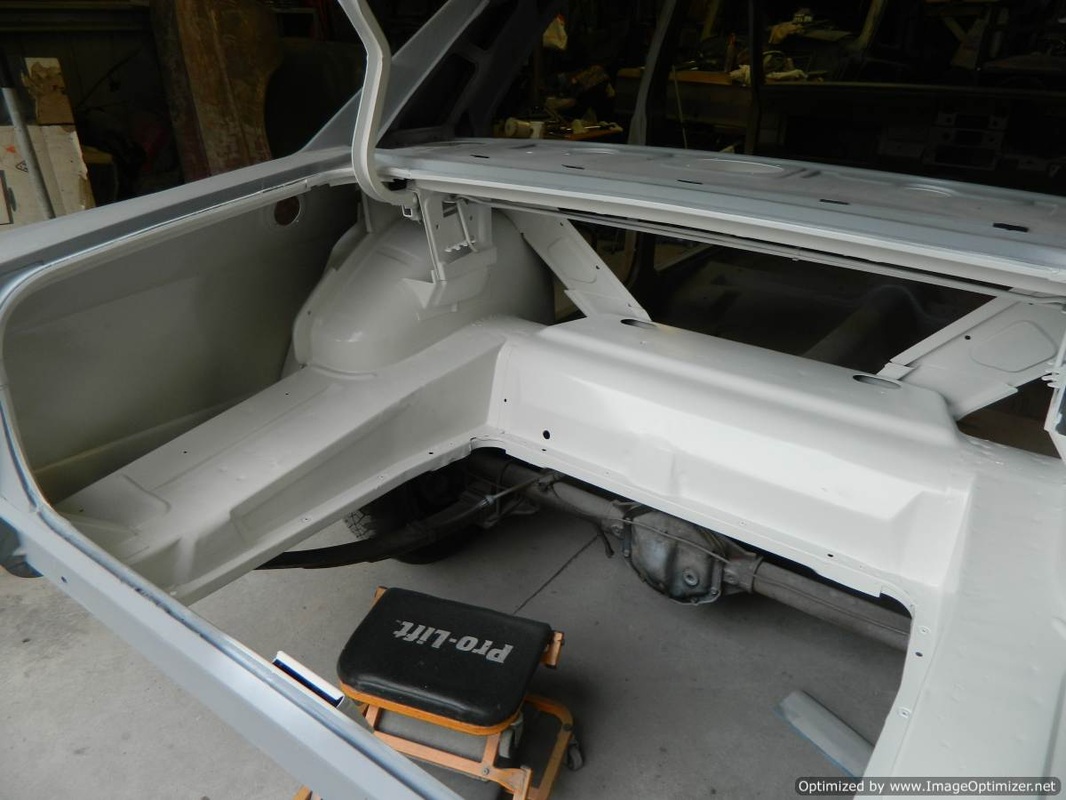
18/4/14: Finally got the shell painted... I'm going to take a break and let the solvents evaporate so the paint will harden. After that, it can be colour sanded to remove all the orange peel, then buffed to a high sheen level. In the mean time, there is more POR 15 to apply to the front suspension areas and to the boot wells.
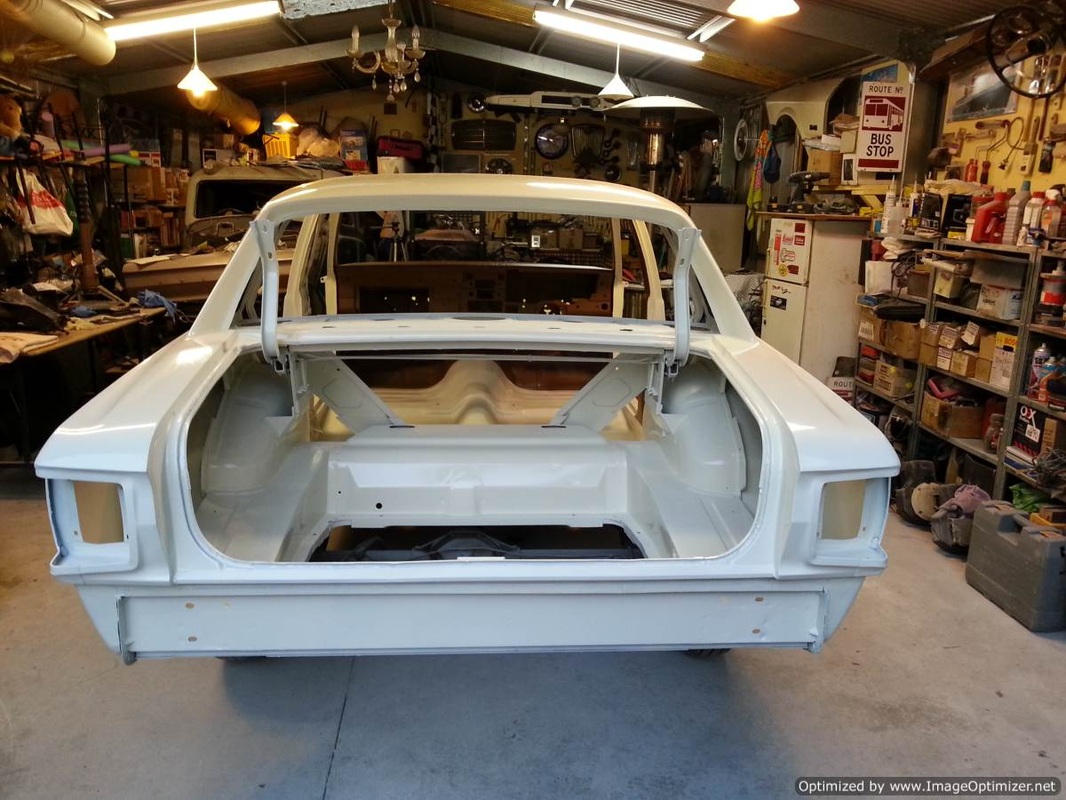
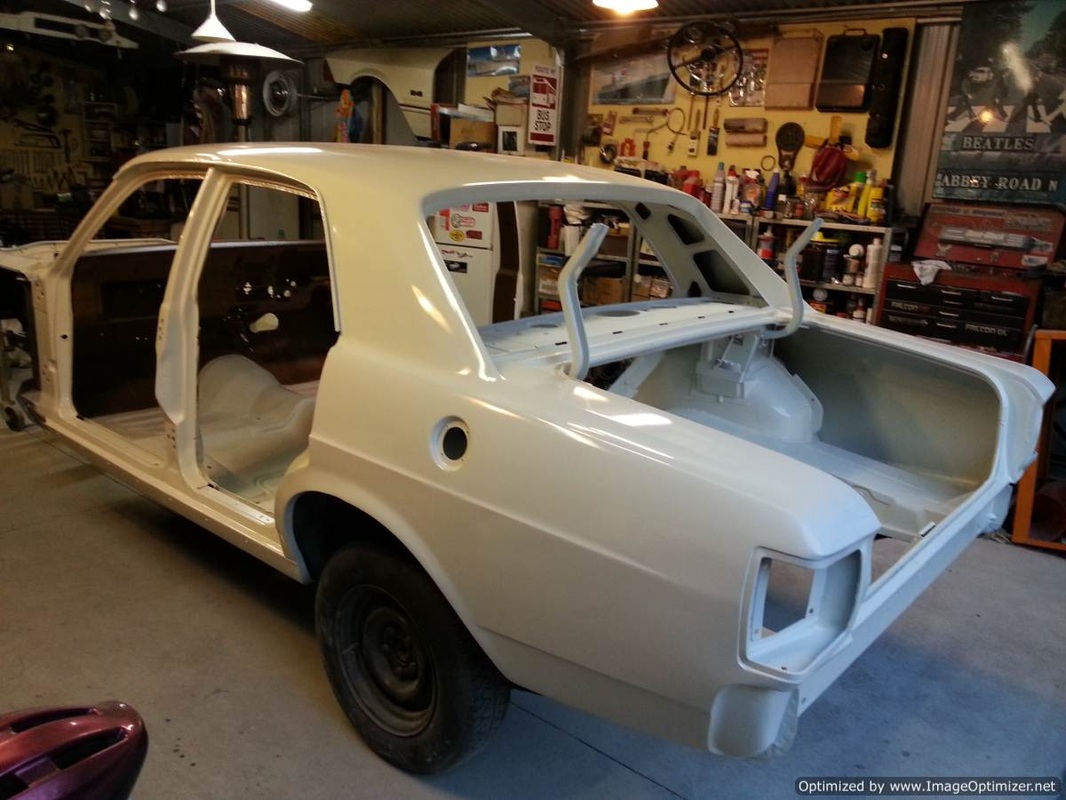

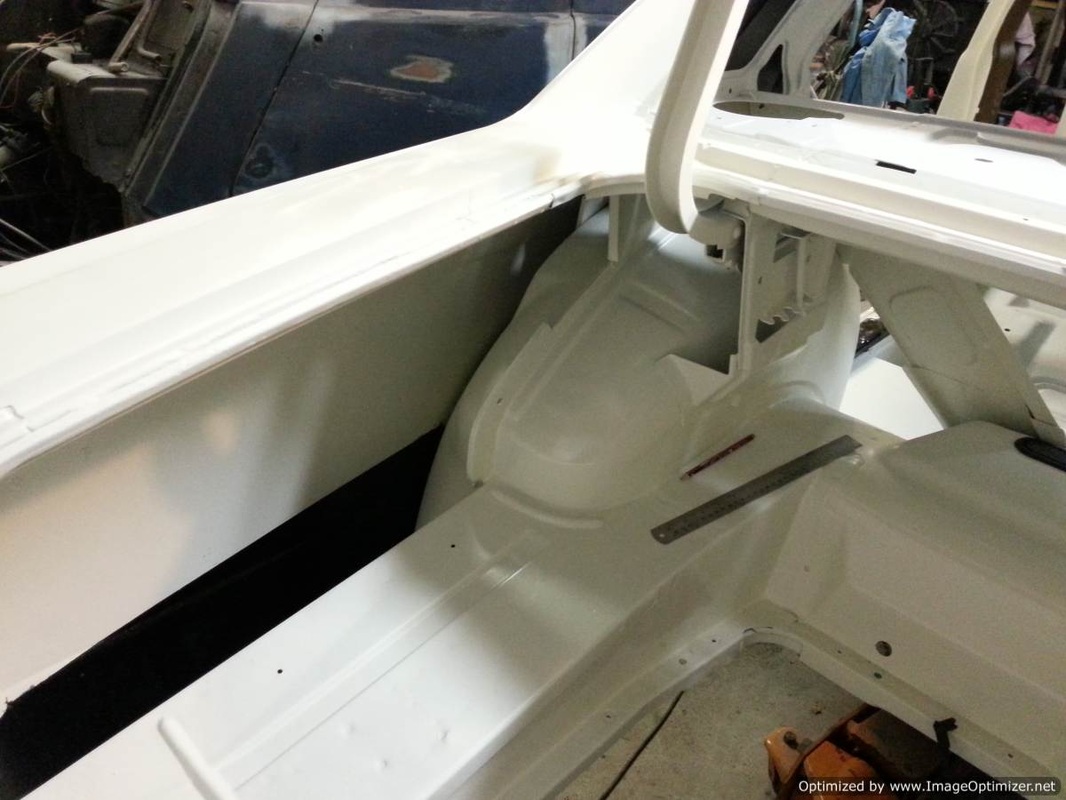
Aside from colour sanding and buffing, this shell is finally finished...
Some very minor POR 15 generated touch-ups in the bottom two pictures, but otherwise a pleasing result.
Well, that's about it for this page... we've gone from driving the car home, to having the shell ready for re-assembly. The following chapters of progress on the car will be documented on the next page. Under the "Ford" tab above, click on "1969 XW Falcon Part 2: Re-assembling the Car."
