As we have proven with the XW restoration, it isn't possible to fit all work carried out on one page without the necessity for endless scrolling to get to current works in progress. So, on this page, we will document the reassembly of our Fairmont GXL, detailing all necessary work in the process. There may even be enough material for a third page, but we'll cross that bridge when we come to it. Whatever the case, I hope you're enjoying the restoration of our latest Australian classic...
27th May 2016: Well, "nice and easy does it" seems to be the order of the day at this point. Work and home life are super busy at present, so progress is a little slow. Still, I've managed to get hold of a pretty much flawless GS/GXL bonnet and a pretty good dual exhaust rear bumper, so I'm happy. These two parts are becoming very difficult to find indeed, but they've now been consigned to yesterday's worries. A few dash wiring issues had manifested themselves, because of the printed circuit on the rear of the cluster contacting the dash frame, but that's sorted as well. Neill Bryce from New Zealand has kindly offered to donate a new printed circuit, which is indicative of his wonderful generosity. So, although slow progress prevails, this restoration is still moving along quite well.
10th September 2016: Again, a "nice and easy does it" approach has taken hold. Not a great deal to discuss where the cars' concerned, but plenty of family and house action both at this end and at my mothers. I've had a clearance issue with the engine which I need to take back to the machine shop, so engine building work has been stalled. Another issue that has reared its head is the "junkyard" 302 block I have been preparing for rebuild for the XD Falcon. A few cracks have shown up on one of the decks, which isn't uncommon, but I don't want to use it. I've found another crack free block that I will use instead... so I have two 351 Clevelands that have both been bored .020 to match their respective sets of hypereutectic pistons. Two engines being completely rebuilt... crazy, stupid or both... not sure.
There is one exciting thing that happened today though... Jason dropped in with fabric samples for the seats. Macro suede that matches the original Dusk vinyl beautifully!
There is one exciting thing that happened today though... Jason dropped in with fabric samples for the seats. Macro suede that matches the original Dusk vinyl beautifully!
Rebuilding the 351 Cleveland
26th October 2016: We're now up to the engine building stage and so far have the short motor pretty much completed. Listed below is the series of video links, which begins with a little history of the engine and follows it through the rebuild process.
|
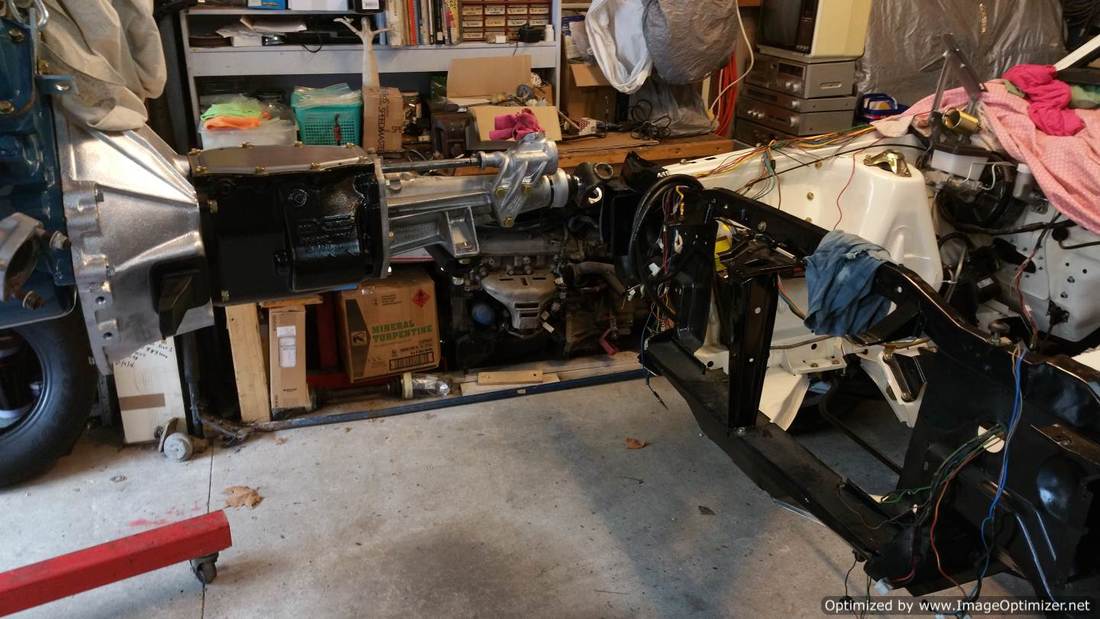
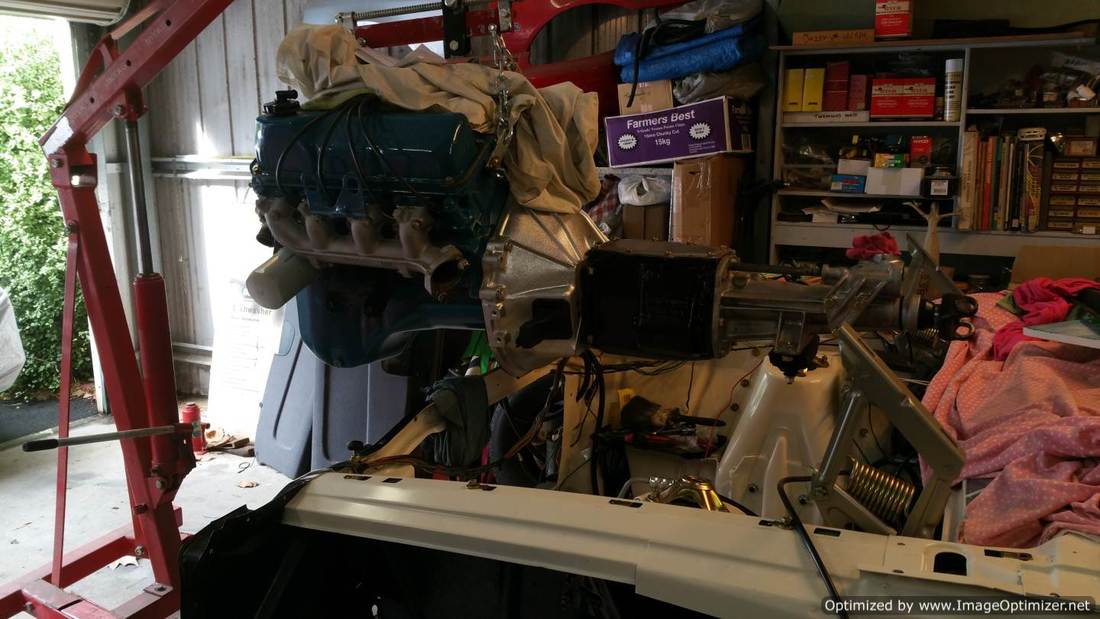
Well, we're finished building our engine for the XC Fairmont restoration... once we collect a clutch fork and flywheel, it can be installed in the car. In this chapter, we finalise work on the engine running stand and break in the camshaft... The engine speed was varied, but I only filmed a portion of it.
|
|
There will be two videos on the Thermoquad carburettor, where we will take a look at a couple of very poor examples and have them professionally cleaned. From there, we assess what we have and assemble what we hope to be a great running carburettor. Apologies if this video is a little disjointed as it's been put together at different times using excerpts from different videos.
|
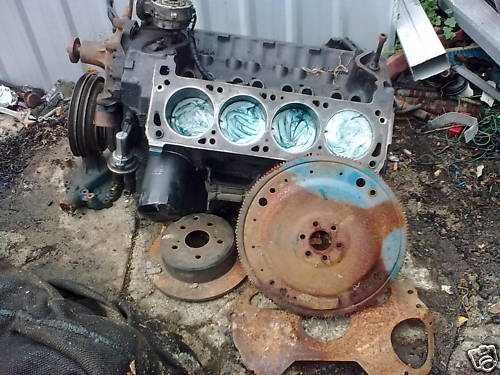
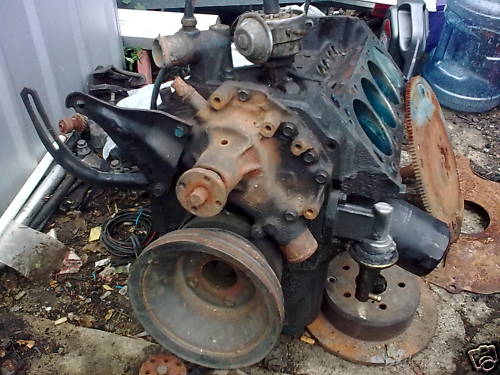
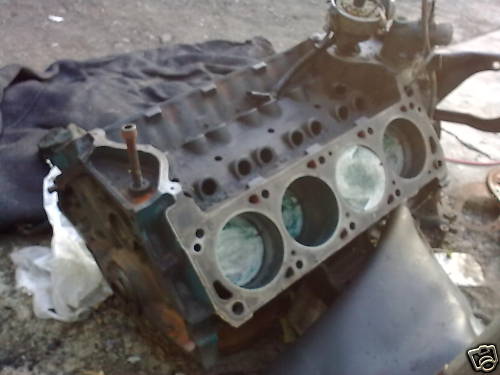
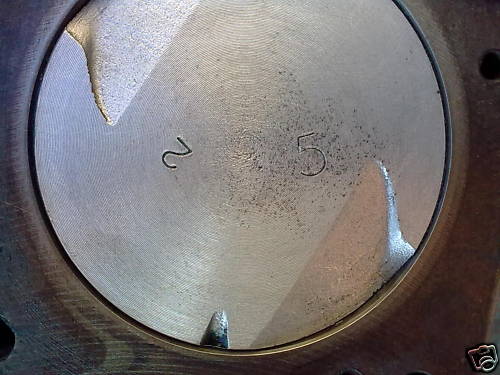
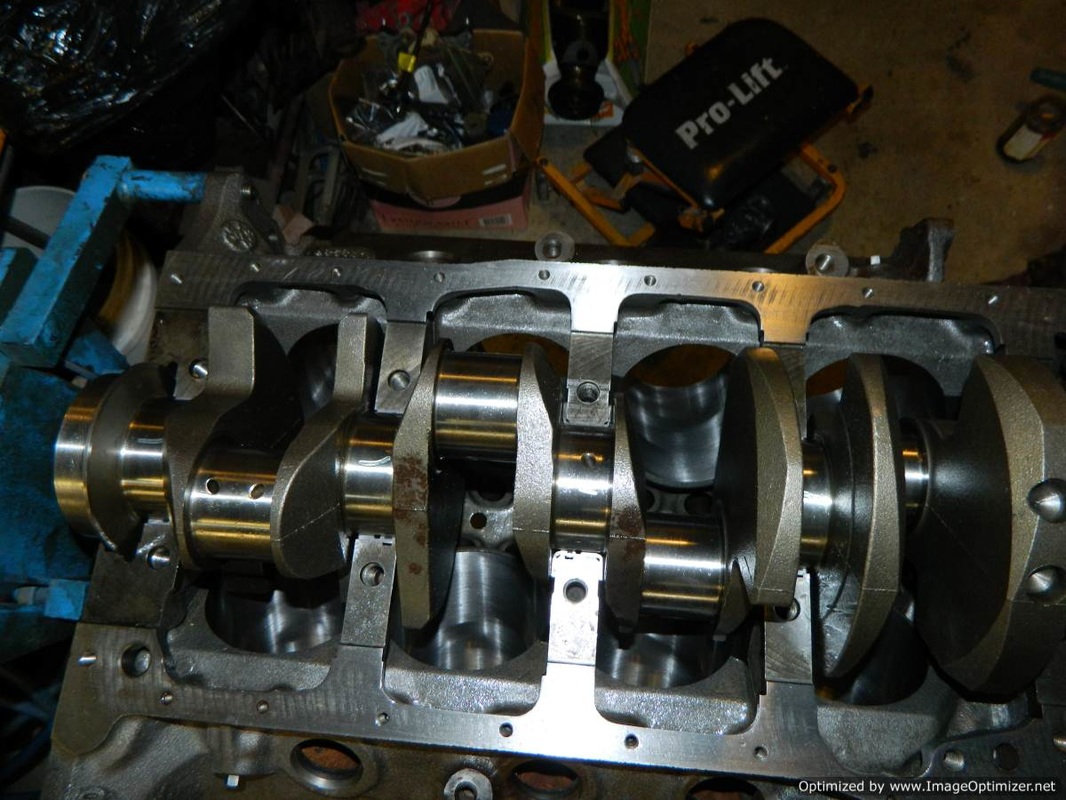
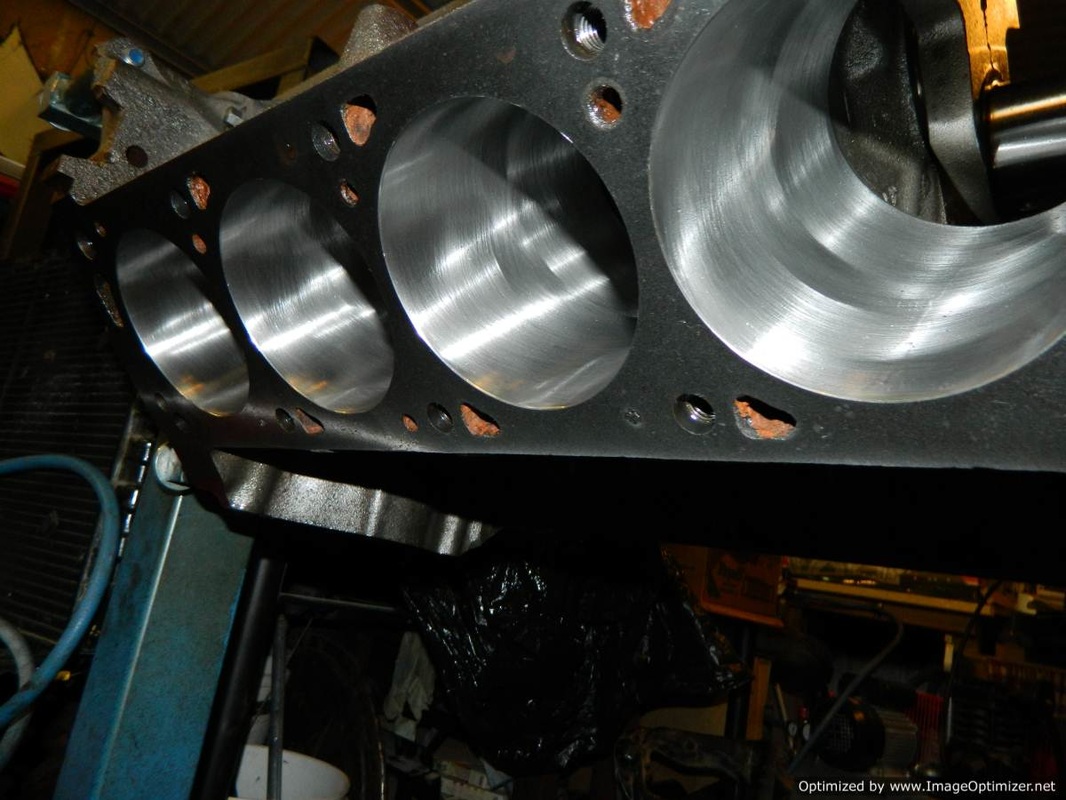
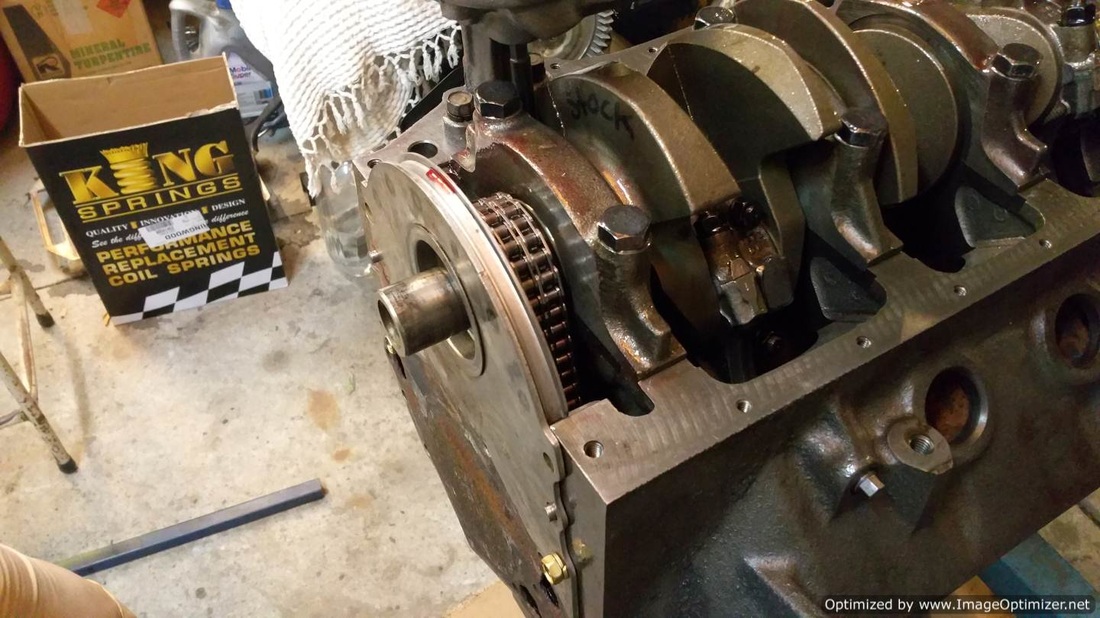
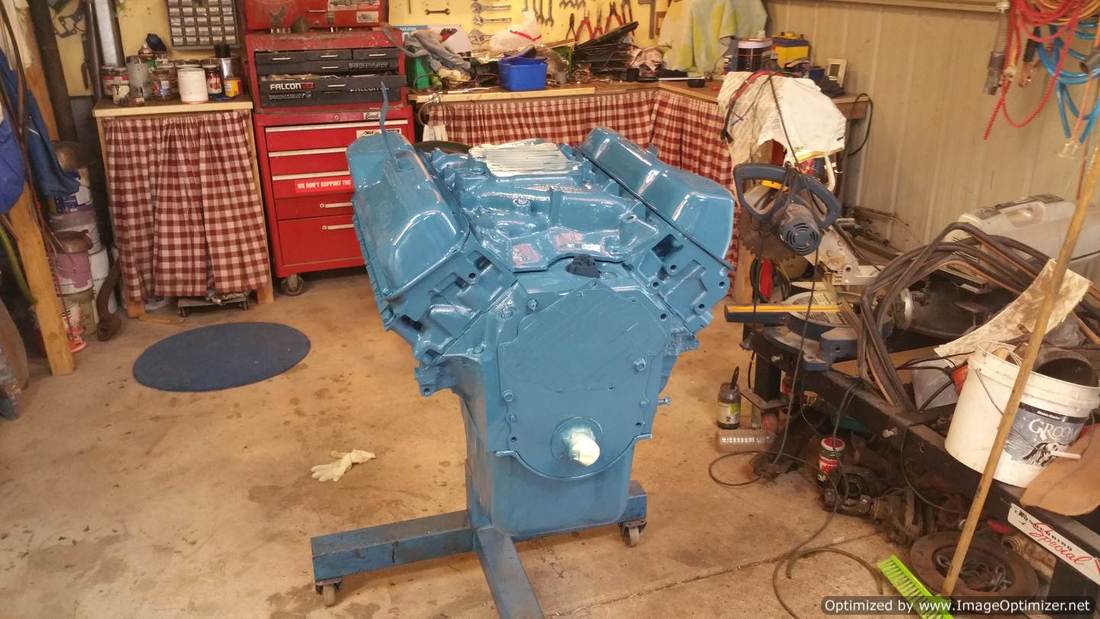
I bought this old 351 years ago because I knew that one day I'd use it. The engine was in a semi disassembled state and was a virgin bore. The following are the photographs that appeared in the advertisement, with a price of $200.00, so I jumped on it.

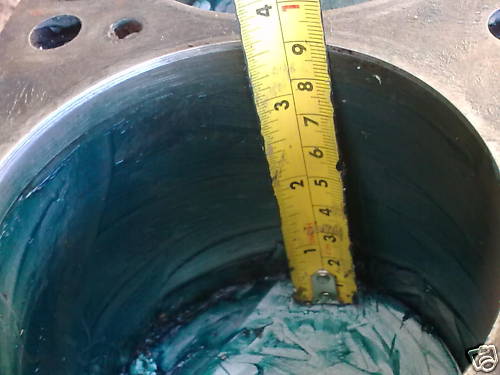
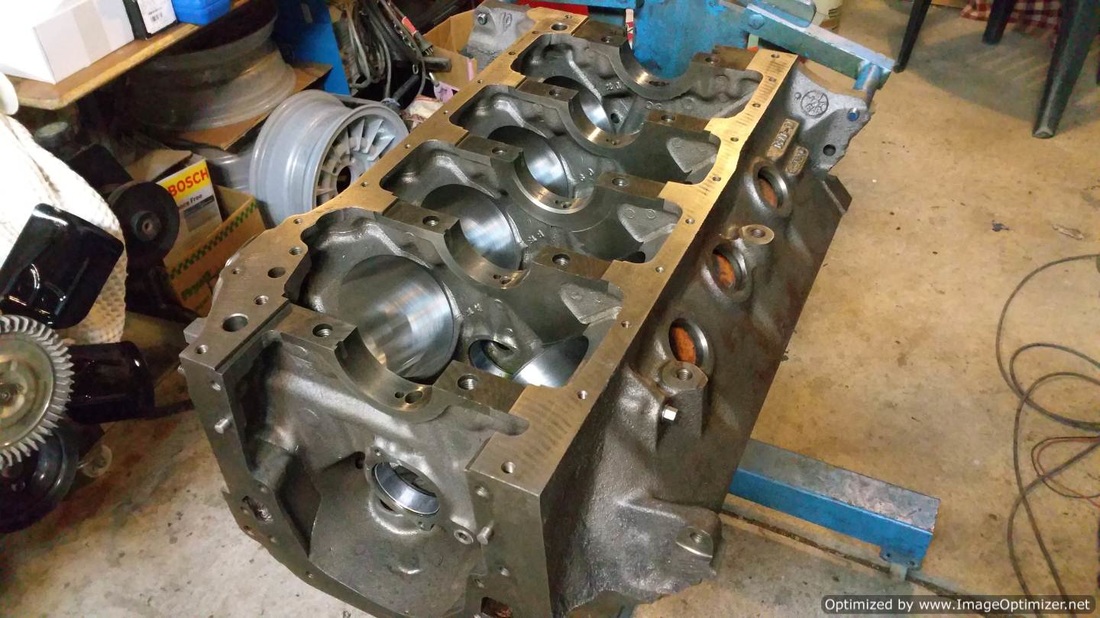
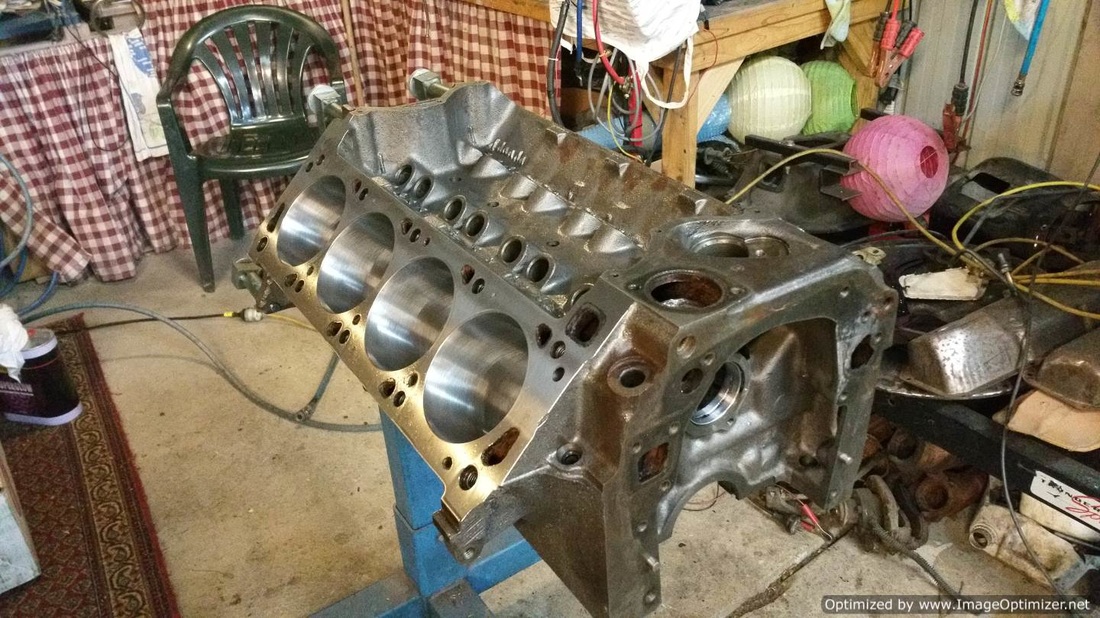
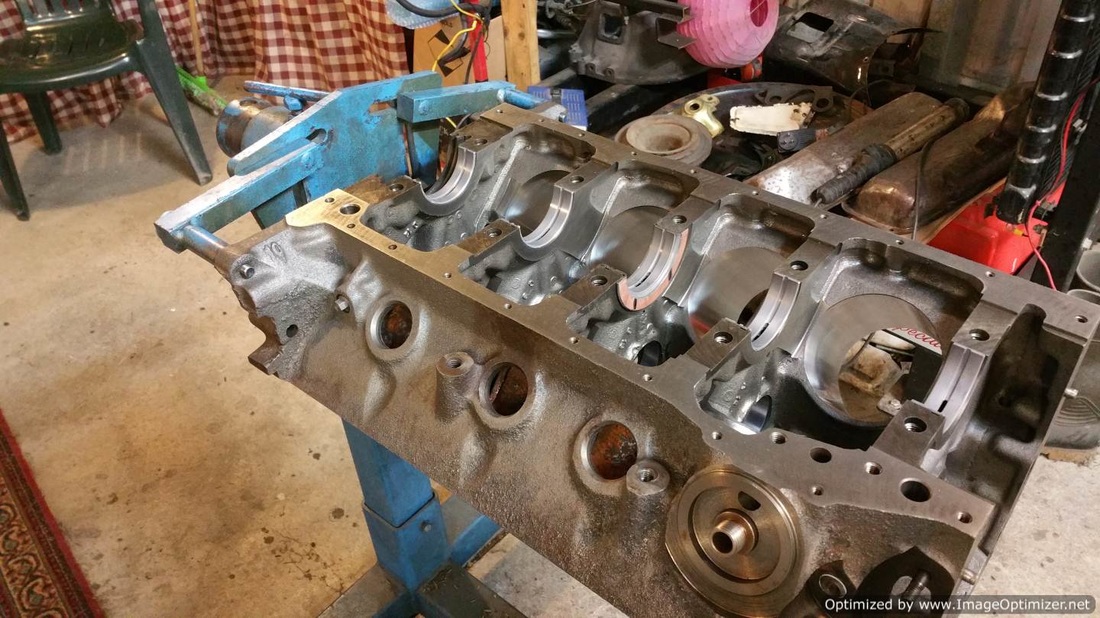
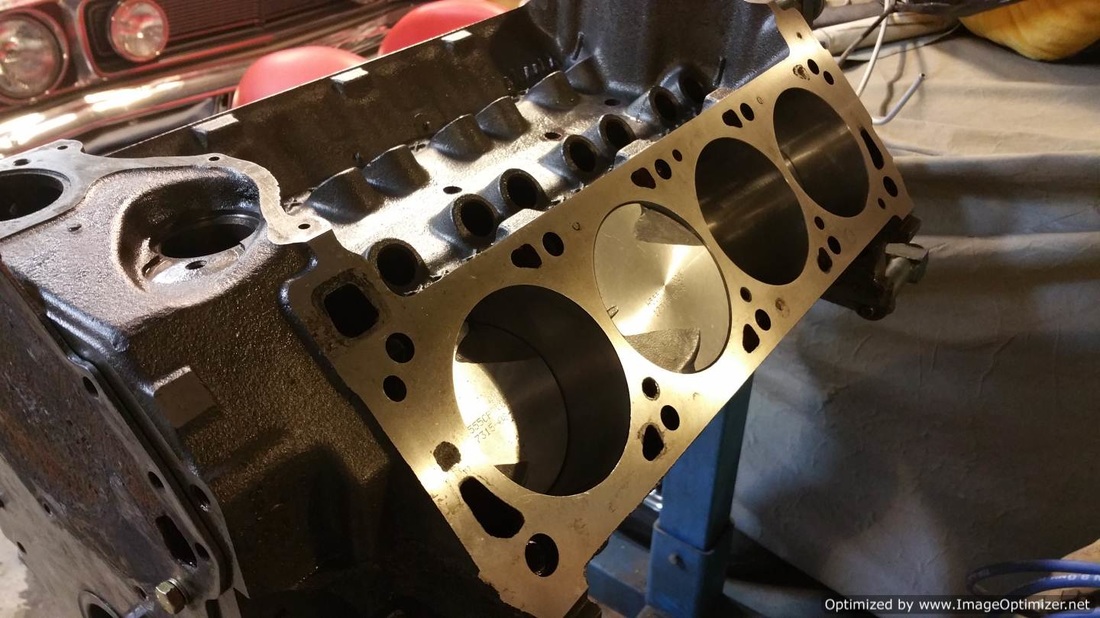
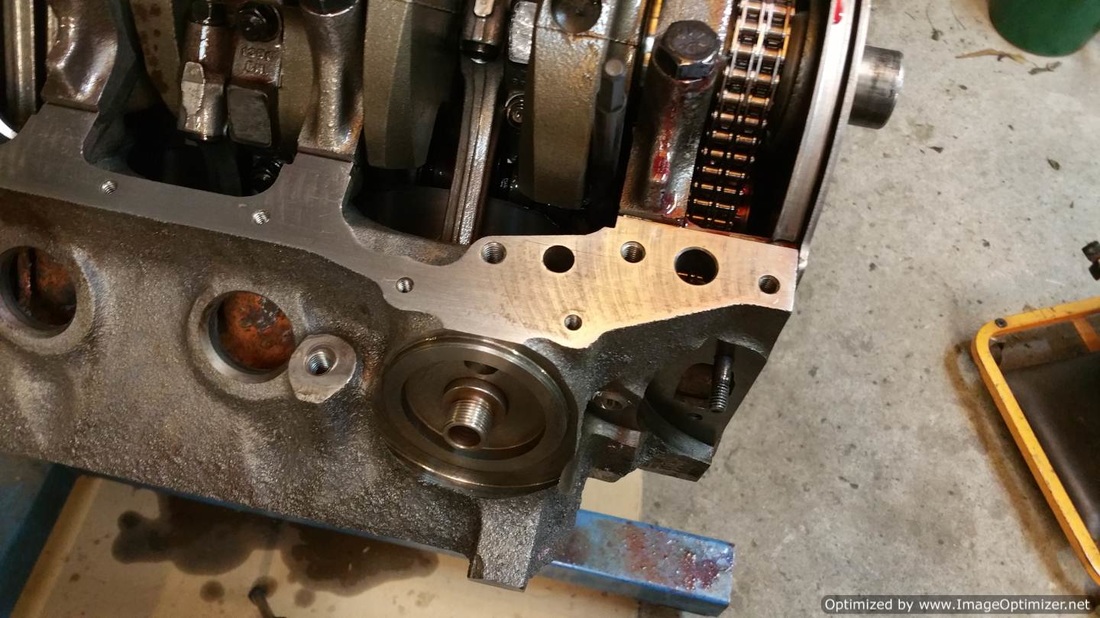
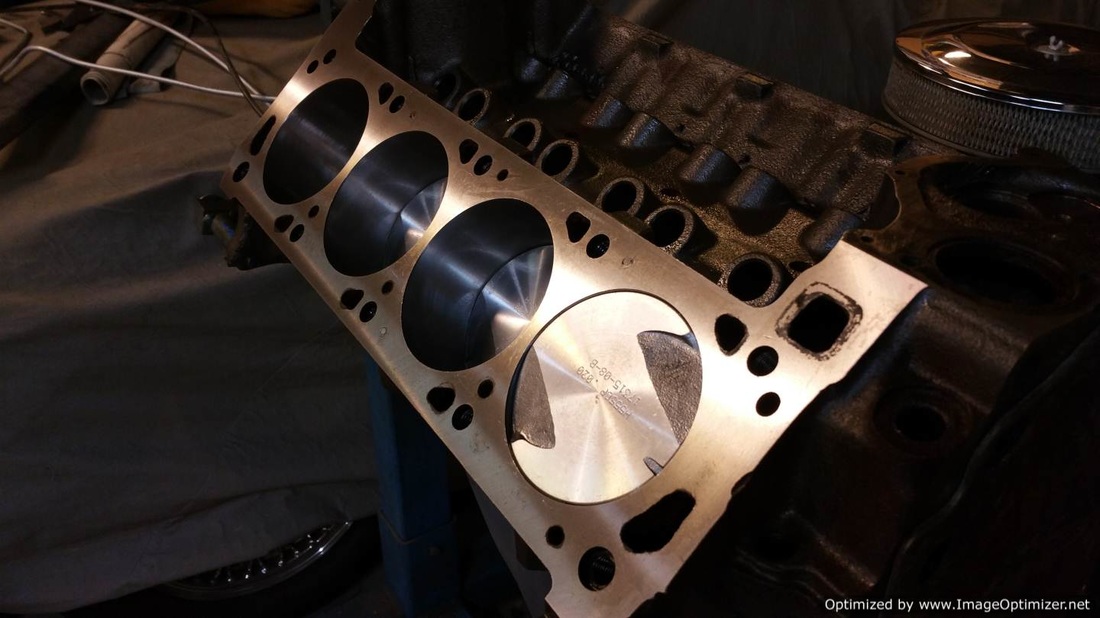
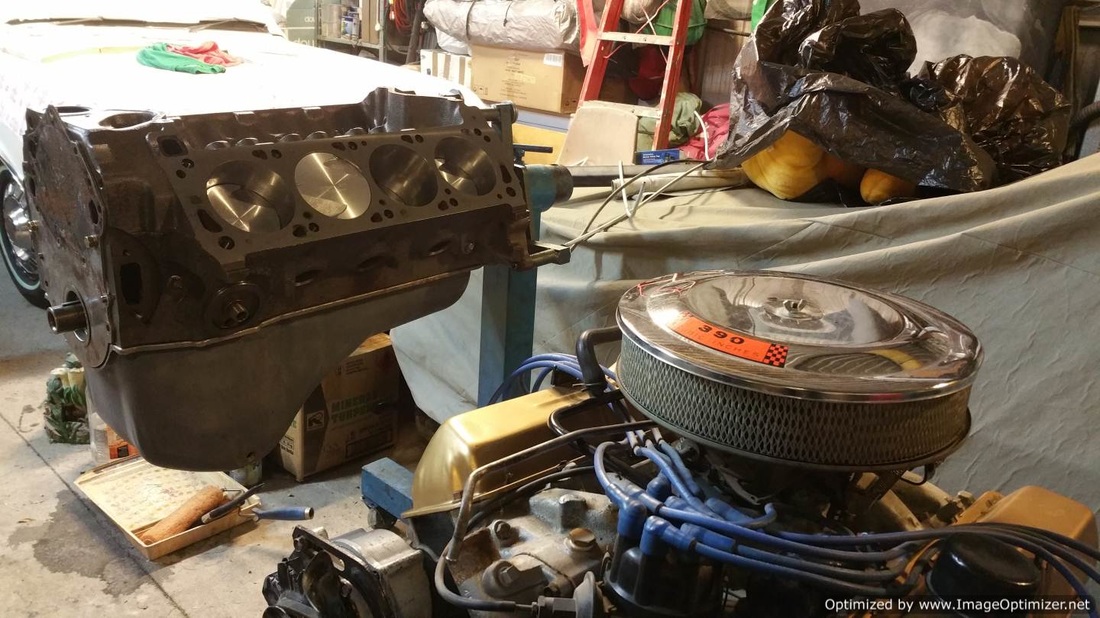
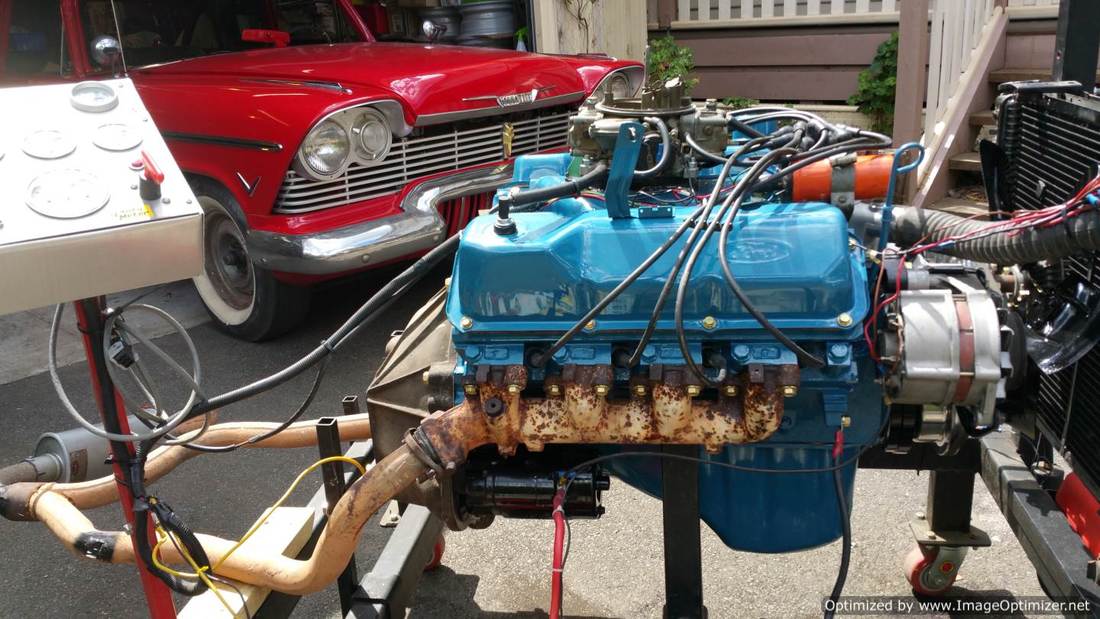
And here it is about seven years later being rebuilt. I did have it bored .020 as there was a minor lip and figured that a small over bore of .020 would leave rebuilding room far into the future. I wanted the engine to appear stock but in addition to all of the relevant machine work, fitted it with: Hypereutectic pistons, ARP rod bolts, Competition cam, Rollmaster 9 key way billet timing set, 4MA crank (original was cracked), Reco heads with 4V valves etc etc.
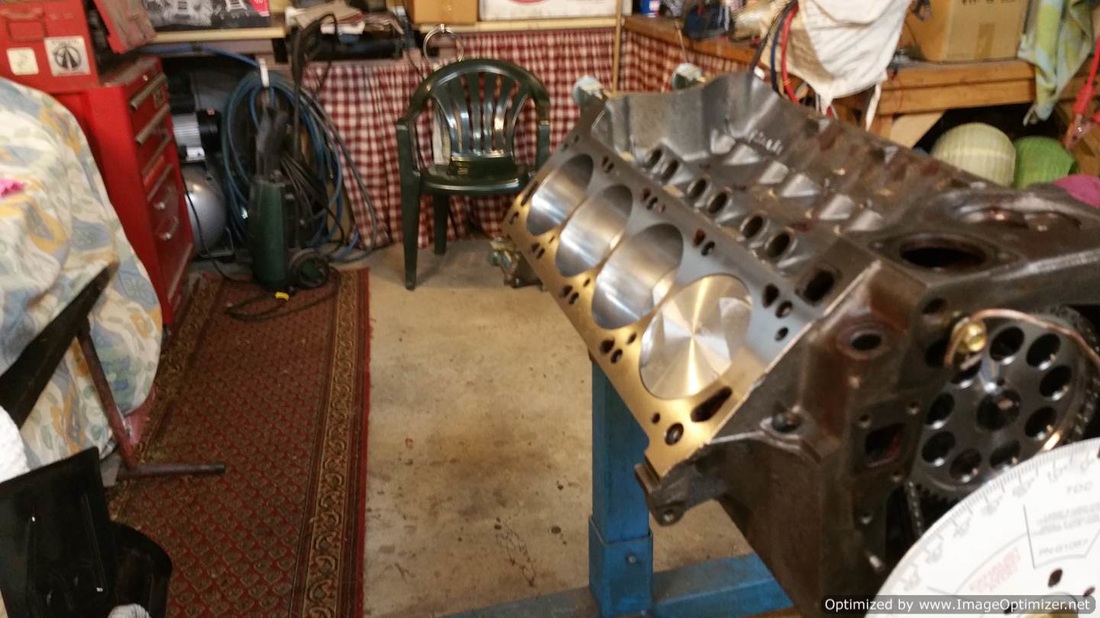
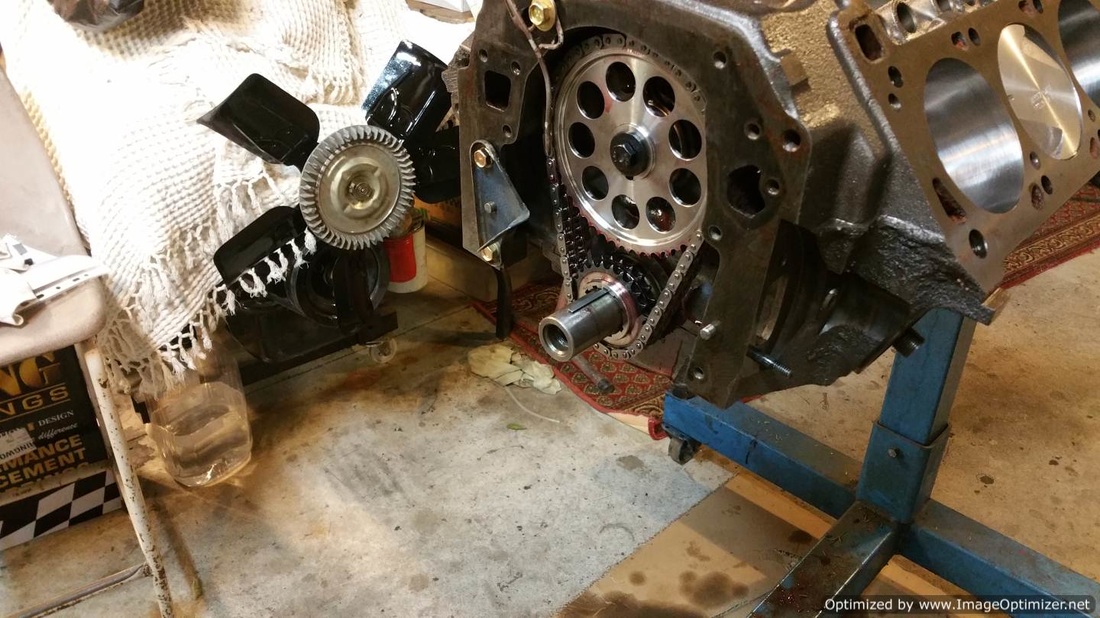
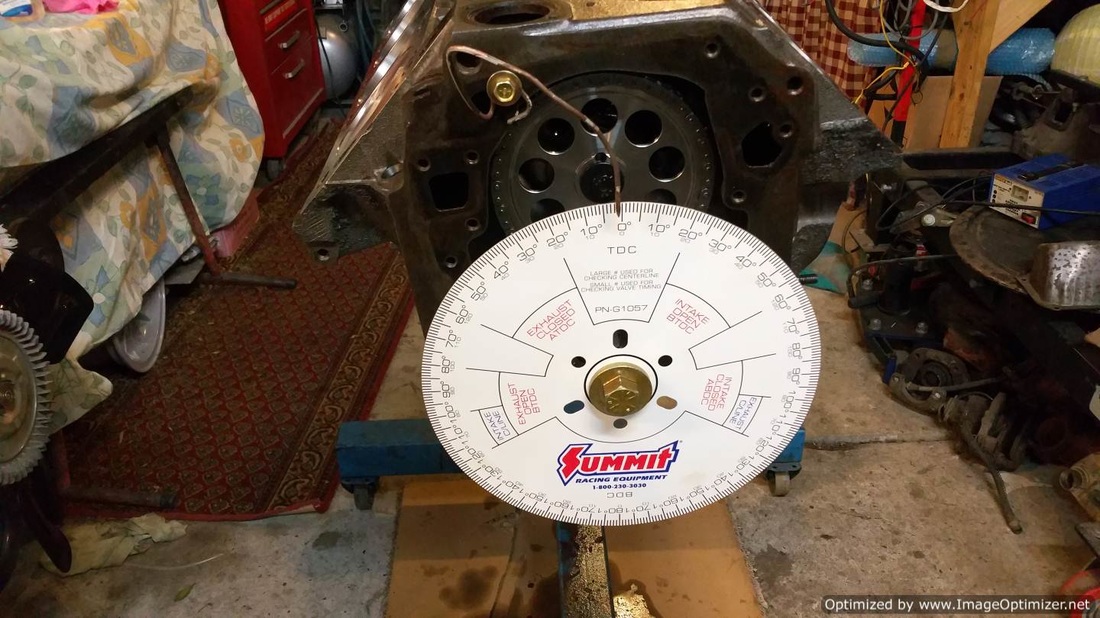
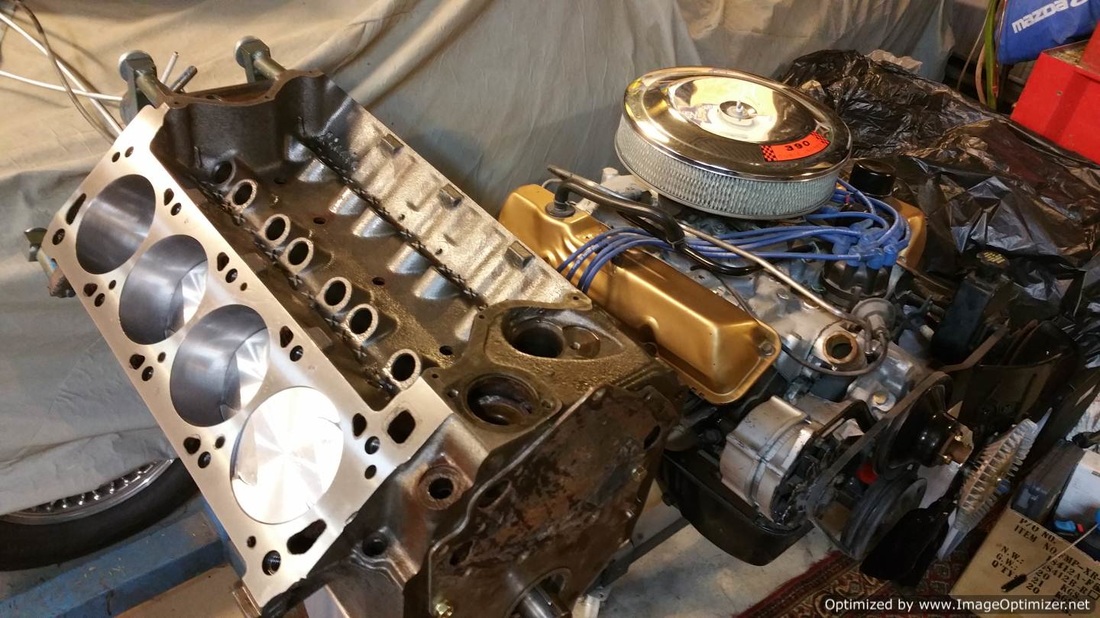
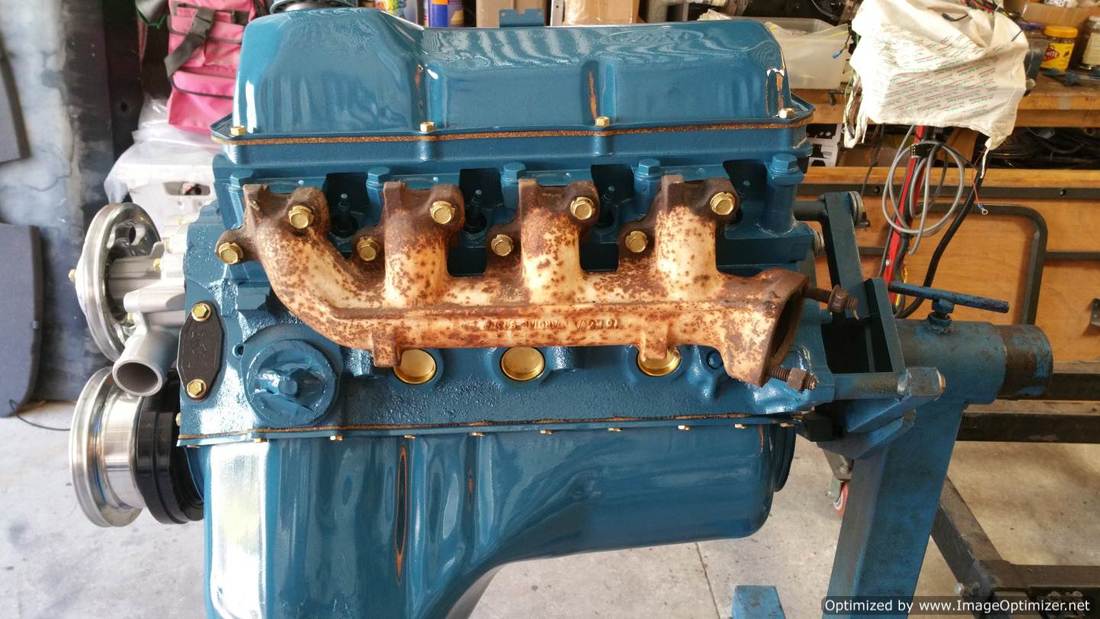
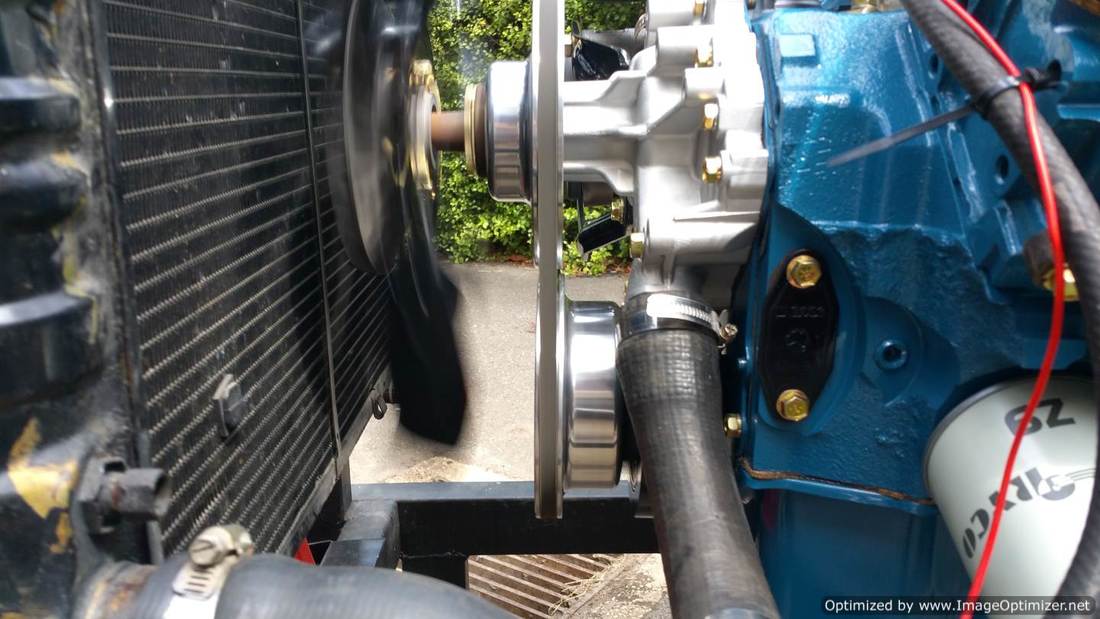
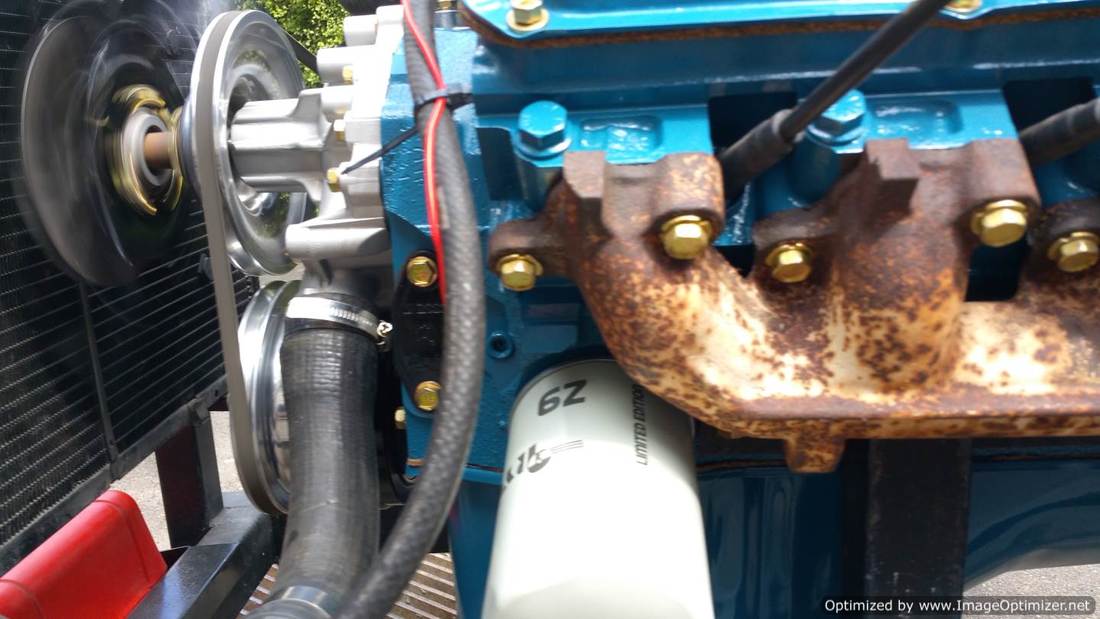
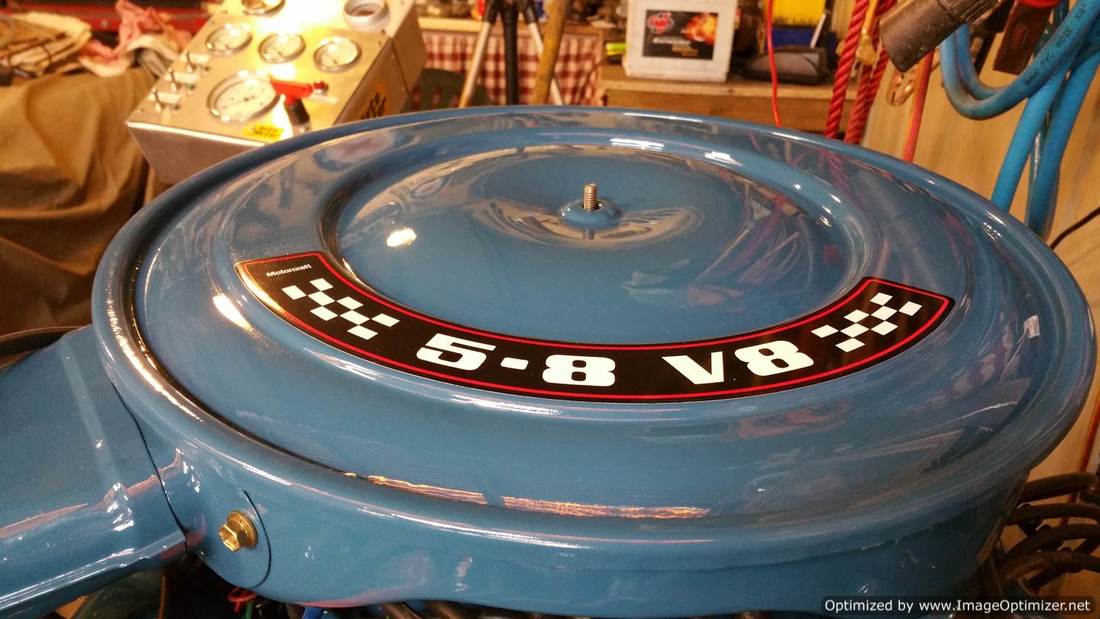
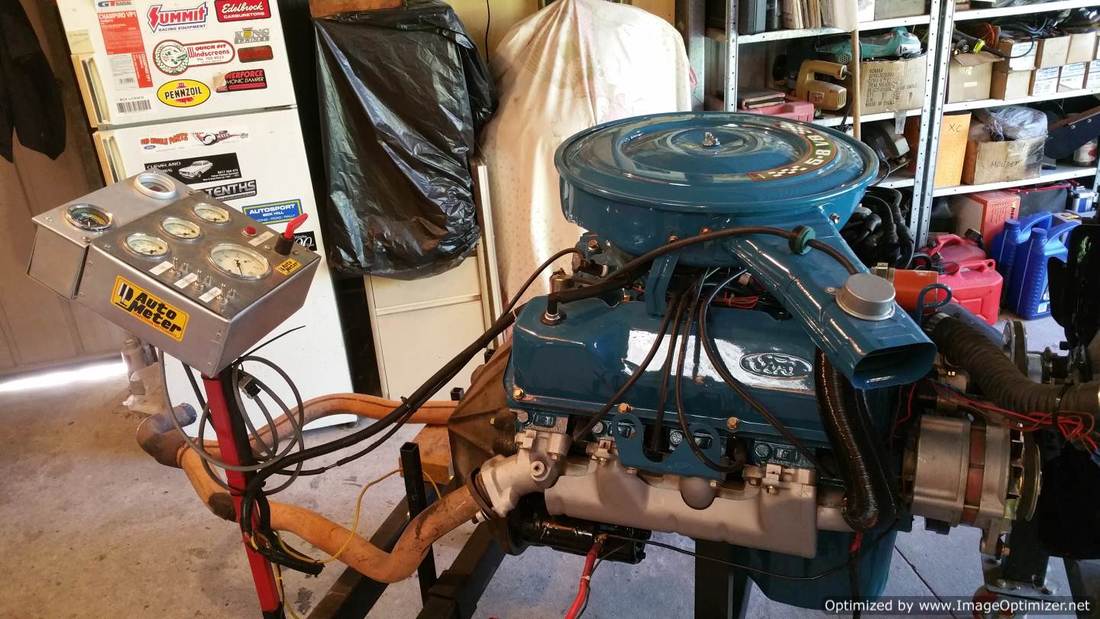
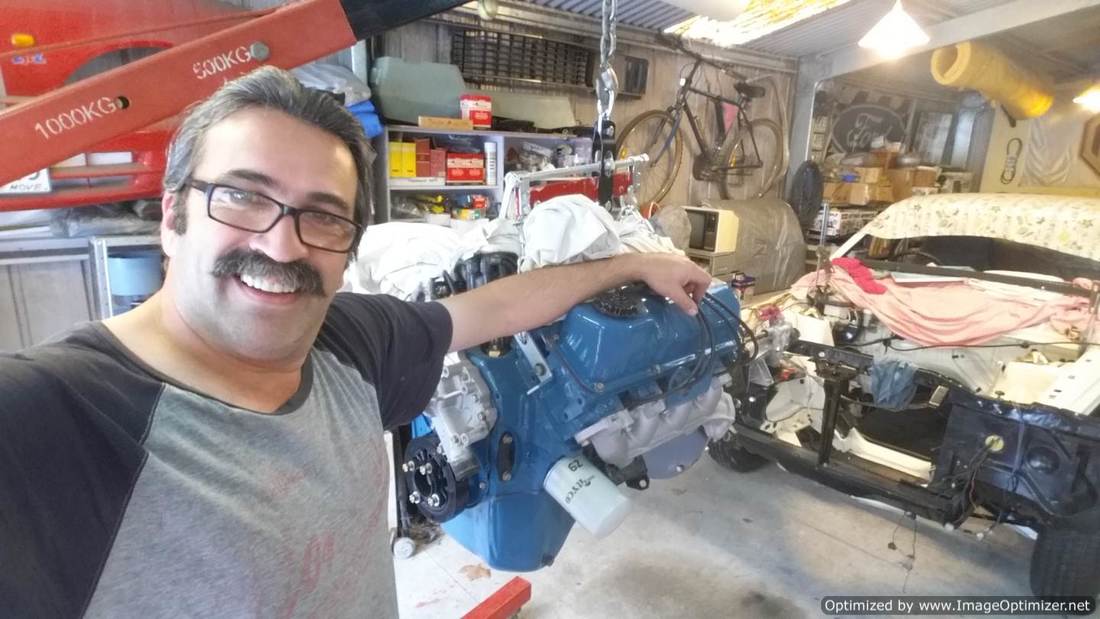
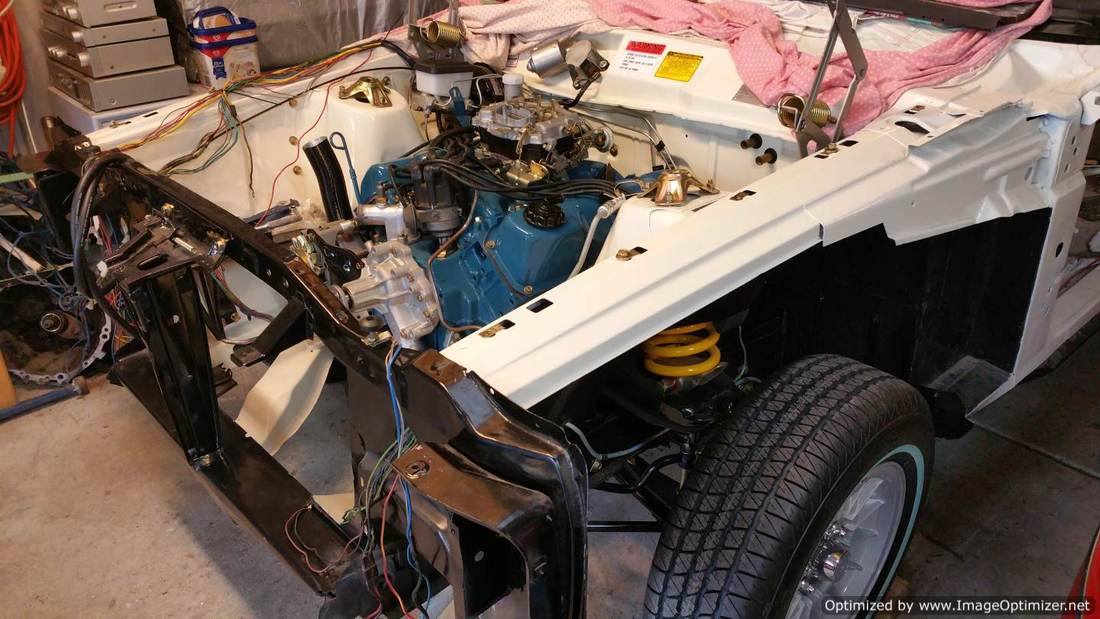
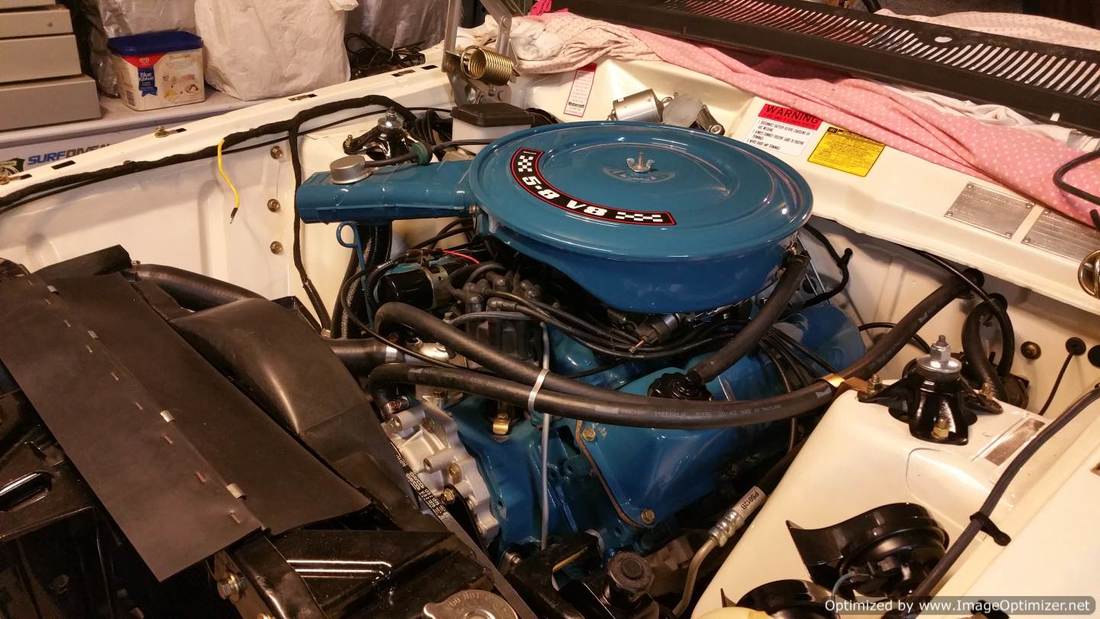
With the rebuild complete, the engine received a nice blue paint job in a colour I made up after being dissatisfied with the paint I bought for it. The engine was then fitted to the running stand to have it's flat tappet cam run in... it was a warm day, but the engine performed flawlessly. Also featured is the air cleaner I made up from a couple of bad ones - I was pleased with the overall result.
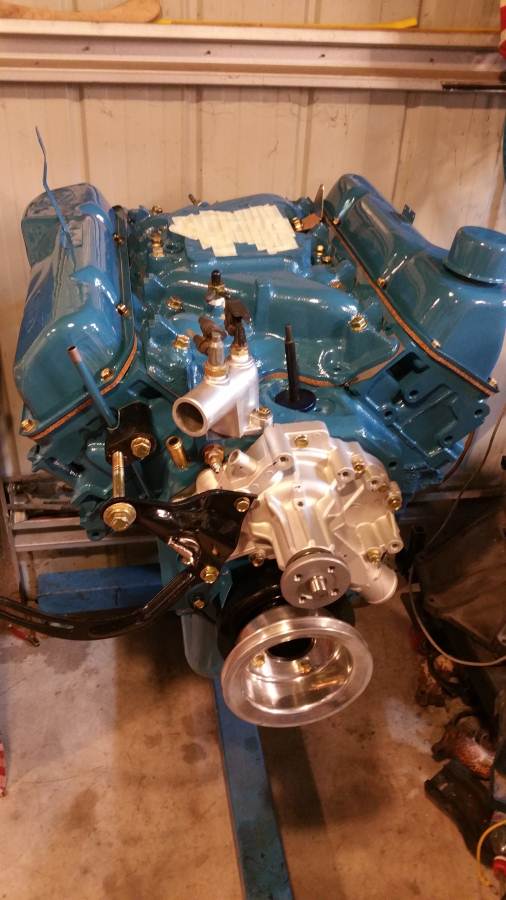
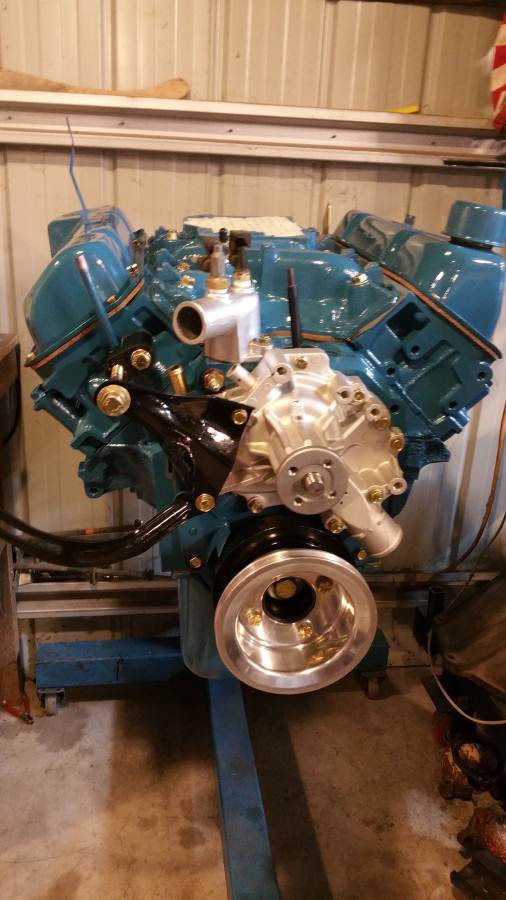
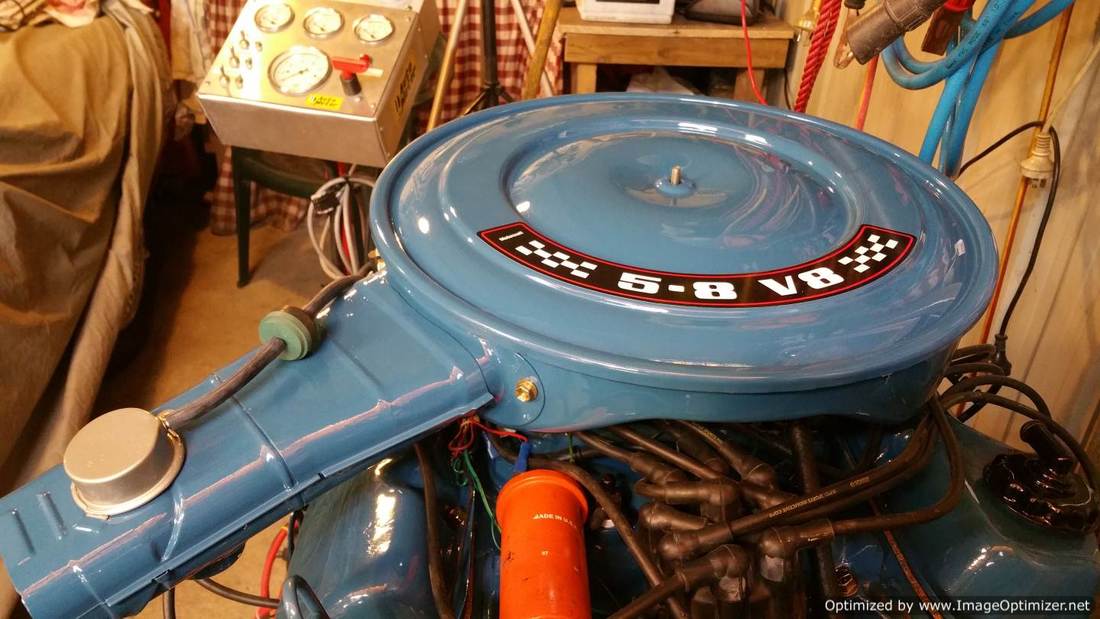
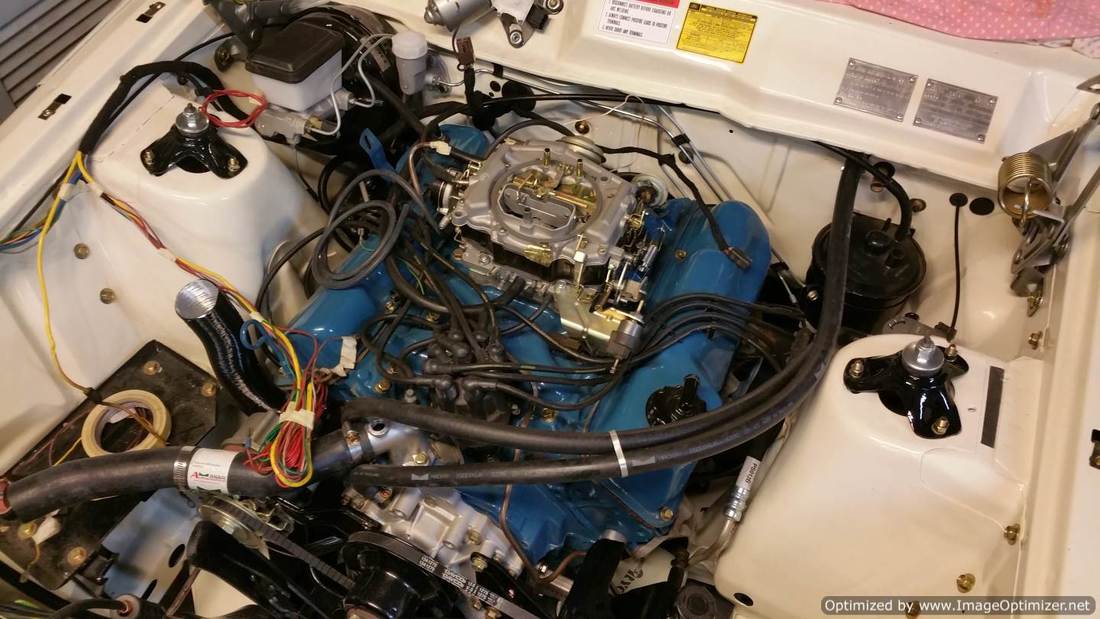
After the engine had its preliminary run in, it was time to overhaul the Carter Thermoquad carburettor and fit it to the engine. The carburettor was tested and passed with flying colours... although there are a few adjustments that will need to be performed later on in the car.
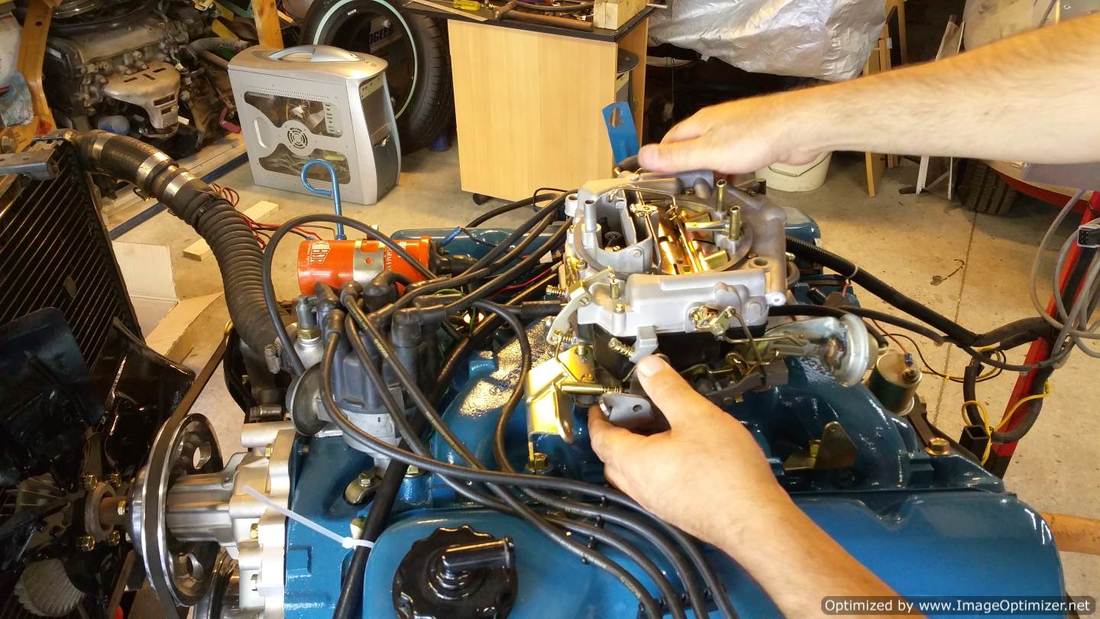
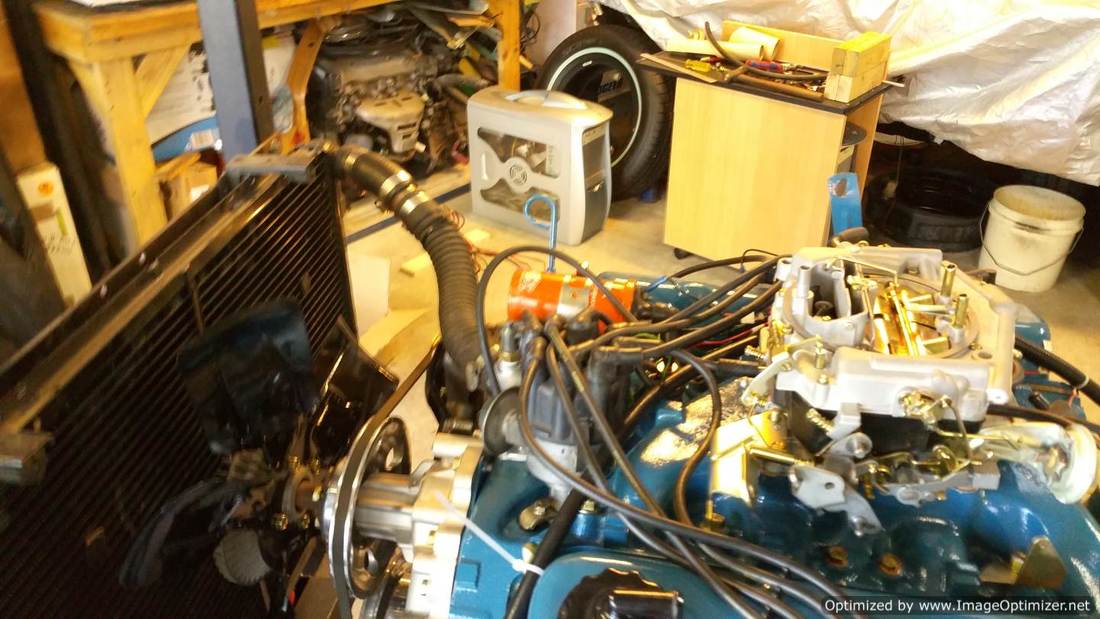
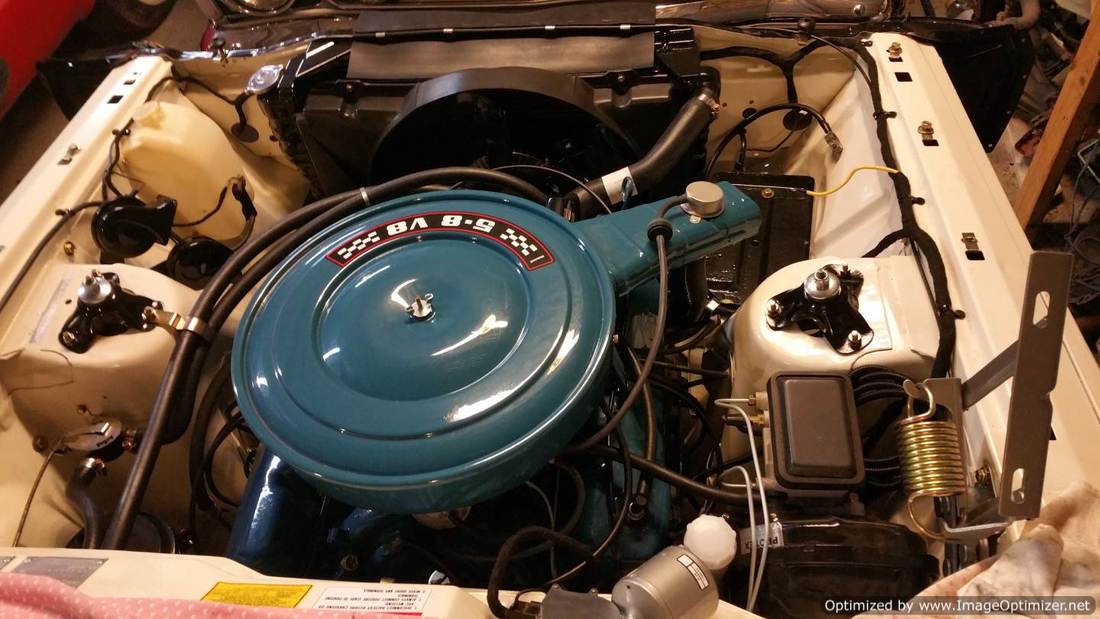
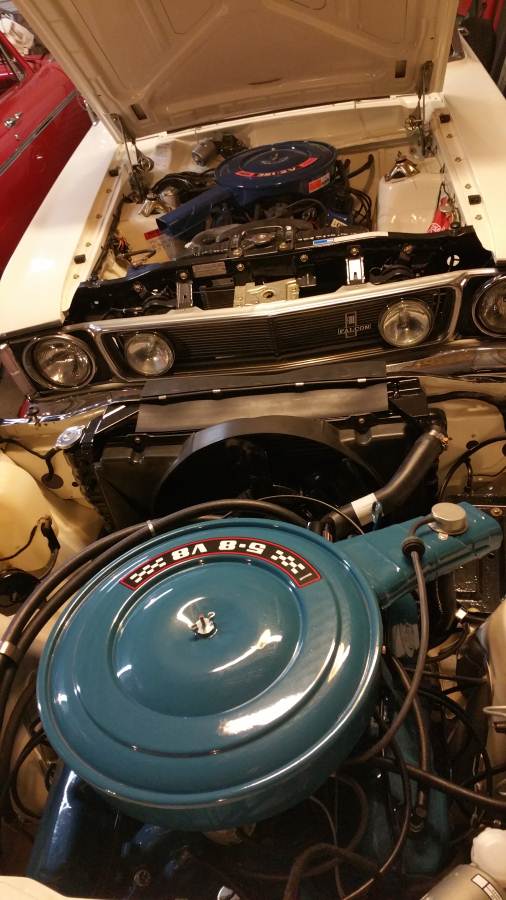
And then I installed it... nice looking old thing isn't it?
Well, with all of these pictures and video links, it looks like I need to create another page. Please refer to page three of the XC Restoration... you can find it under 1977 XC Fairmont GXL Part 3: Final Fitting Out.
